

Starlink has been offering satellite internet service for several years now. In that time, they’ve had three major hardware iterations. The latest Starlink dish, the Gen 3 “Standard”, is much different from previous versions. Many of the changes, like the improved Wifi router, result in increased performance and reliability. Some of the design changes, however, make previous Starlink accessories incompatible with Gen 3.
I’ve received many comments and emails with confusion about Gen 3 accessories and compatibility. To help, I created this Gen 3 accessory guide. I will cover all the Starlink accessories offered for the Gen 3 dish. I will also explain which older Starlink accessories are compatible. By the end, you should have a complete understanding of what each Gen 3 accessory does, and where to find them in the Starlink shop.
Table of Contents
How to find Gen 3 accessories in the Starlink shop
One of the main issues for customers who are upgrading to Gen 3 is that the online Starlink shop doesn’t always show the correct accessories. If you had a Gen 2 Standard Actuated dish, but now have Gen 3, the accessories are on a separate store page.
Switching between Starlink models in the shop is easy. First, visit the shop through the Starlink app or web browser. If using a browser, navigate to https://shop.starlink.com/. To make sure you are viewing the right accessories for your Starlink dish, click the link that says, “Not your Starlink? Click here”. Then, select your hardware version to view accessories that are compatible with your dish.


Official Starlink Gen 3 accessories
Now that you know how to find the right accessories for Gen 3 in the Starlink shop, let’s go over each one in detail. Starlink offers a variety of mounts, cables, and installation hardware.
15M Standard Starlink Cable

The 15M (~50 ft.) Standard Starlink Cable is meant as a replacement part if you ever need to swap out your existing cable. It’s the same cable that comes in the Gen 3 kit. The Starlink cable connects the dish to the router, supplying power and data. It costs $45.
Gen 3 uses standard RJ45 connectors and Ethernet cable, but the official Starlink cable has special moisture seals. That’s one reason I recommend sticking with the OEM Starlink cable if you need a replacement. The seals are designed to prevent water from entering the router and dish. They also help hold the connector in, as the latch on the dish and router is passive.
45M Standard Starlink Cable

If your installation requires a longer run from the Gen 3 dish to the router, Starlink offers a 45M (~150 ft.) cable accessory. The 45M Standard Starlink Cable will replace the 15M Starlink cable included in the hardware kit. It connects the dish to the router. The price in the US market is $95.
Just like the 15M version, the 45M Starlink cable has moisture seals on each connector. Going with the OEM 45M cable is a great option to maintain the water resistance. If you are on a tight budget, consider extending your existing Starlink 15M cable with a coupler and aftermarket Ethernet cable. You can extend the cable up to 150′, for about half the cost of the longer OEM cable.
Standard Pivot Mount

Starlink offers several permanent mounting options for the Gen 3 dish. The first mounting accessory is the Standard Pivot Mount. The Pivot Mount is designed to be adjustable for any roof pitch. The mast will stay vertical, with the mounting base adjusting to the slant of the roof.
The Pivot Mount can be secured directly to your roof using the included lag screws. It is priced at $60, which isn’t bad considering it contains all the hardware you need. The mount kit includes the adapter base that replaces the Gen 3 kickstand, as well as the mast to provide some clearance from the roof. The Pivot Mount is a great permanent mounting solution that provides a strong, stable installation.
Standard Wall Mount

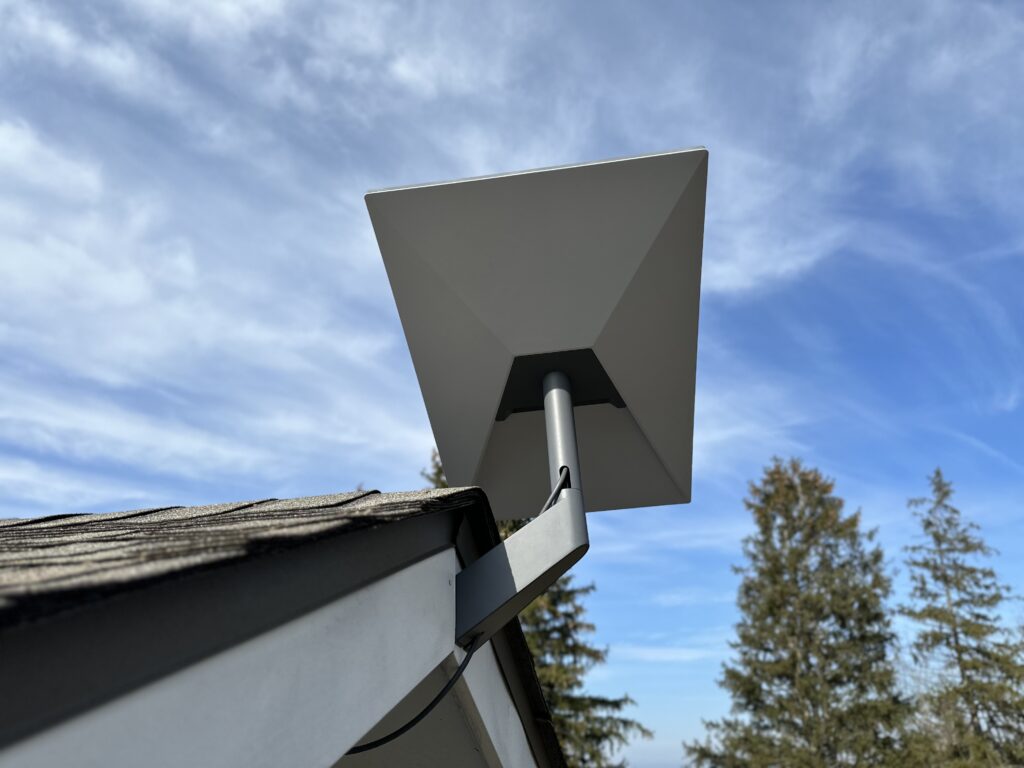
If you don’t want to drill any holes into your roof, the best Gen 3 mounting accessory is the Standard Wall Mount. The Standard Wall Mount is designed to secure to an exterior wall or fascia board. If you install it at the peak of your roof, you can avoid obstructions while also avoiding any roof leaks in the future.
The Standard Wall Mount costs $55, making it the most affordable all-in-one mount kit for Gen 3. It can accommodate up to a 4″ roof overhang if you are installing it to the wall. Alternatively, you can just secure it to the eave or fascia of your roof. If you would like to learn more, check out our Gen 3 Standard Wall Mount review. In that post, I go over all the details, including a step by step installation tutorial.
Standard Pipe Adapter

The last Gen 3 mounting accessory in the Starlink shop is the $35 Standard Pipe Adapter. If you have an existing mount that you want to use, like an old satellite TV J-mount, the Standard Pipe Adapter allows you to securely mount your Gen 3 dish to virtually any pipe. It can accommodate any pipe/pole up to 2″ in diameter.
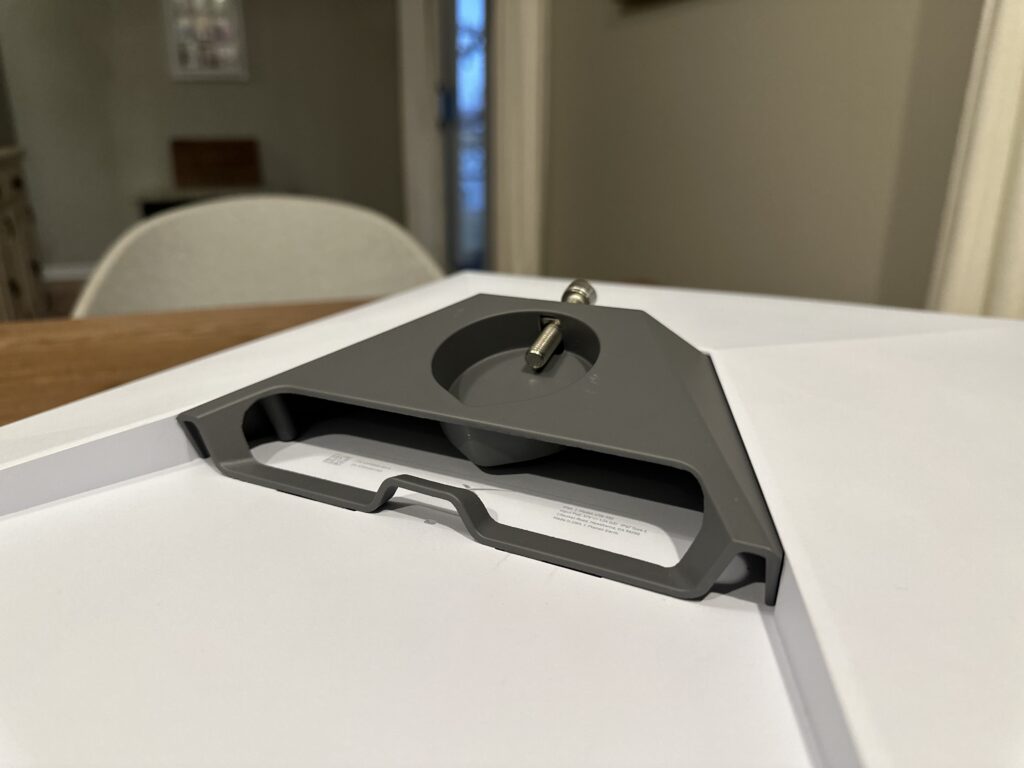
The kickstand mount is replaced with the Standard Pipe Adapter on the Gen 3 dish. There is an area on the bottom that accepts the pole. A locking screw secures the adapter in place. The Pipe Adapter is a great option for people wanting to use aftermarket mounts. For versatility and future compatibility, I recommend the combination of an aftermarket J-mount with the Standard Pipe Adapter.
Masonry Routing Kit

Most people will be routing the Starlink cable through an exterior wall. If you want a clean, professional look, consider purchasing one of the cable routing kits from Starlink. The first cable routing accessory is the Masonry Routing Kit, designed for concrete, brick, and stucco exteriors.
The Masonry Routing Kit includes all the hardware you need to properly route the Starlink cable through a wall. You’ll get drill bits, a cable pulling tool, and even silicone sealant. For $46, that isn’t a bad value if you ask me. If you ever need to remove or replace the cable, the grommets are easily removed.
Cable Routing Kit

For those of you with wood or other kinds of siding, you’ll want the Cable Routing Kit accessory instead of the Masonry Routing Kit. It’s the same concept, but for wood. For $32, you get drill bits, a cable pulling tool, grommets, and sealant.
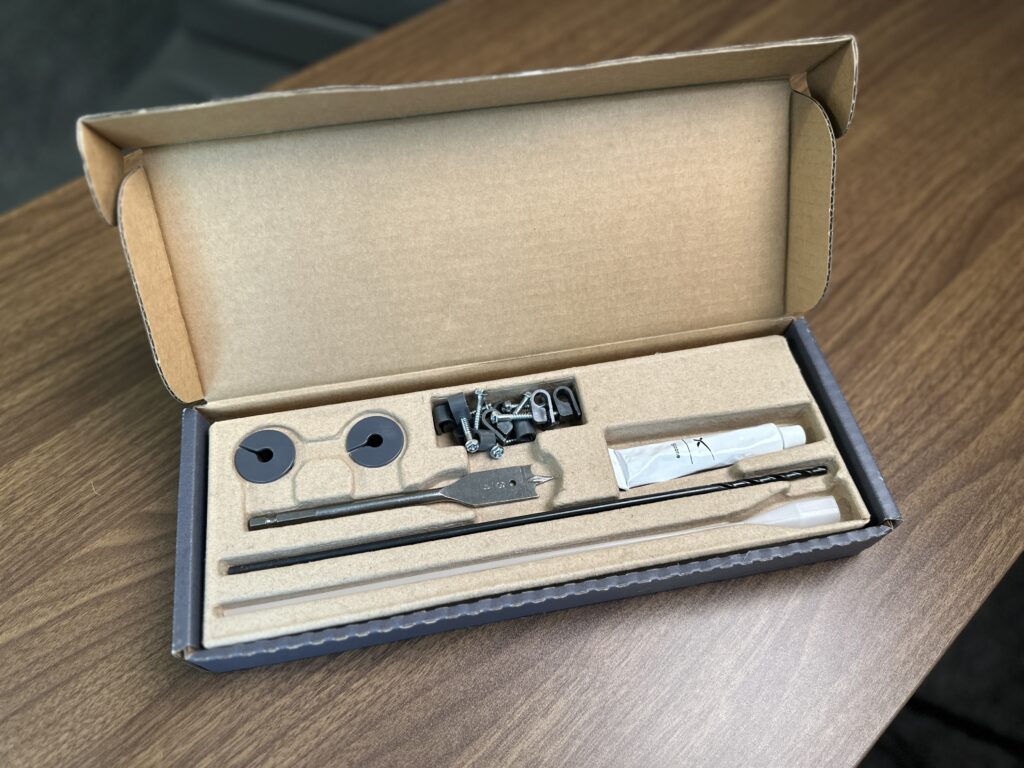
The Cable Routing Kit is a great choice to finish out your Starlink install. It creates a clean look, both inside and outside where the cable runs through the wall. If you would like more information on the Cable Routing Kit, check out our review and installation tutorial.
Compatibility with other Starlink accessories
If you are upgrading from Starlink Gen 1 or Gen 2, you may be wondering if you can use your existing accessories. Unfortunately, Gen 3 isn’t compatible with most accessories from other dish models. Gen 3 isn’t compatible with the following Gen 2 mounts:
- Short Wall Mount
- Long Wall Mount
- Ethernet Adapter
- Starlink cable
- Pipe Adapter
- Travel Case
- Flashing Mount
- Pivot Mount
- Ground Pole Mount
There are some exceptions, where Gen 2 accessories can be compatible with Gen 3:
- The Gen 2 cable routing kits can be used with the Gen 3 cable, since they are a similar diameter
- The Gen 2 Starlink Wifi router can be used as a wireless mesh node with the Gen 3 Wifi router
- The Ridgeline Mount Kit for Gen 2 can be used with Gen 3 by using the Standard Pipe Adapter
None of the Gen 1 Starlink accessories are compatible with Gen 3.
Final thoughts
Shopping for Starlink Gen 3 accessories is pretty straightforward if you know where to look. Hopefully, you now understand where to go for official Gen 3 accessories. I also hope my explanation of each accessory helps you purchase the right hardware for your installation.
If you have any questions or feedback, let me know in the comments below. I’d love to know if there is a specific accessory you want me to review or do a tutorial on. I’ve already reviewed several Gen 3 accessories, so be sure to check out our review section.
I’d love not to return my Gen 3, still in the box, but I’m mobile and can’t figure out pure 12V stepup and POE stuff. Mini is still somewhat plug-n-pray but simpler than Gen 3. What exactly would I need for Gen 3 and where do I get it? I’m not a DIY electronics guy but I can plug stuff in. I’d rather keep the insipidly huge Gen 3 router, at least to start. Thanks.
What category is the supplied Starlink cable?
I believe it’s based on CAT6.
Is there any way to plug the gen3 router into a wired LAN switch?
Is there an adapter to convert the Gen 2 connector to the Gen 3 RJ45 connector?
Not from Starlink. I do know 3rd party companies make an adapter that goes from the Gen 2 connectors to RJ45, but that’s mainly targeted to DC conversions. It wouldn’t do much good to try to run a Gen 2 from a Gen 3 router because the voltages for the dish are different between the generations.
I just received, what I can only assume, the new replacement for the recalled pipe adapter. If this is the improved model, I would hate to see what it replaced! The cup is only ¾” deep. Once affixed to a J-pole there is no more than 1/16” between the Starlink holding bolt and the top of the J-pole! I don’t see this setup making it through high wind conditions. The bolt needs to go through the J-pole and that is something that cannot be done because of the stingy depth of the pipe adapter. All of the money in the world can’t fix stupid, and that’s exactly what the new design is.
I wholeheartedly agree with you. TreeDishy installs Starlink in treetops, and Version 2 withstood 200mph winds in the Sierra Mountains thanks to a Pipe Adaptor that securely fastened the dish to the pipe with SIX triangulated bolts. If there’s an equally-strong solution for pipe-mounting V3, I haven’t found it. This is not what we expected from the best engineers in the world!