
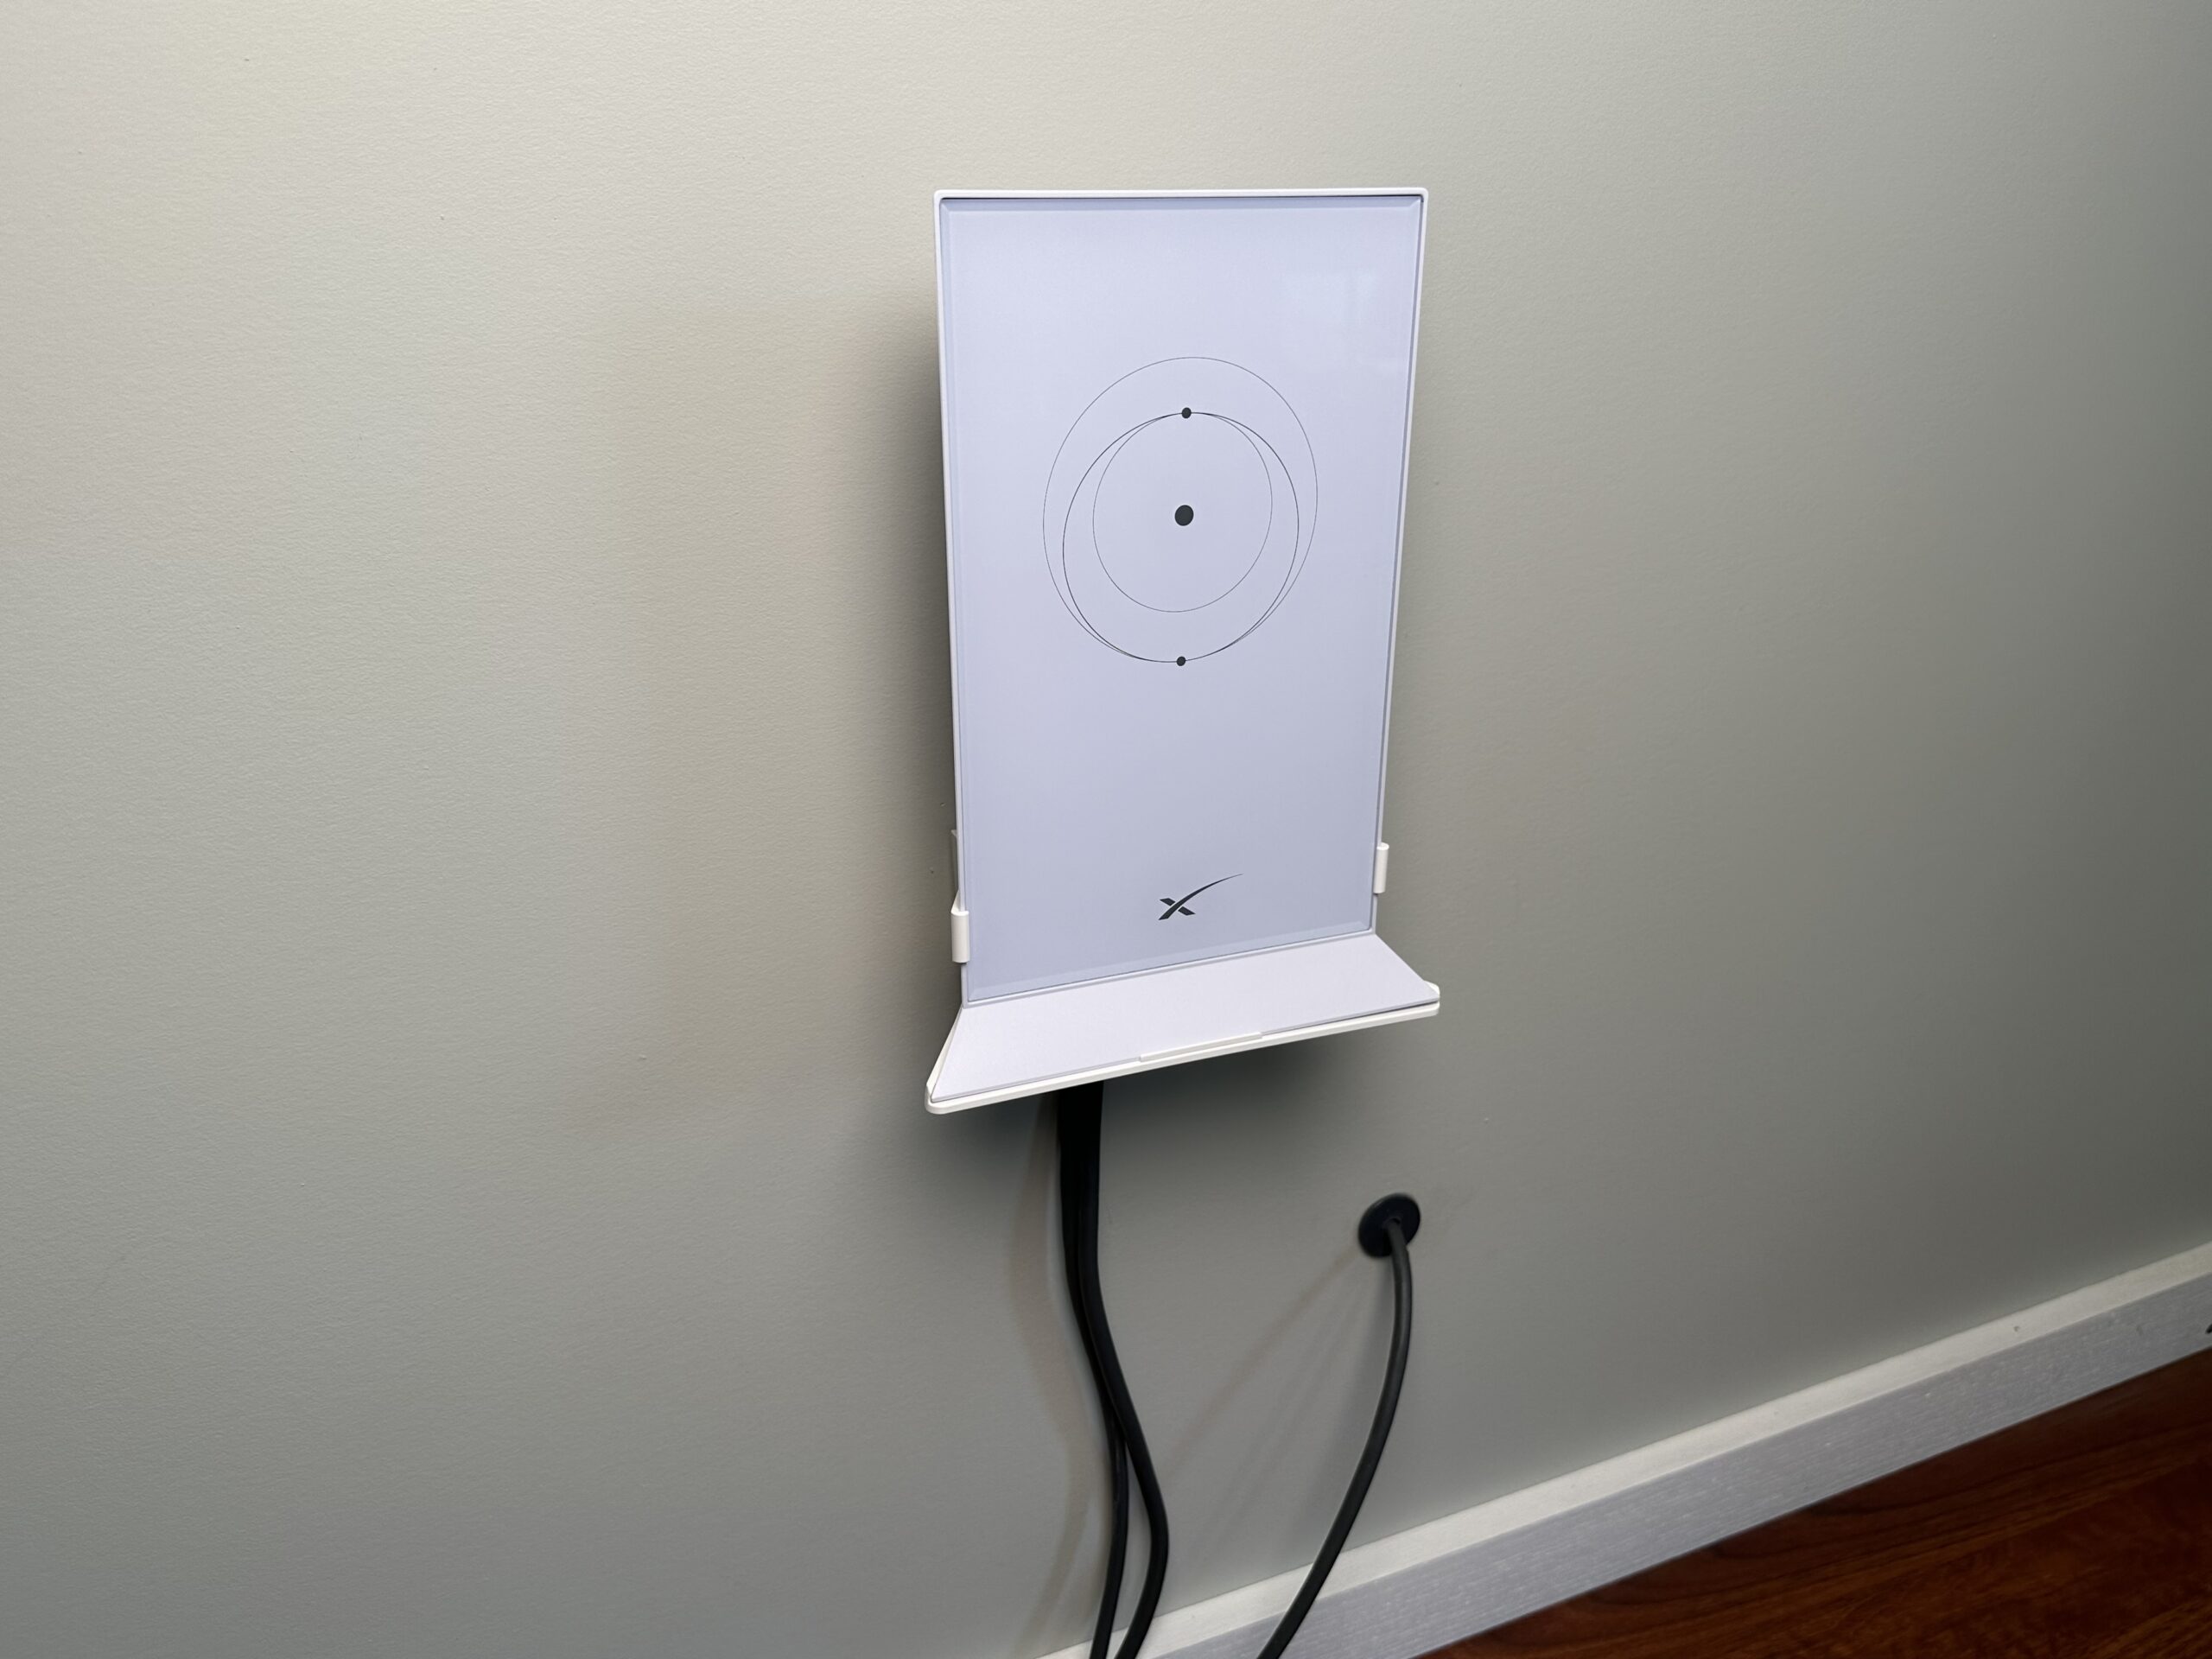
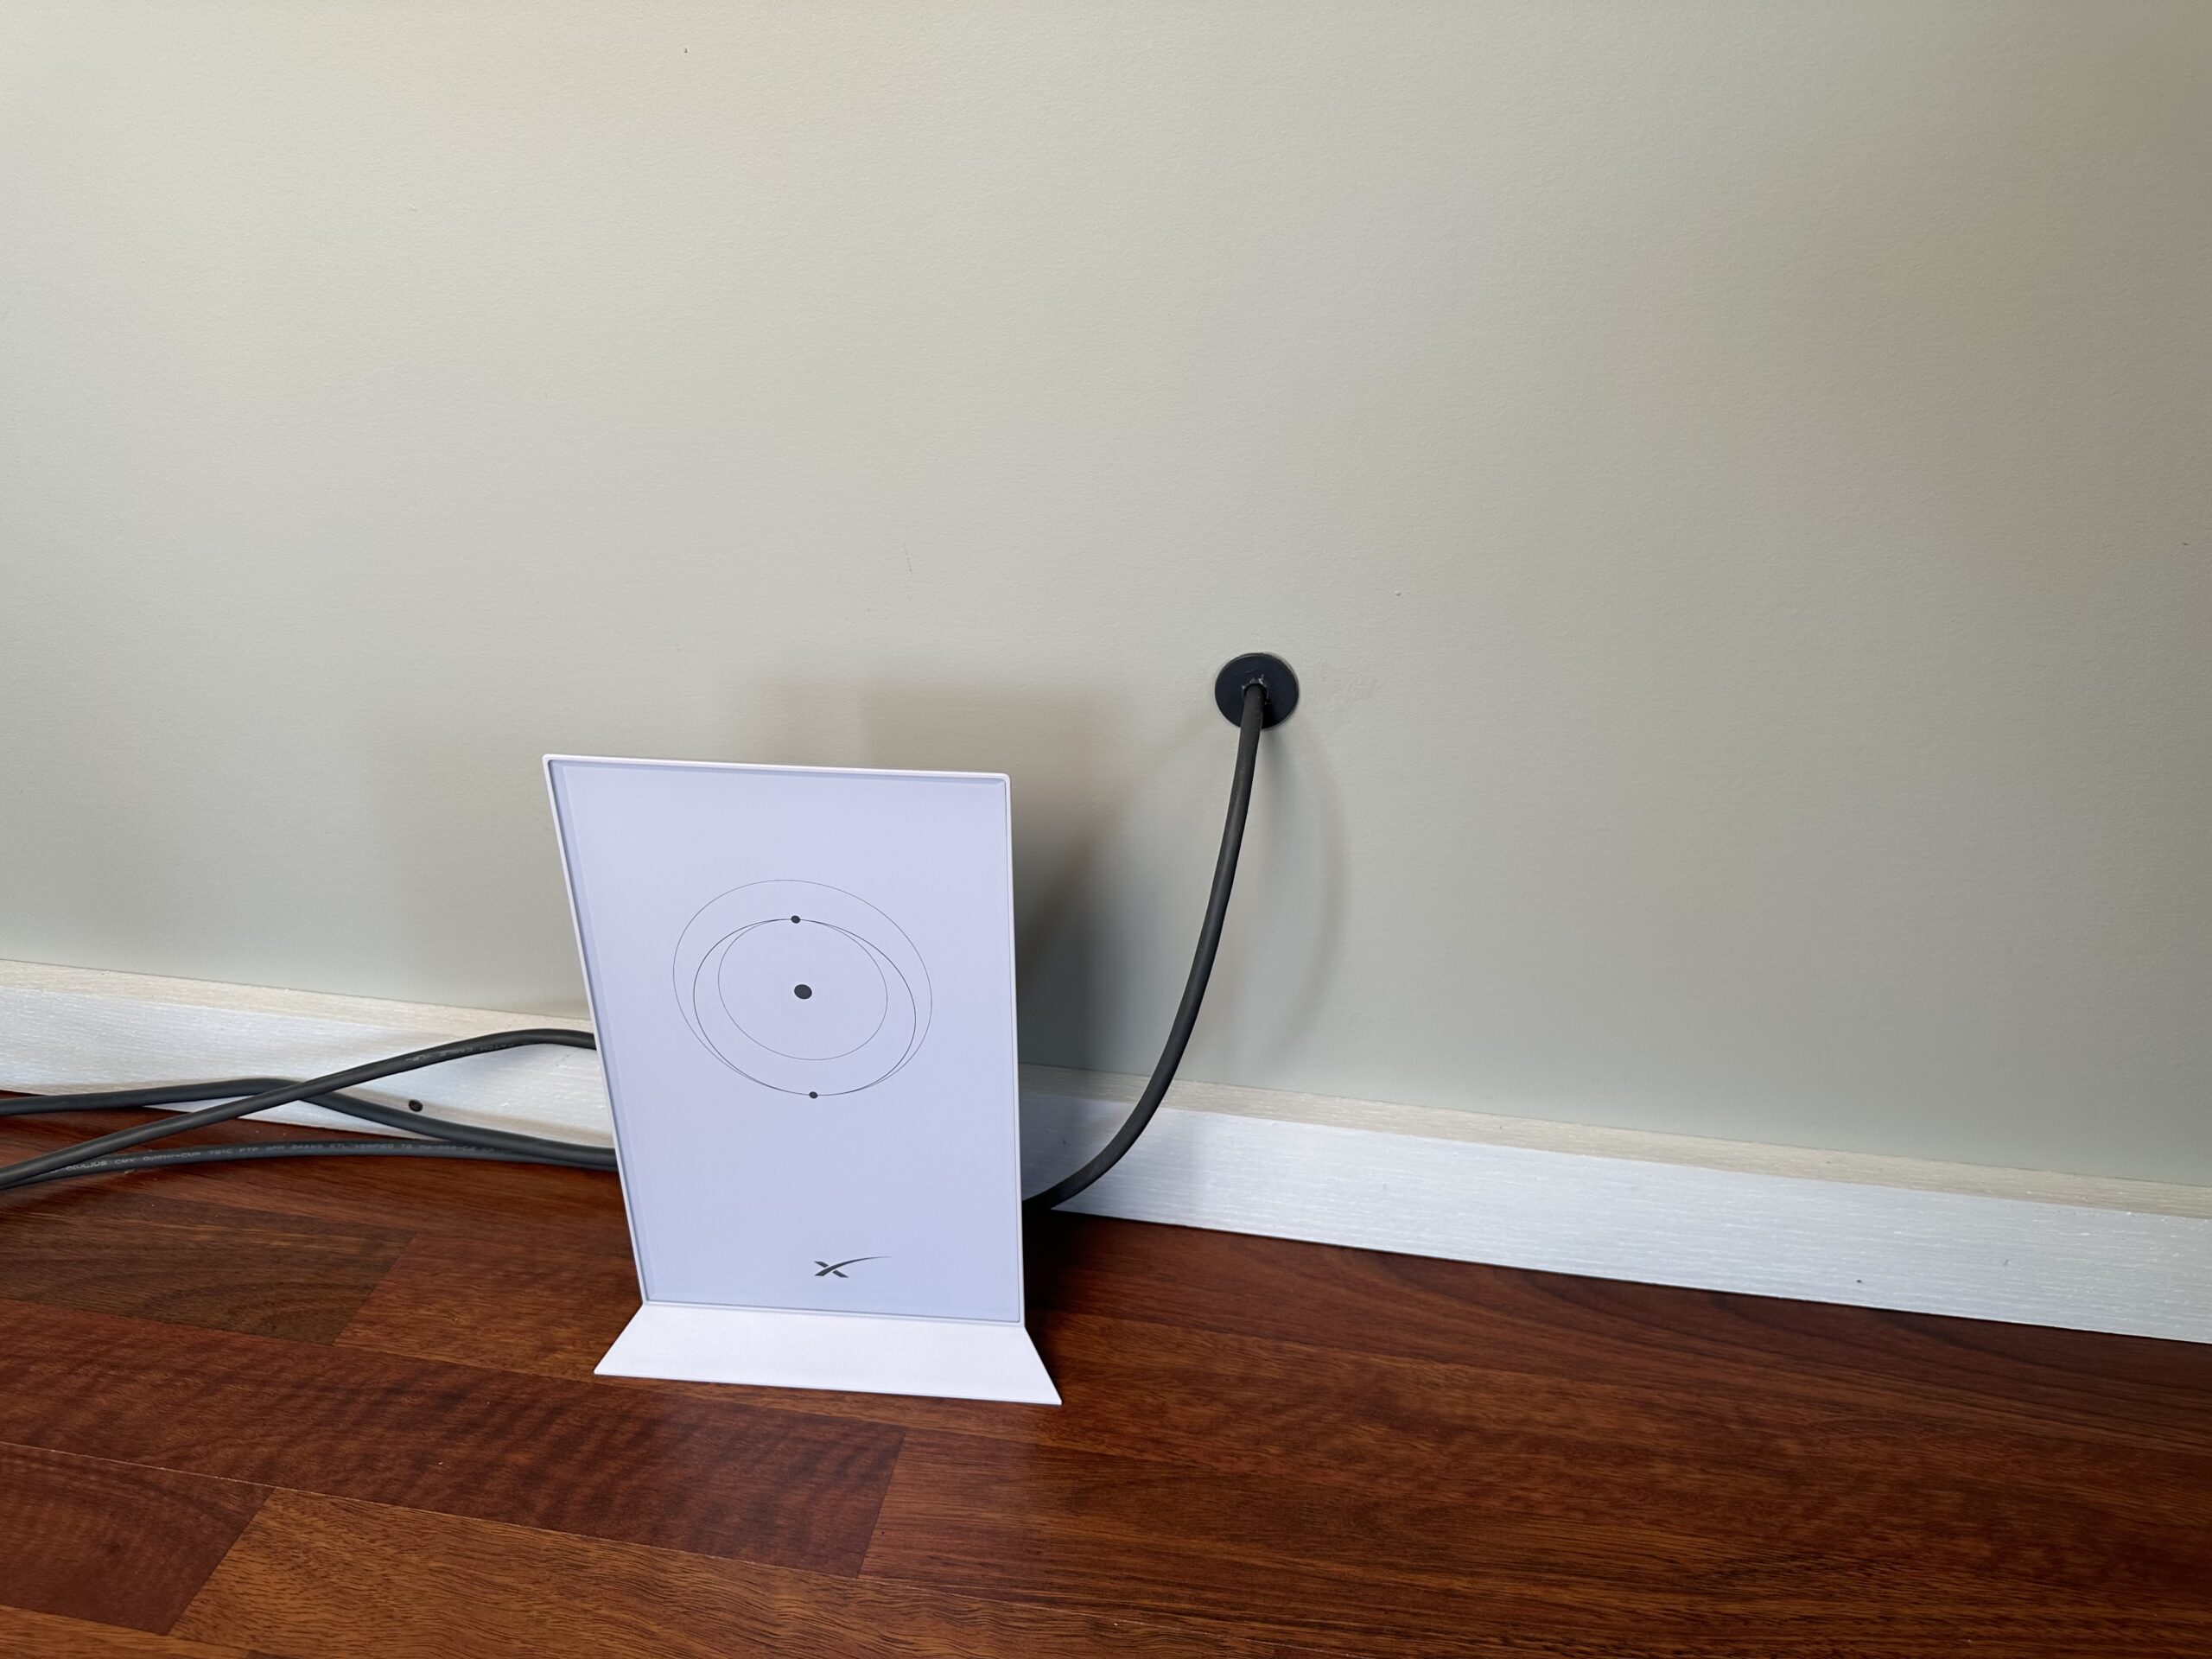
I originally installed my Starlink router next to an exterior wall, where the Starlink cable comes in. There weren’t any shelves or tables nearby to put the router on, so I just left it on the floor. I planned to secure it to the wall somehow, but back then, there weren’t any products made specifically for the Starlink router.
Note: This article may contain affiliate links for the products mentioned
I recently came across an accessory that looked like it would solve my problem. The ISEKIE Starlink Router Wall Mount gets your Gen 2 Starlink router off the ground, and out of the way. In this article, I will be going over what it is and what it does. I’ll show you how easy it is to install with a step by step tutorial. Finally, I will give you my review, and tell you if I recommend it.
Table of Contents
Features and Specs

#CommissionsEarned
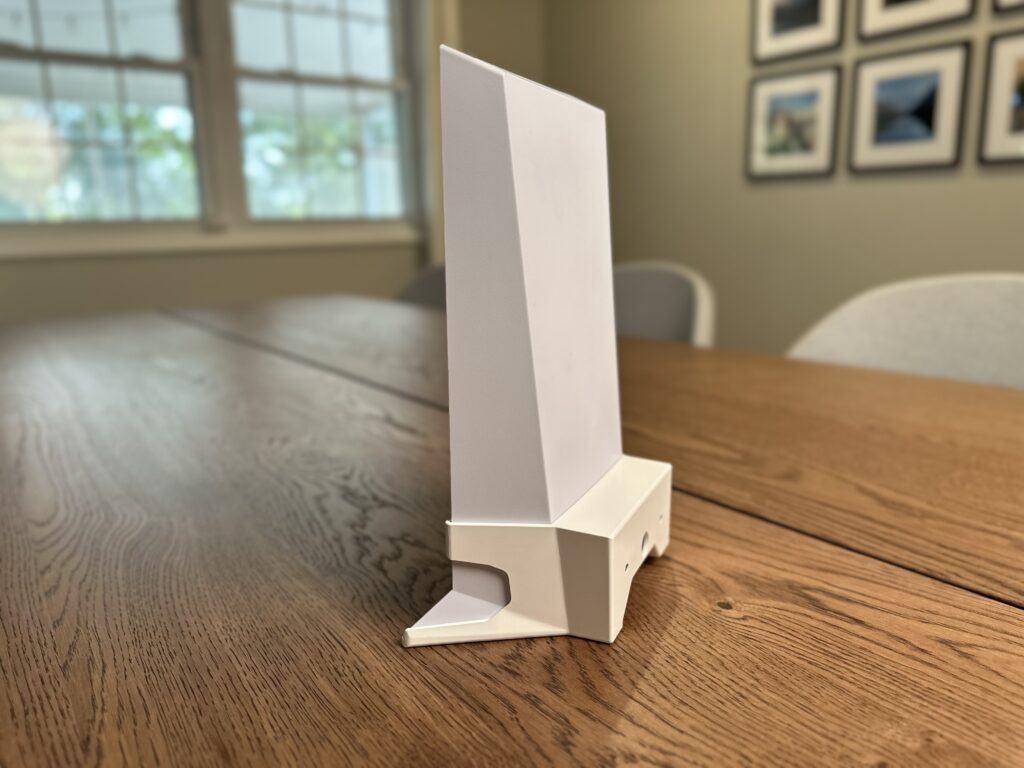
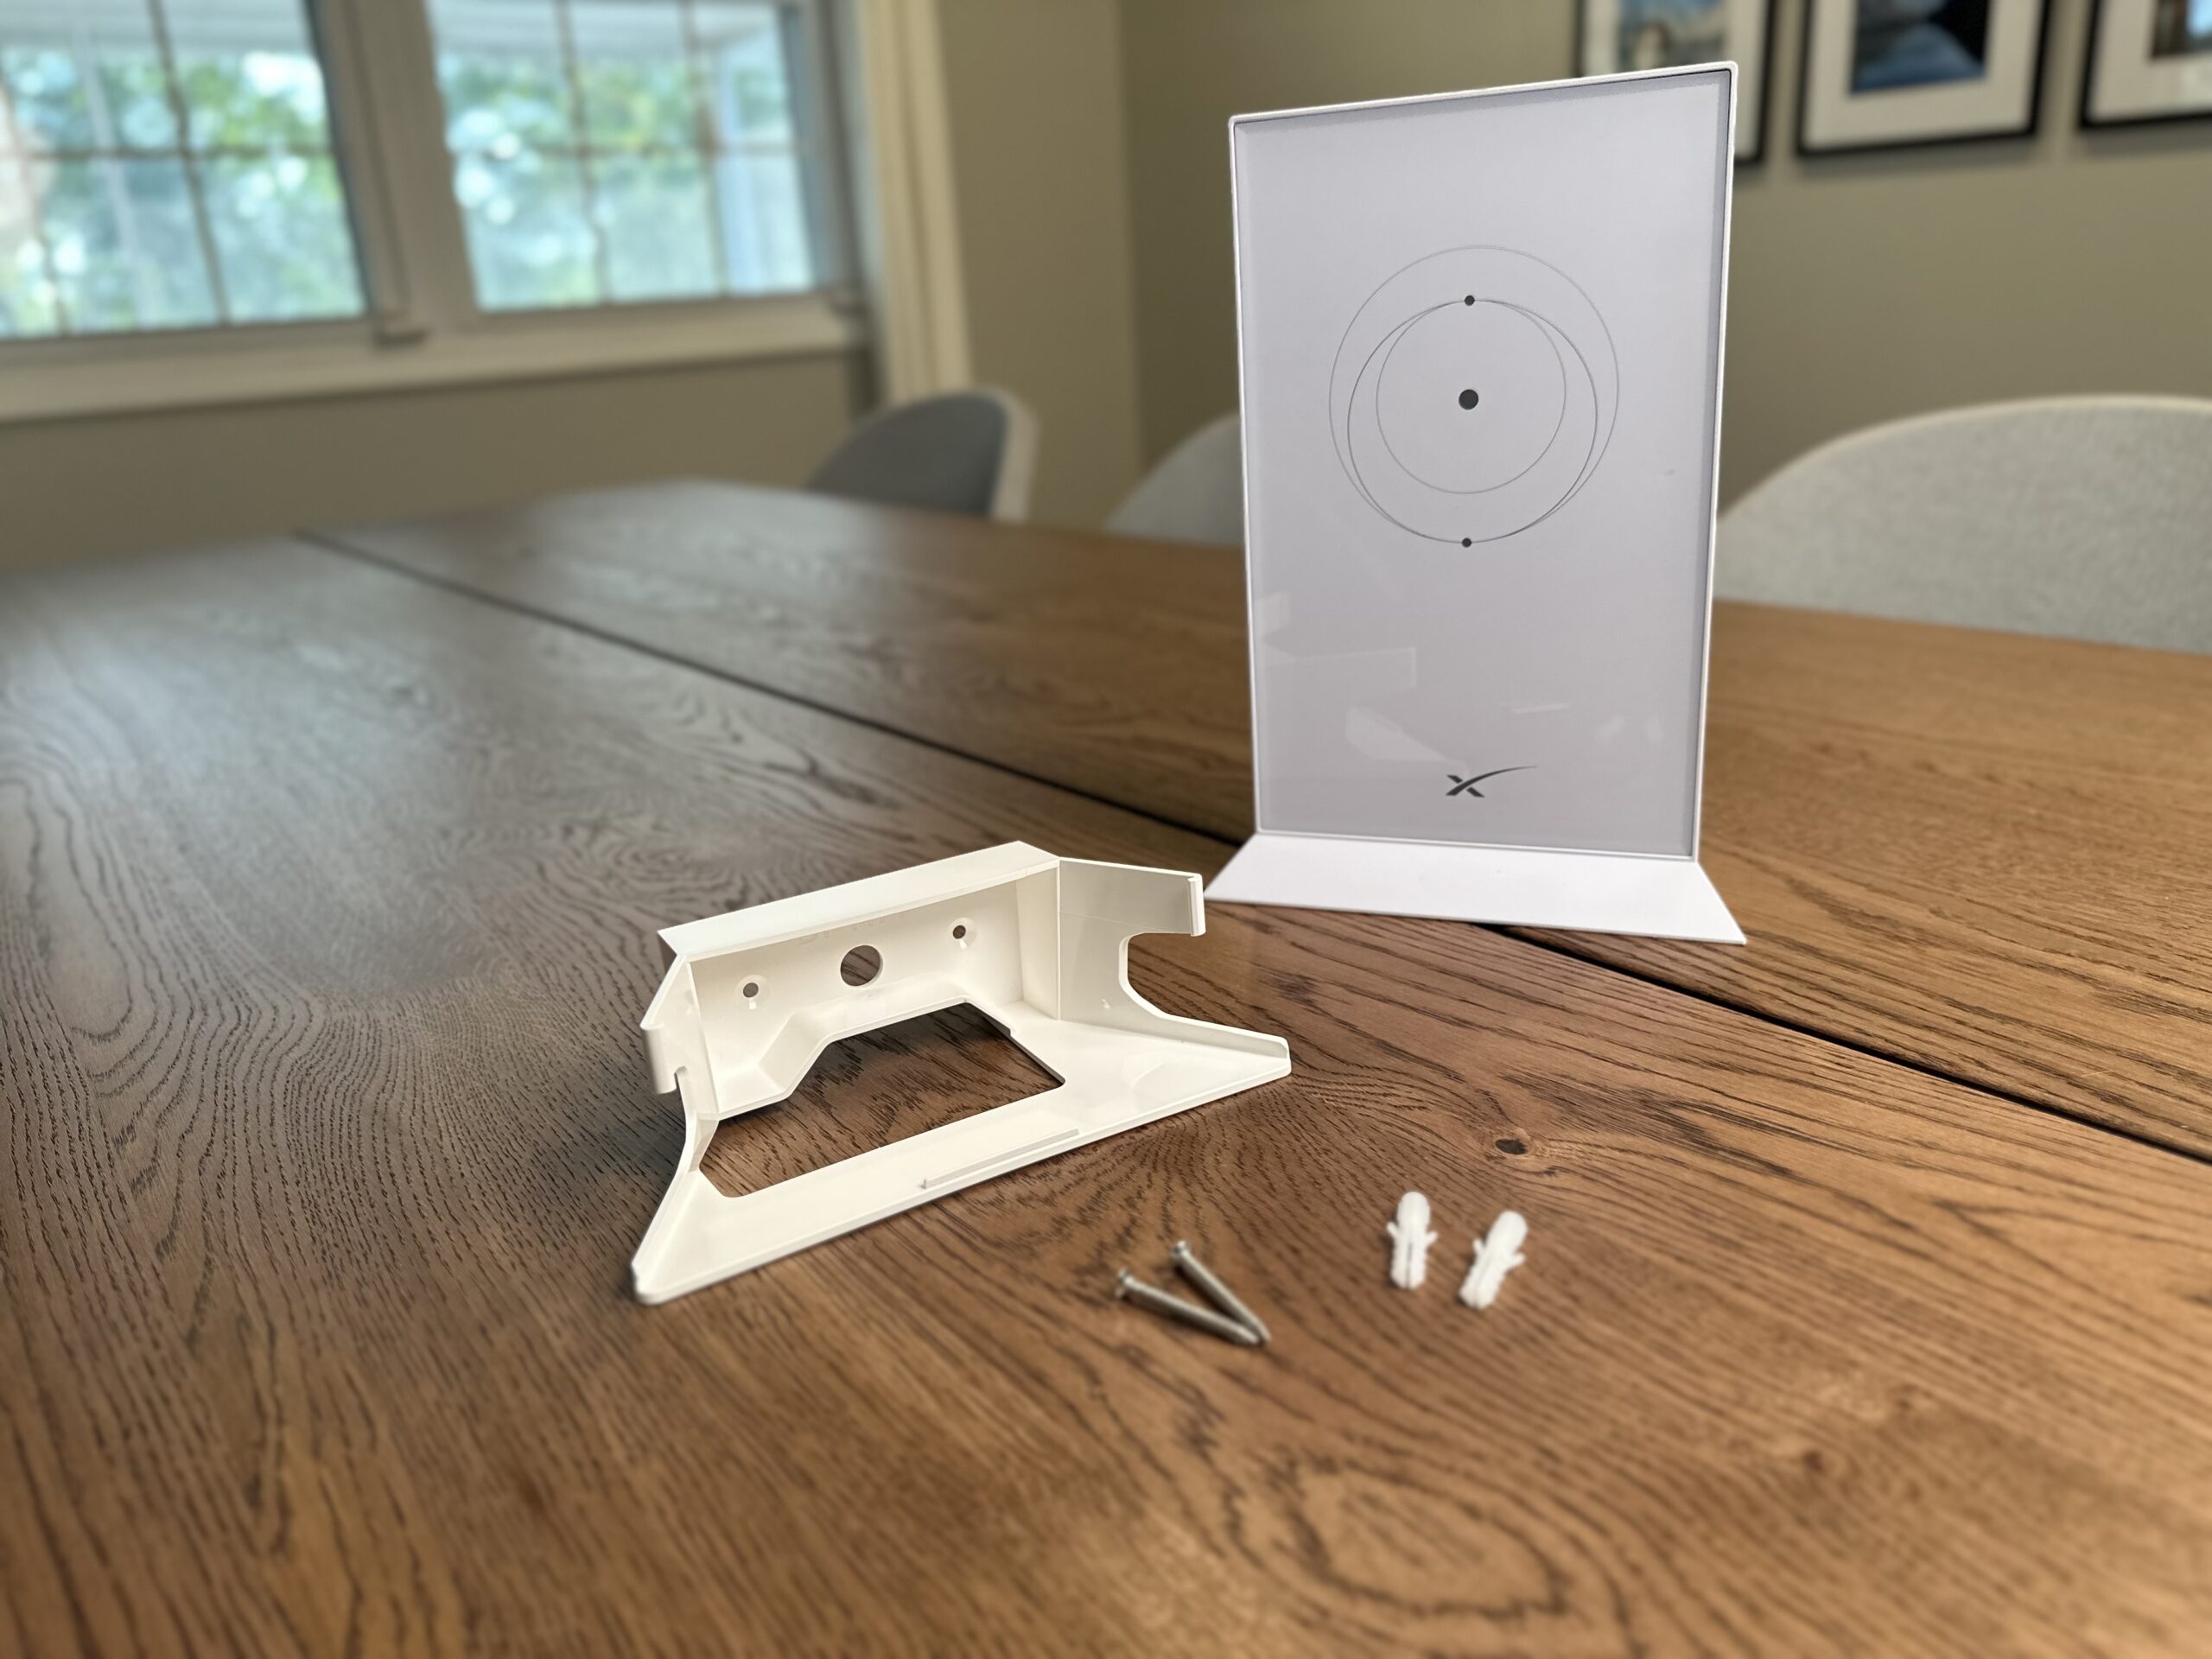
The ISEKIE router wall mount kit, model # DF1177, is made to secure a Starlink Gen 2 router or mesh node to a wall or other vertical surface. It can also be used as a router stand. It’s one piece of molded ABS plastic, and comes in a white finish that matches the Starlink router quite well. I bought it from Amazon for under $20.

You secure the wall mount to wood or drywall with the included screws and drywall anchors. There are two holes on the back of the mount for the screws. The mount itself measures 7.16 inches wide, 2 inches tall, and 3.5 inches deep. It weighs just a couple of ounces.
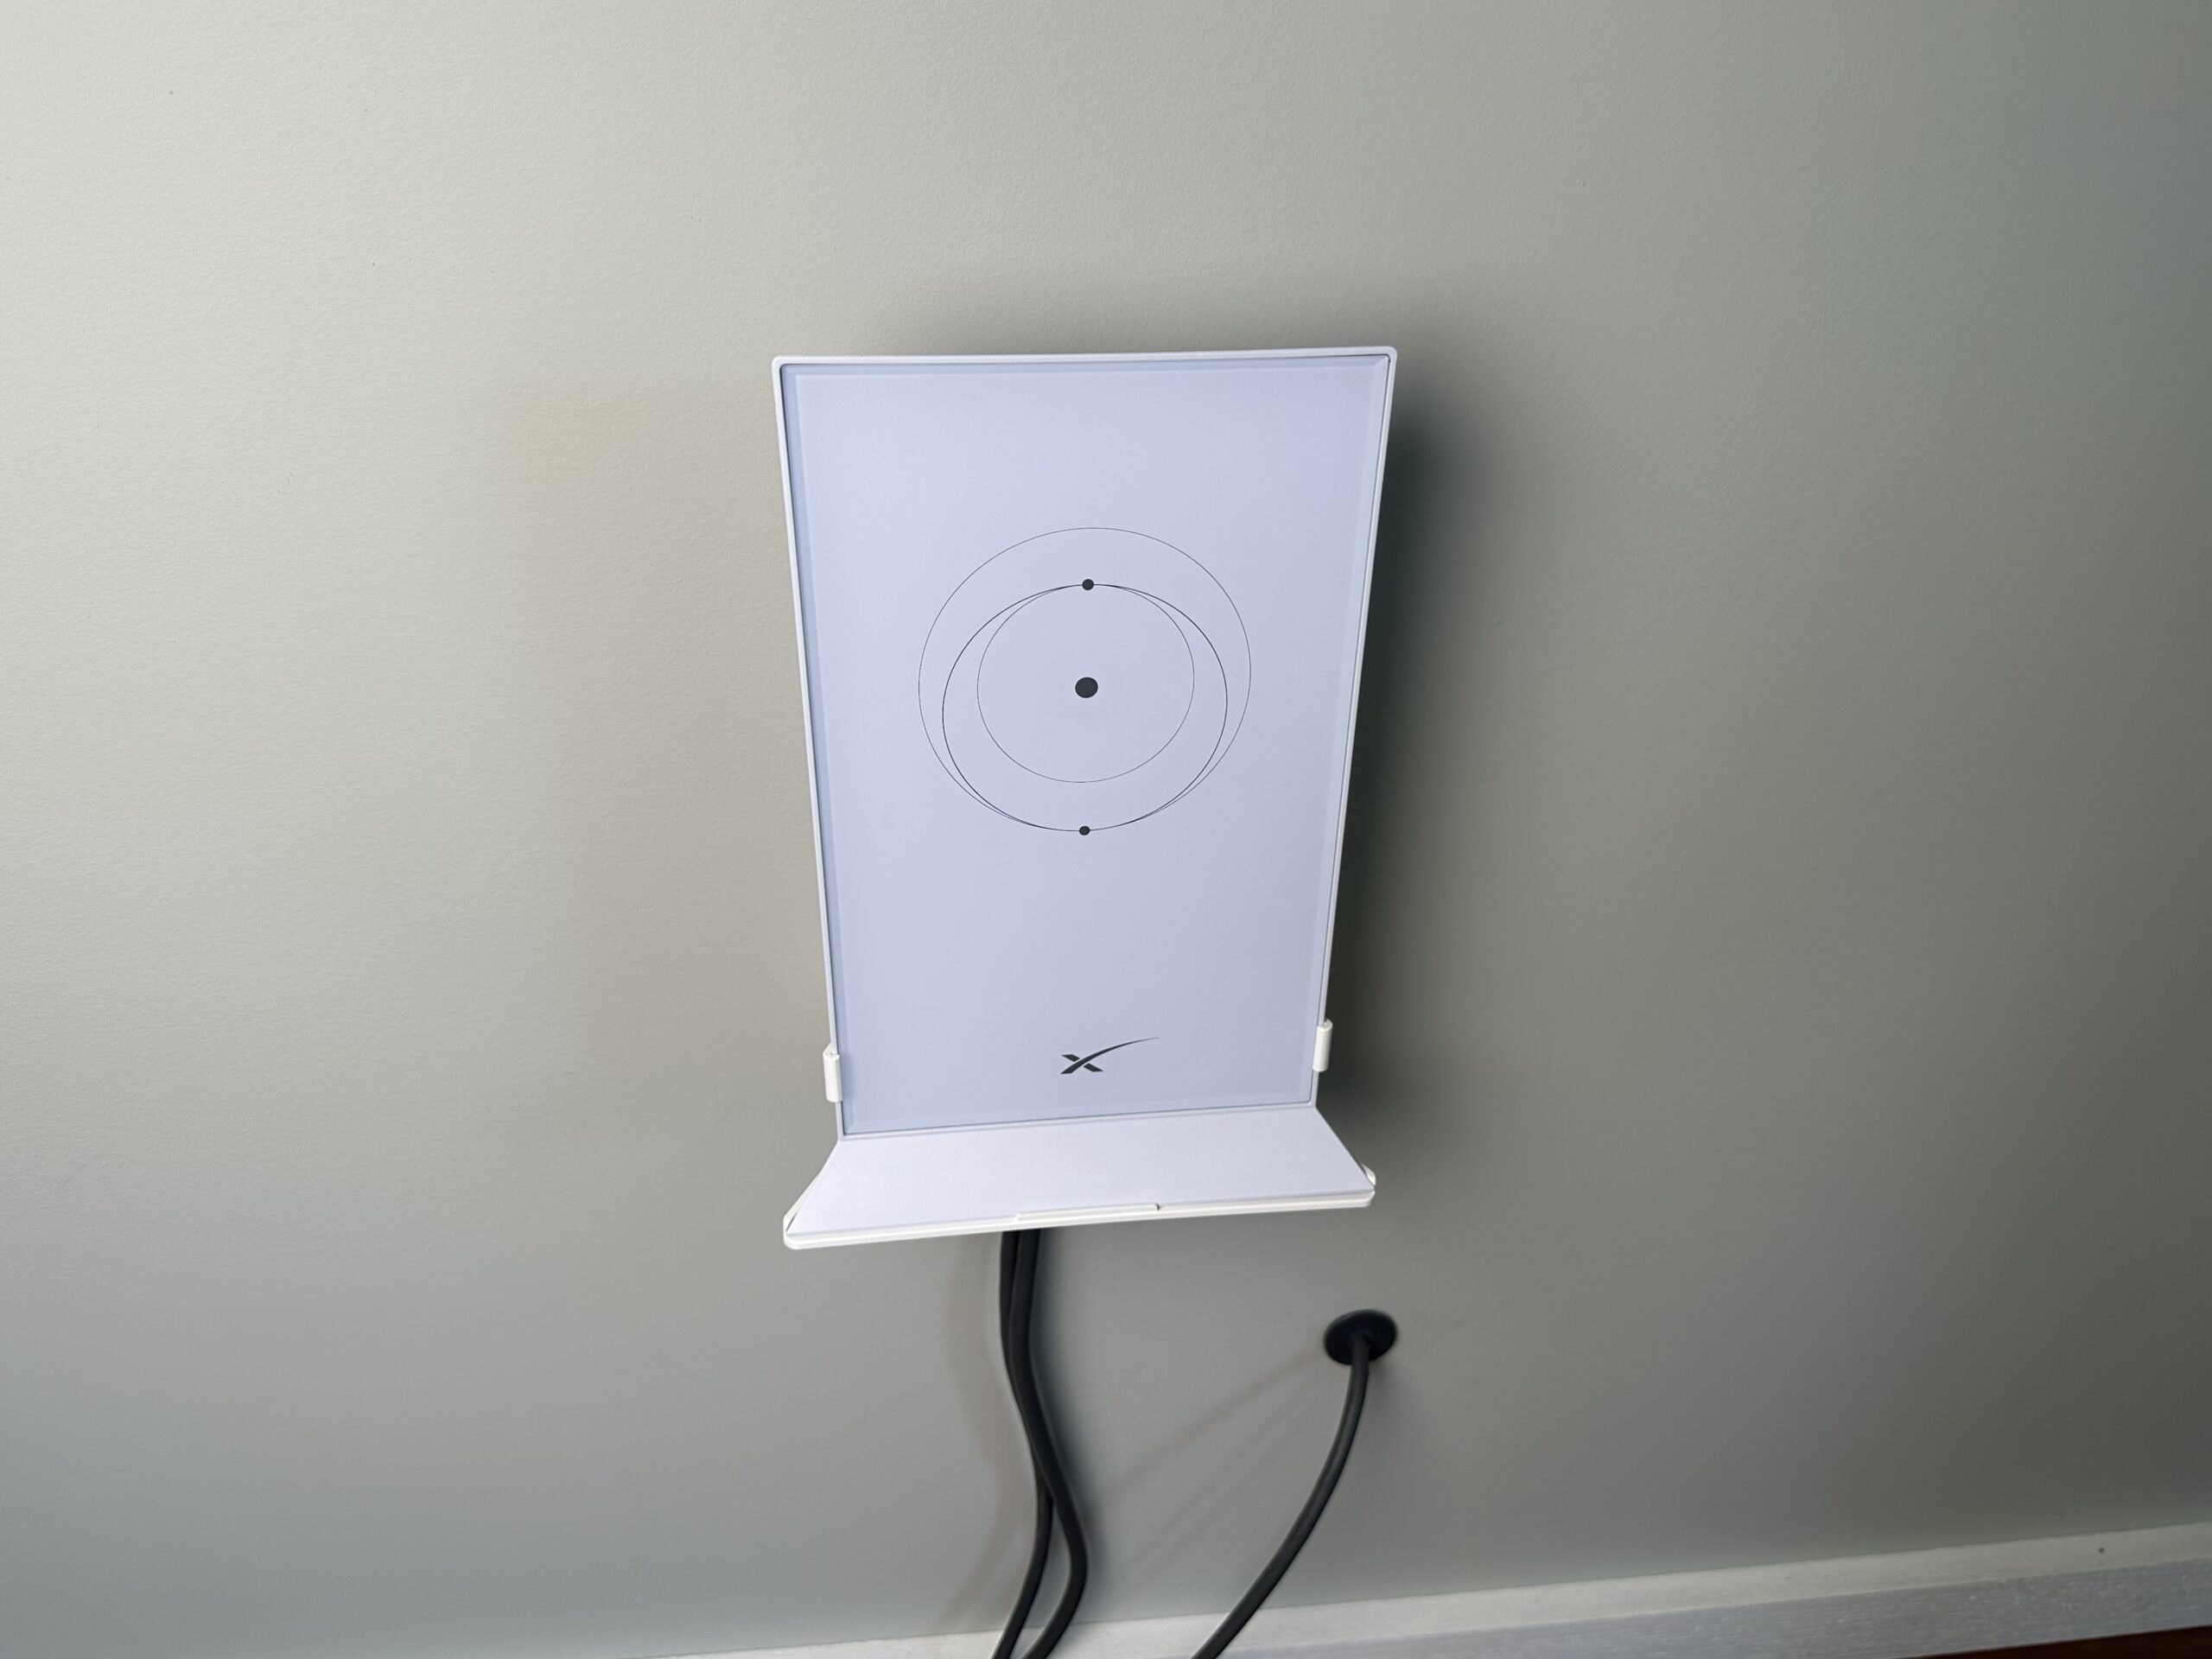
Once installed, the Starlink router snaps securely into the mount with a few tabs holding it in place. You can easily remove it if necessary by pressing outward on the two side tabs. The router cables come up through the bottom of the mount (or the back if you are using it as a router stand on a desk) for clean cable management.
Installation
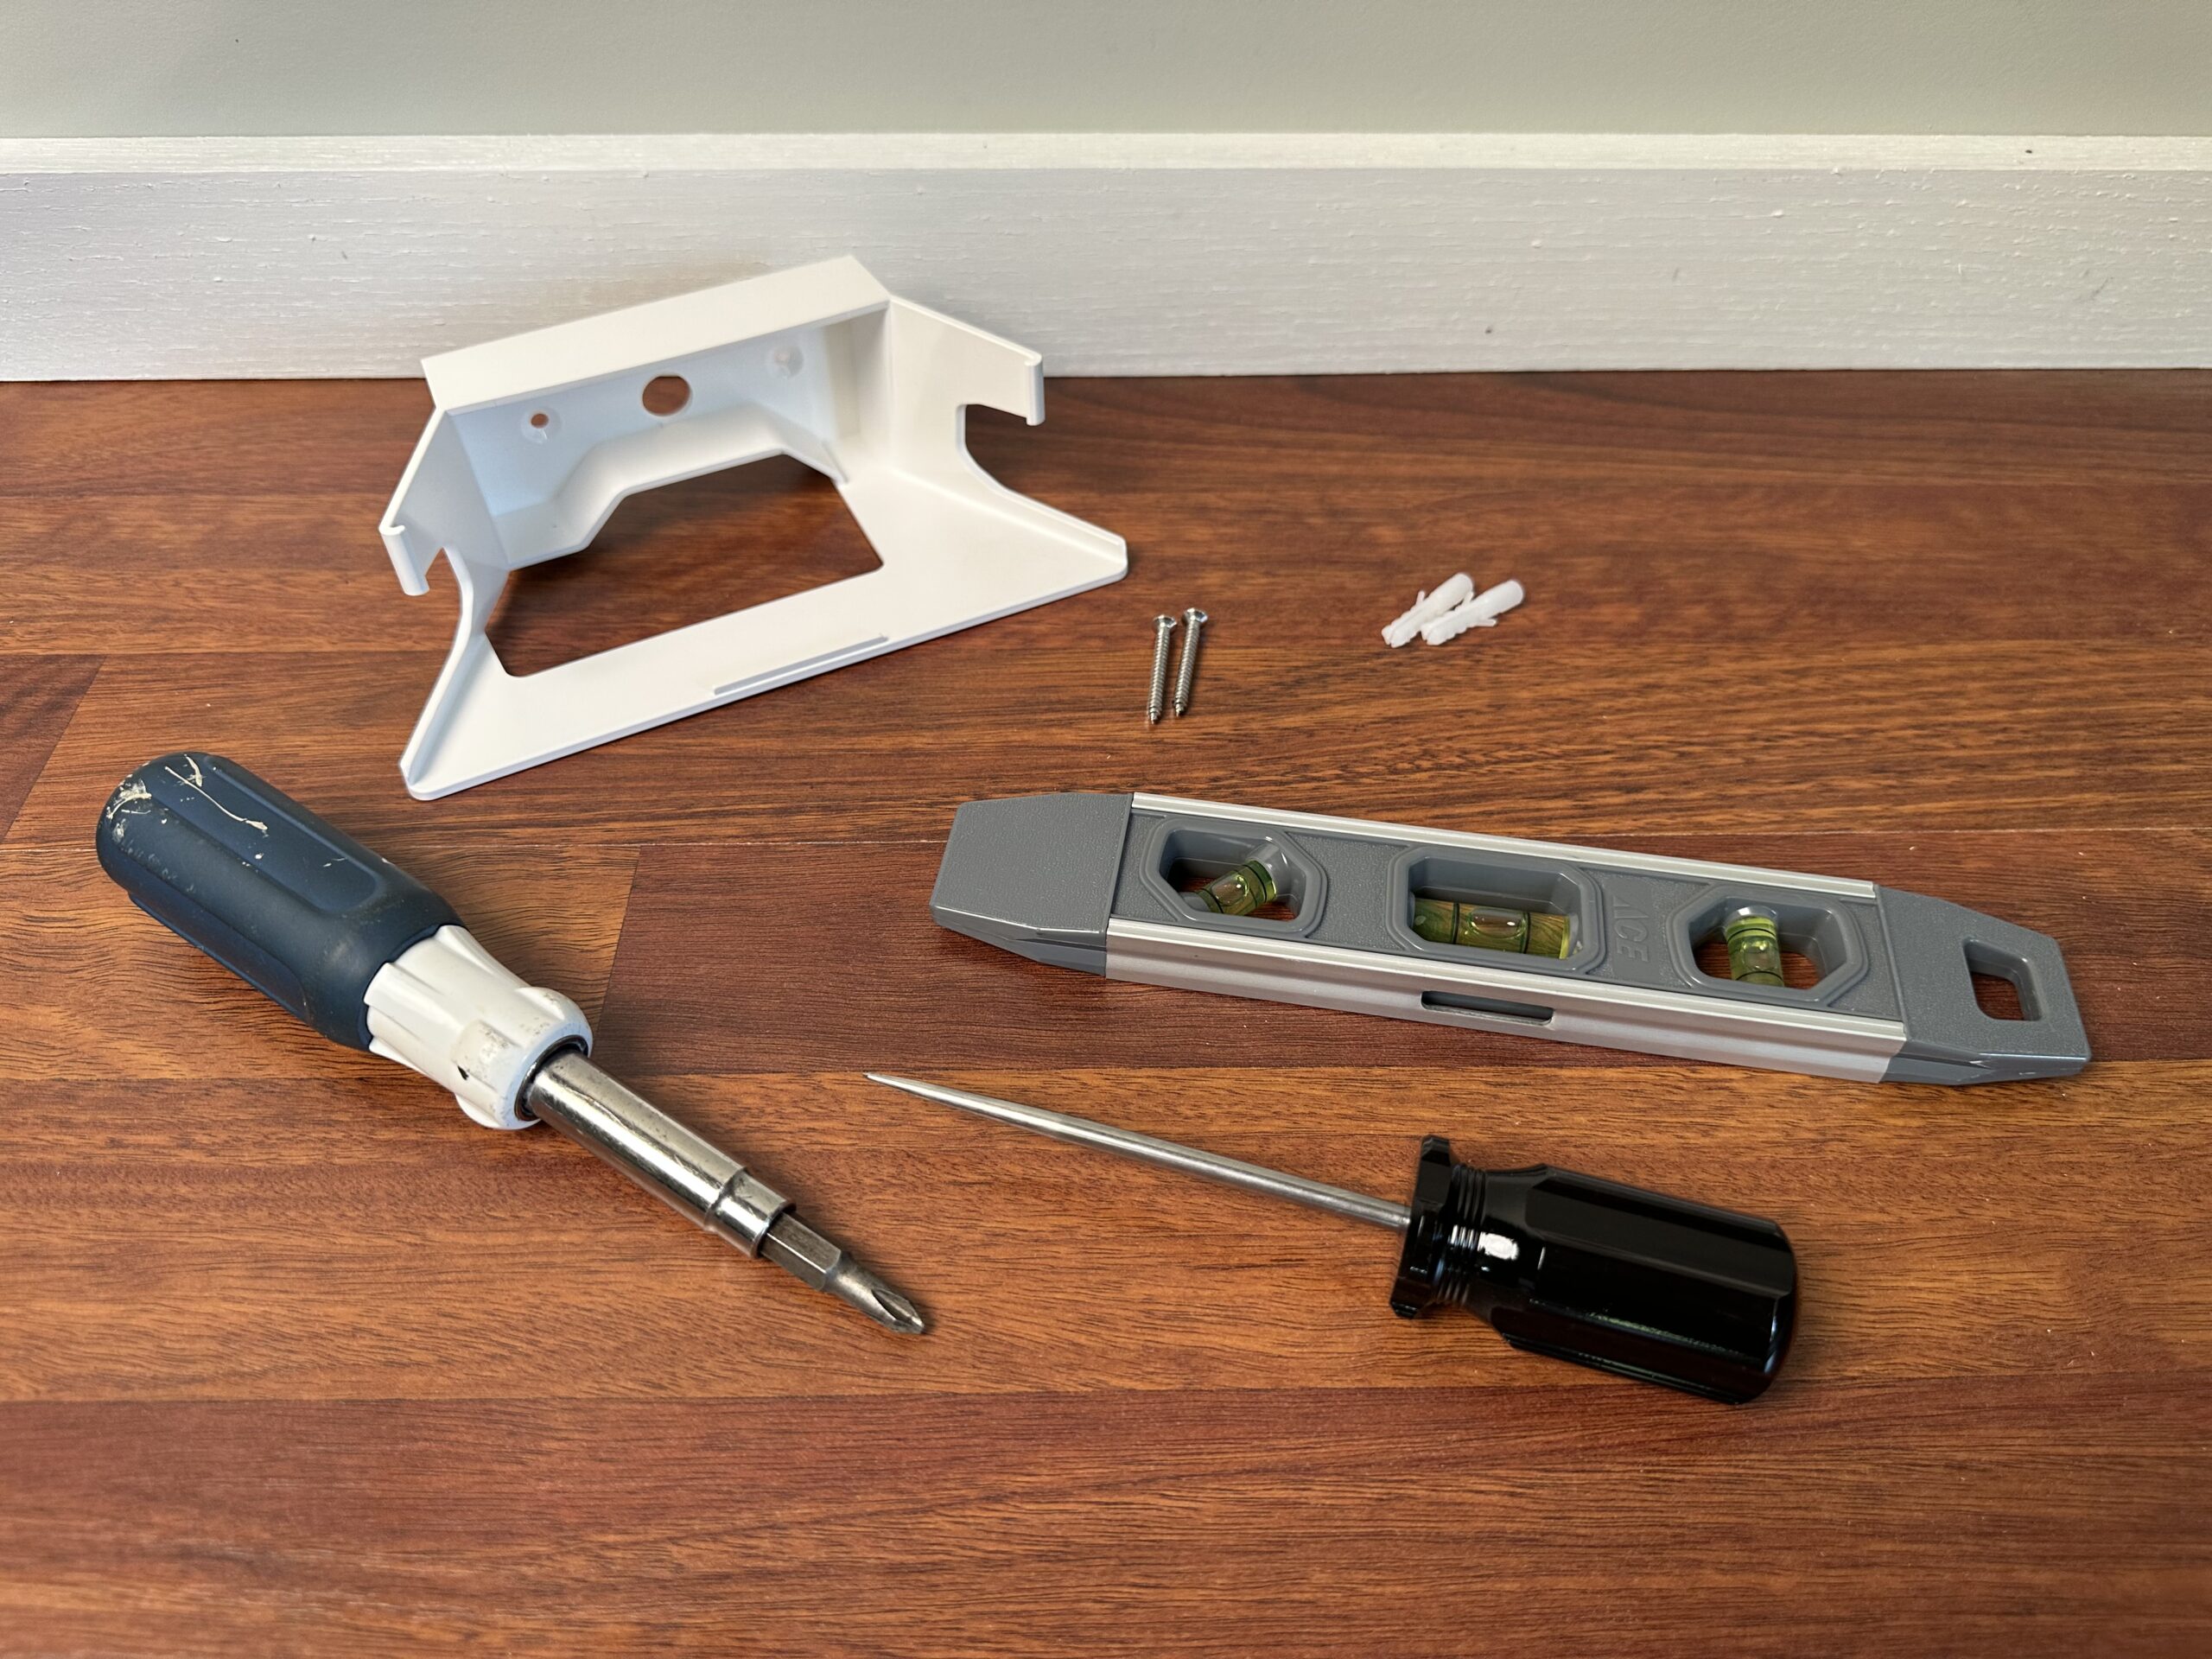
Installing the ISEKIE wall mount is pretty simple, with just a few steps. I’ll show you how I installed it to drywall. Here are the tools that I recommend for this project:
- Philips head screwdriver
- Awe (if securing to drywall)
- Level
Step 1 – Mark the mounting location
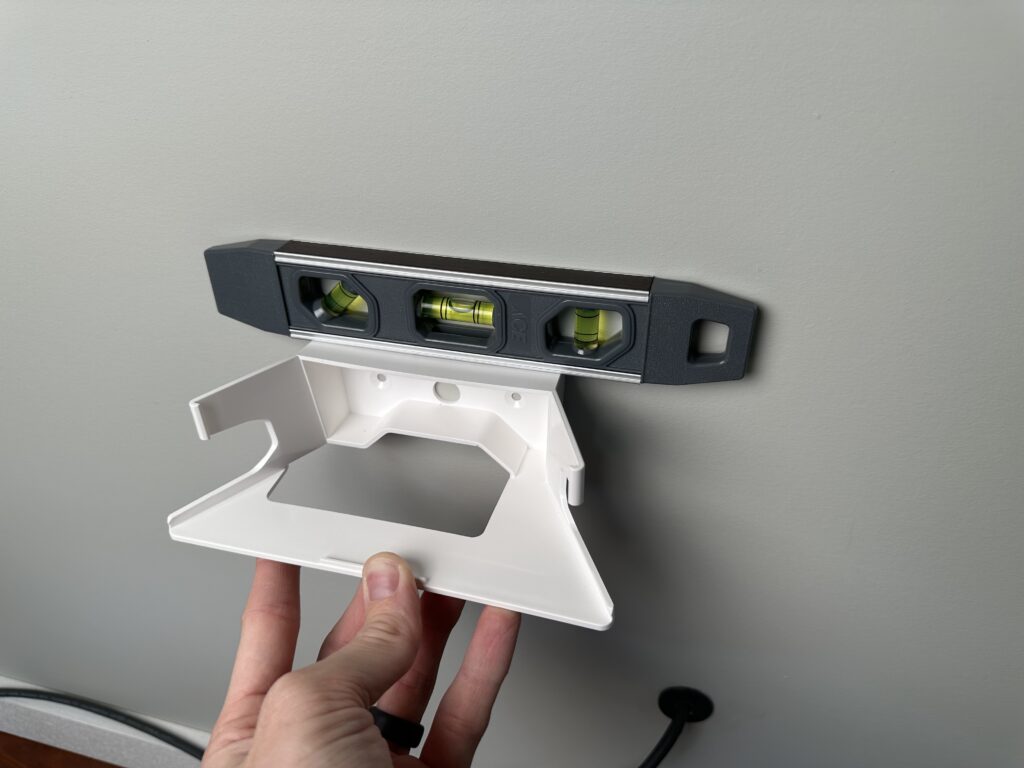
Pick a spot on the wall without studs, electrical wires, or plumbing. Ideally, the mounting location should be near an AC outlet and your Starlink cable. I decided to mount the router a couple feet off the floor, close to where my Starlink cable is coming through the house.
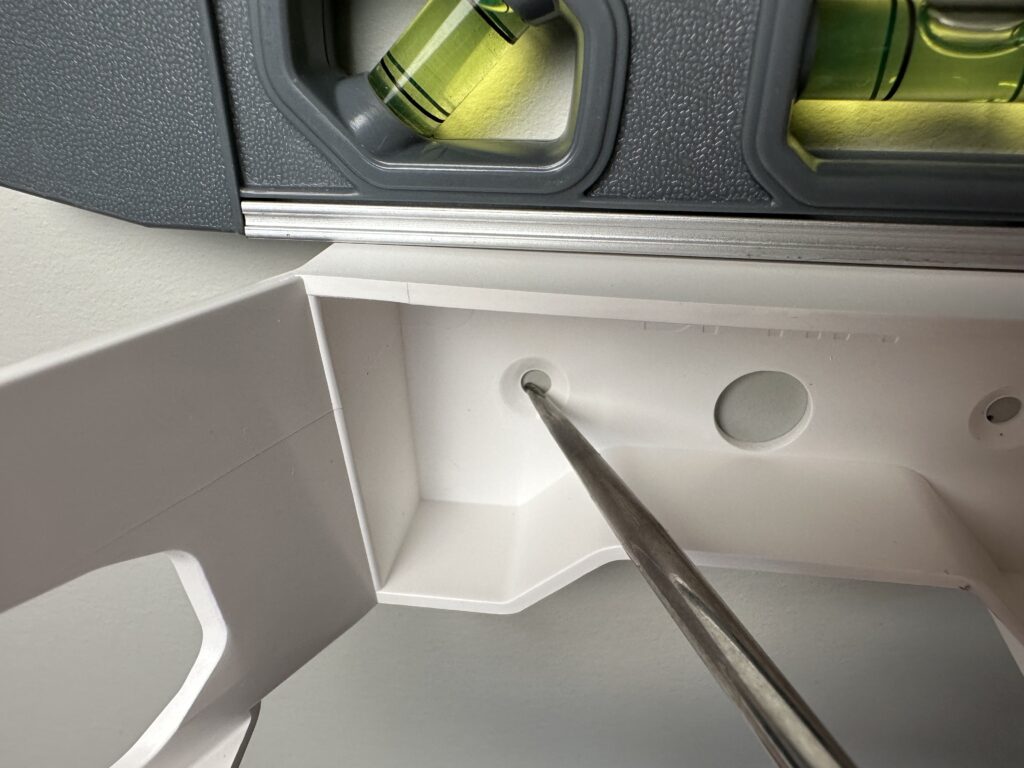
Start by holding the mount in the desired location. If you have a level, use it to get it just right. You can also just eyeball it if you don’t have a level. Once you have it in the perfect spot, use an awe (or a screwdriver if you don’t have an awe) to mark the location of the two screw holes on the mount.
Step 2 – Install the drywall anchors
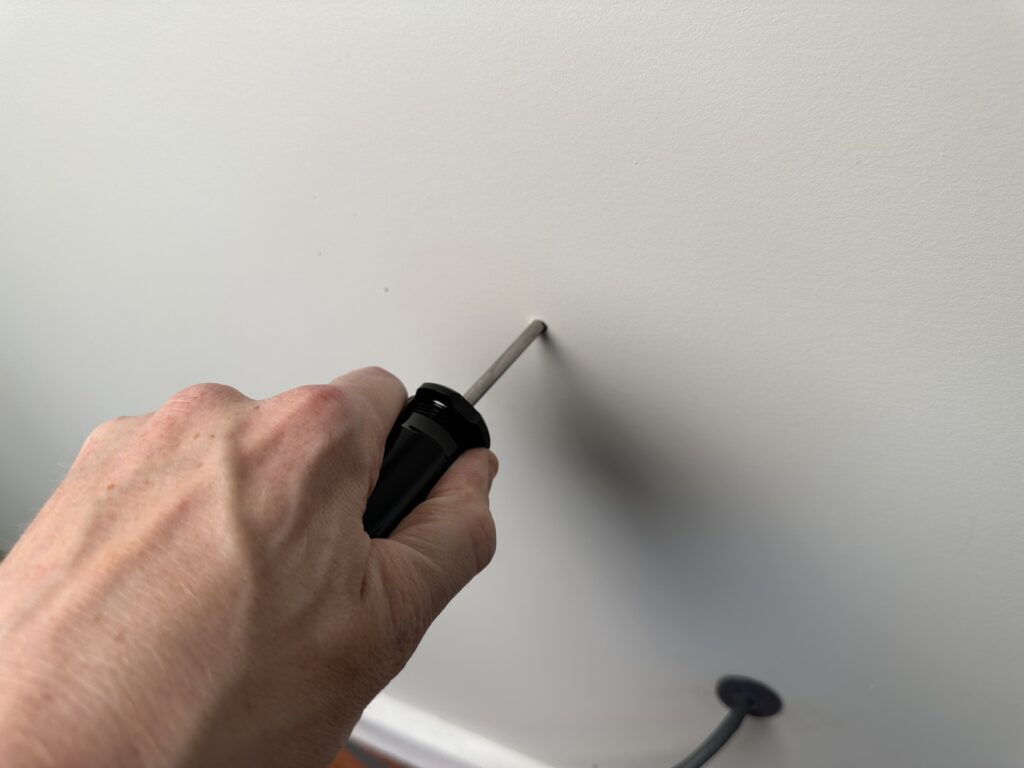
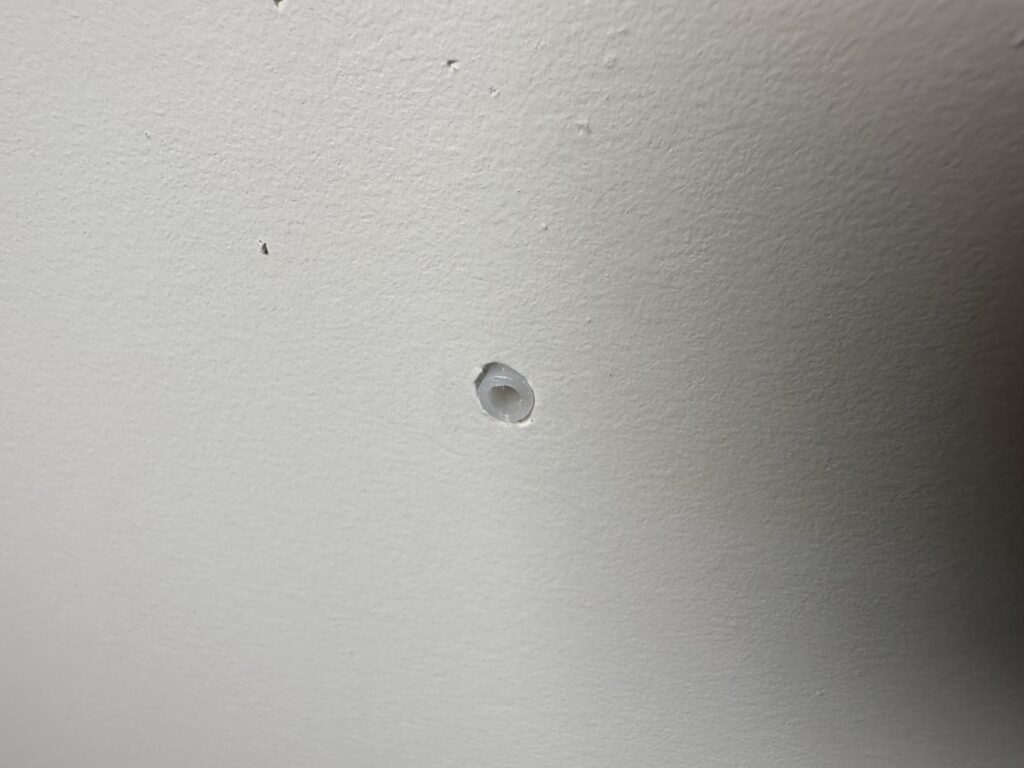
Move the mount away, and use the awe to create a hole in the drywall in both locations that you marked. The hole just needs to be big enough to allow the drywall anchors to be tapped into place. Once you have poked both holes, insert the drywall anchors, and tap them into place with the handle of your screwdriver. The anchors should sit flush with the drywall.
Step 3 – Screw the mount to the wall
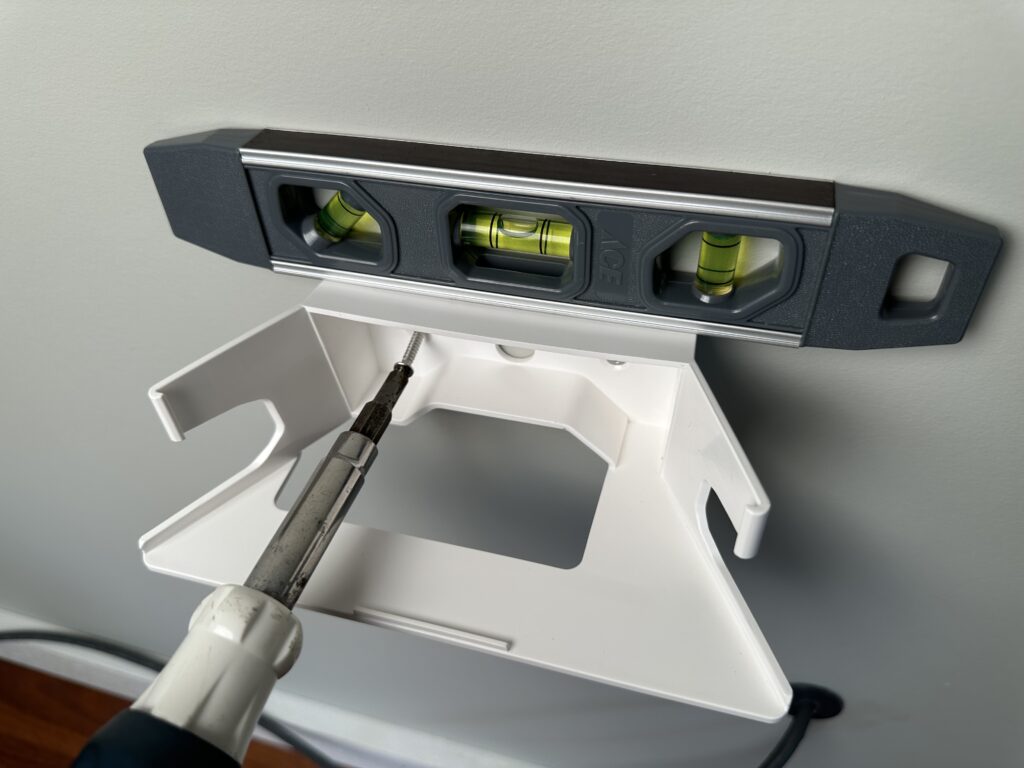

Put the wall mount back in place, and make sure your screw holes line up properly with the drywall anchors. Use a screwdriver to drive in the two included screws, being careful not to over tighten. Also be careful not to push the drywall anchors past the drywall. If you have a level, double check to make sure the mount is level before the final few turns of the screws.
Step 4 – Install the Starlink router
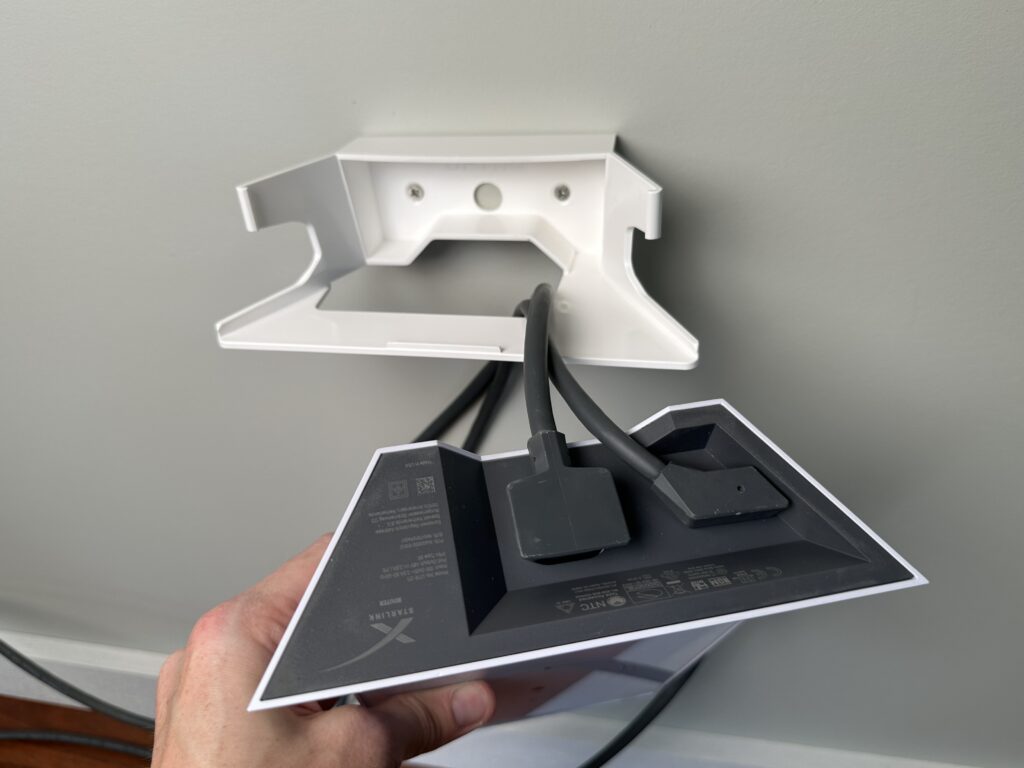
Route the Starlink cable and AC power cord up through the bottom of the mount, and plug them into the Starlink router. Then, snap the router into the mount.
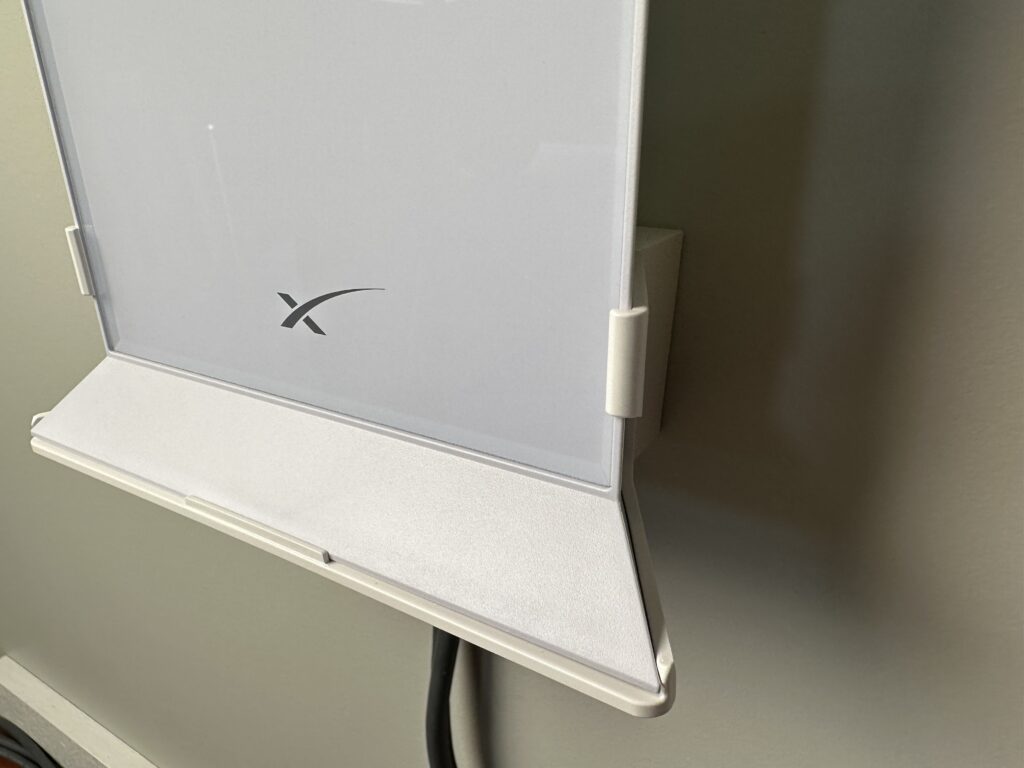
That’s it! You can route the cables however you like from here. I had access to an AC outlet nearby, so I just let the power cable drop from the mount, and routed it along the floor to the plug. If you have excess Starlink cable, or even a Starlink Ethernet Adapter, you can tuck it neatly in the space between the wall and the router for an ultra clean look.
Review
The ISEKIE Starlink Router Wall Mount is very affordable, and includes everything needed to mount a Gen 2 router on a wall. Although it is made of plastic, it feels sturdy and tough enough to last for many years. I found that the white finish blends right in with the plastic on the Starlink router.
Although the included instructions didn’t have much detail, I found the installation process to be very simple and easy to figure out. The kit includes drywall anchors and screws, so really all you need is a screwdriver to install this mount.
I appreciated the cable routing cutouts in the back/bottom of the mount. The cables are easy to get to, even when the router is in the mount. You can easily check the connections if needed. If you are using the mount as a desk stand, the cables can still be routed out of the back, resulting in a very clean look.
The Starlink router snapped right in and felt secure. I’m not worried about the router falling out or anything like that. The clever tab system locks the router in place, but you can easily remove it again by applying some pressure to the side tabs on the mount.
Final Thoughts
Overall, I highly recommend this ISEKIE wall mount if you are needing to mount your Starlink router or mesh node to a wall. It does exactly what it was designed for, without being overly complex. You can create a clean look in any room by mounting your router up on the wall, out of the way.
Bought a similar unit from amazon. Mounted it on dry wall. Mine slides into a track so there is a positive support front and back. Although this does not slide, it does have two clips that may fatigue if you make connection changes over time. THis looks easier to remove and gain access to the unit connections.
Hi Mate
Do you think this mount would work OK for a motorhome/RV ?
U think it’s solid enough?
Cheers 🍻
Yes it would be a great option for an RV.
My Starlink is off line and customer support is the worst I have ever seen!!!!! Fix it or give me my $800.00 back!
This blog isn’t associated with Starlink or SpaceX, so I suggest contacting them directly for a refund.