
The Starlink Pipe Adapter is an official accessory from Starlink that allows you to attach your dish to any pole, mast, or J-mount. It’s a simple piece of hardware that gives you a lot of flexibility in where you can mount your Starlink dish.
I get this question a lot: “Can I reuse my old satellite dish mount?” With the Pipe Adapter, the answer is yes! Since it is compatible with virtually any kind of pole, the Pipe Adapter can be used in many different ways. Maybe you have an old HughesNet or Viasat J-mount already installed on your roof, or maybe you need to secure your dish to a brand new custom mount.
In this article, I’m going to go over all the features and specs of the Starlink Pipe Adapter. I will show you how to install it with a step by step guide. Finally, I’ll give you my thoughts about the quality and functionality, and let you know if I recommend purchasing it.
Note: This article may contain affiliate links for the products mentioned
Table of Contents
Overview
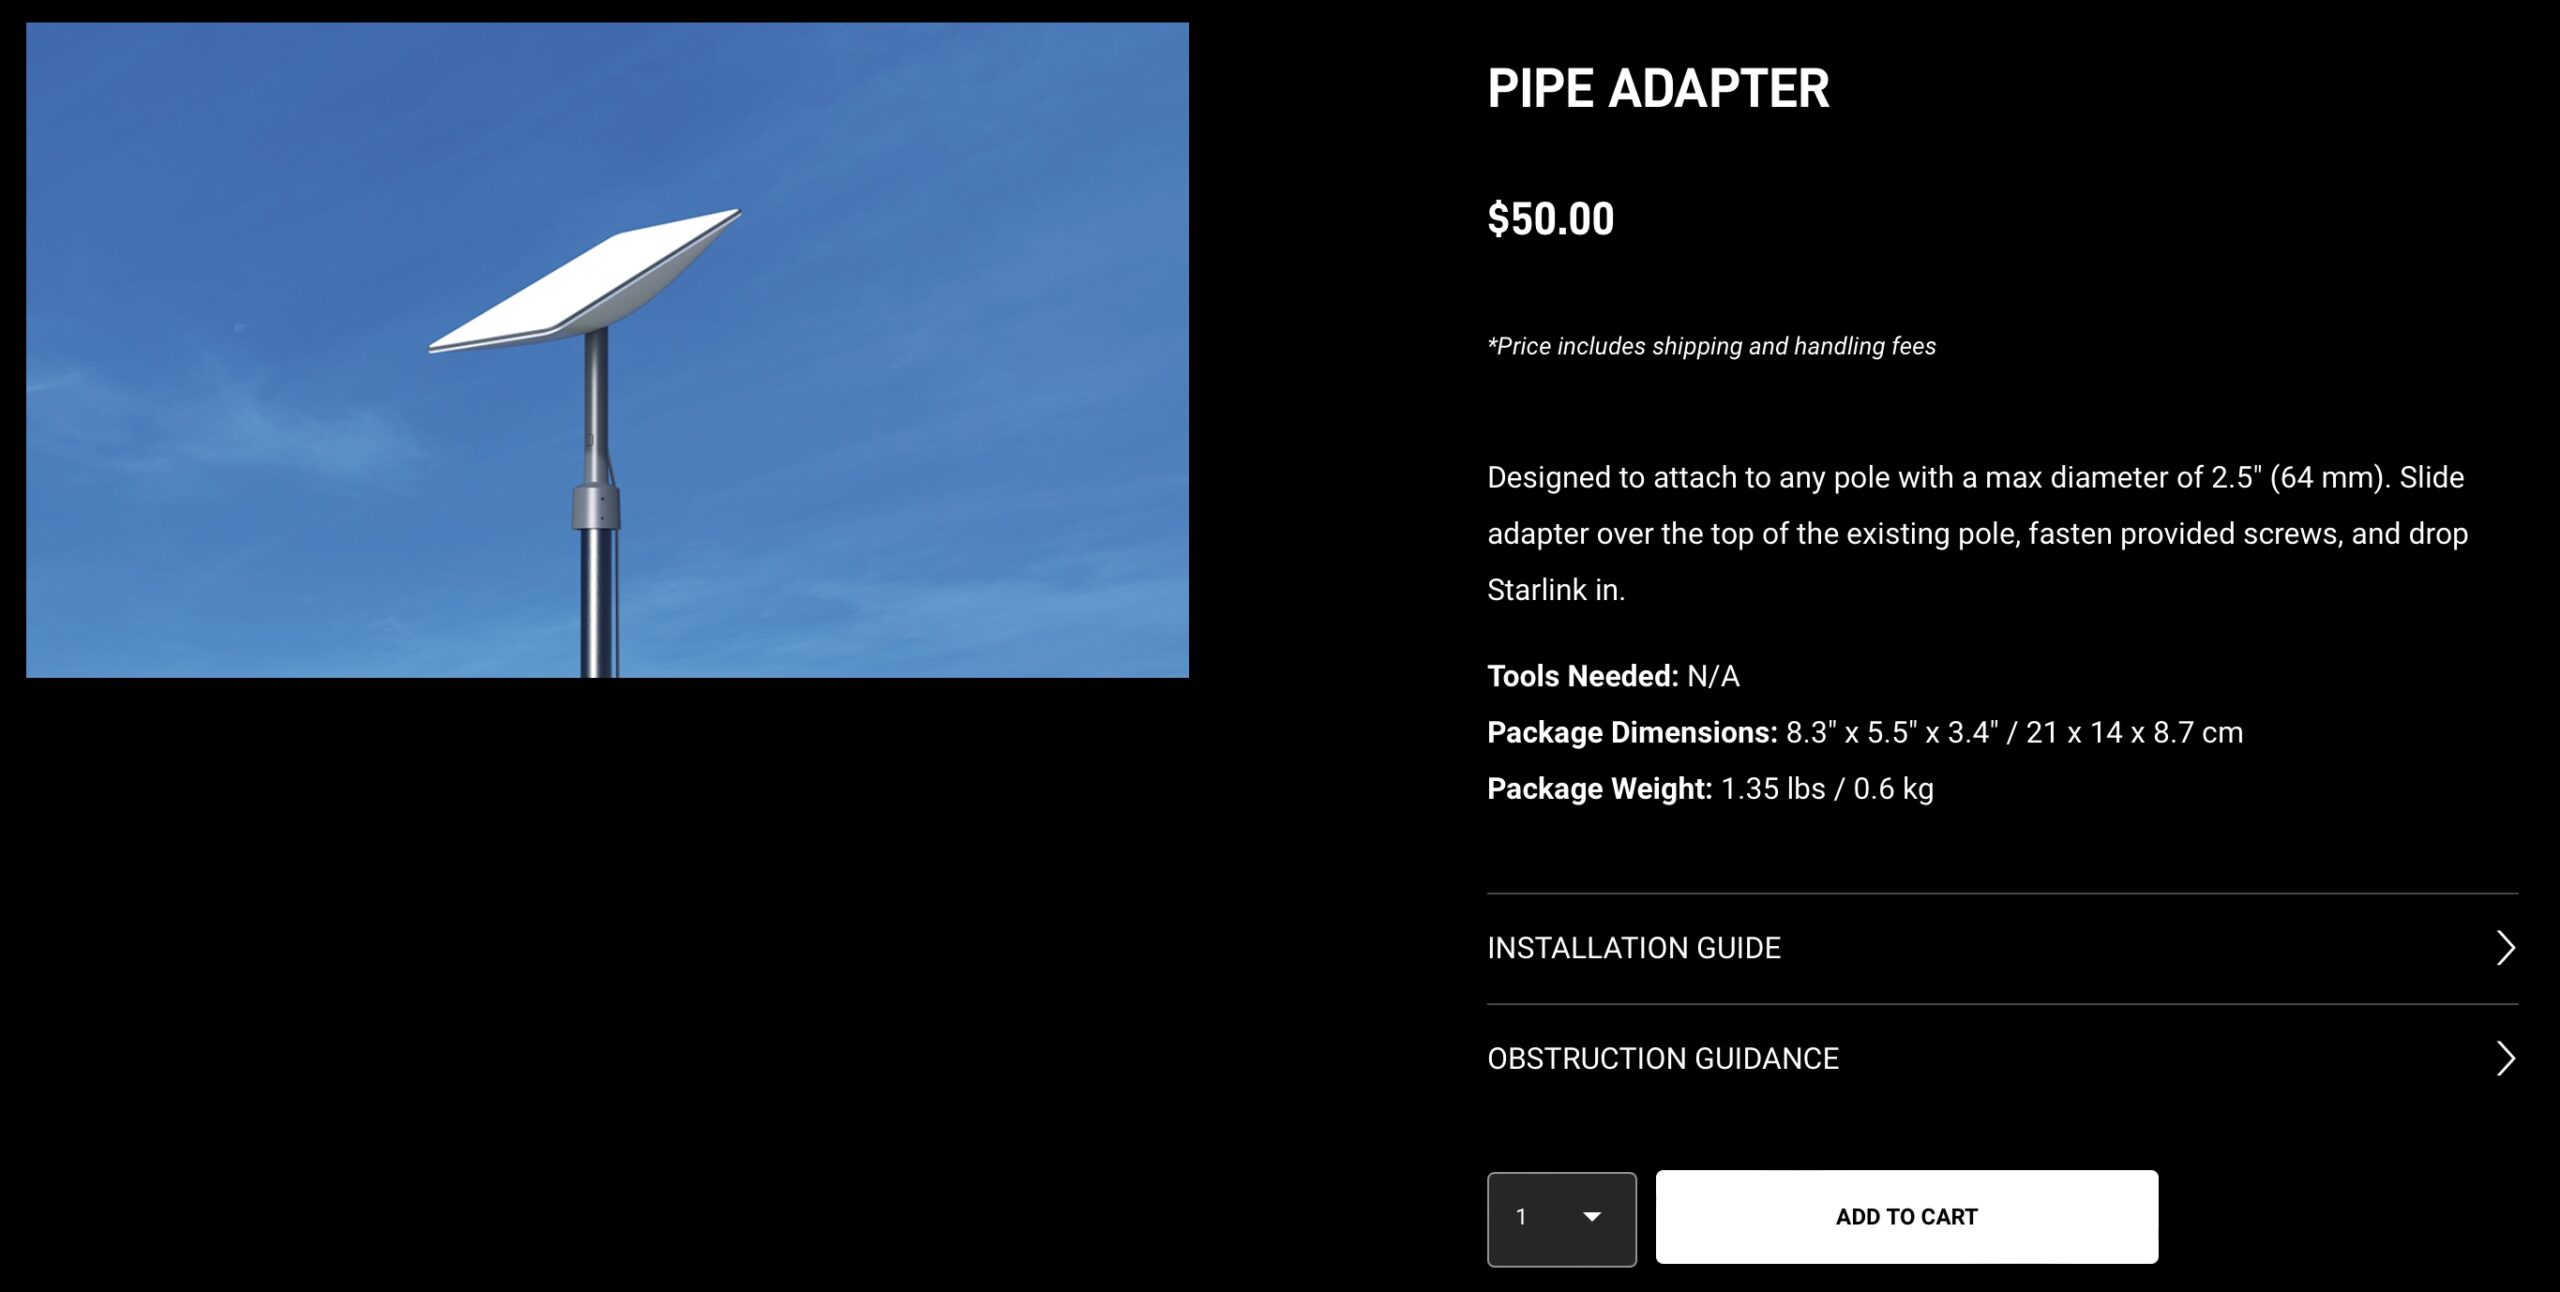
I purchased the Pipe Adapter directly from Starlink for $50. It’s available in the Starlink shop. In this review and installation tutorial, I’m using it with a Gen 2 rectangular Starlink dish. The Pipe Adapter is also compatible with the Gen 2 High Performance hardware. It is not available for the original Gen 1 round dish.
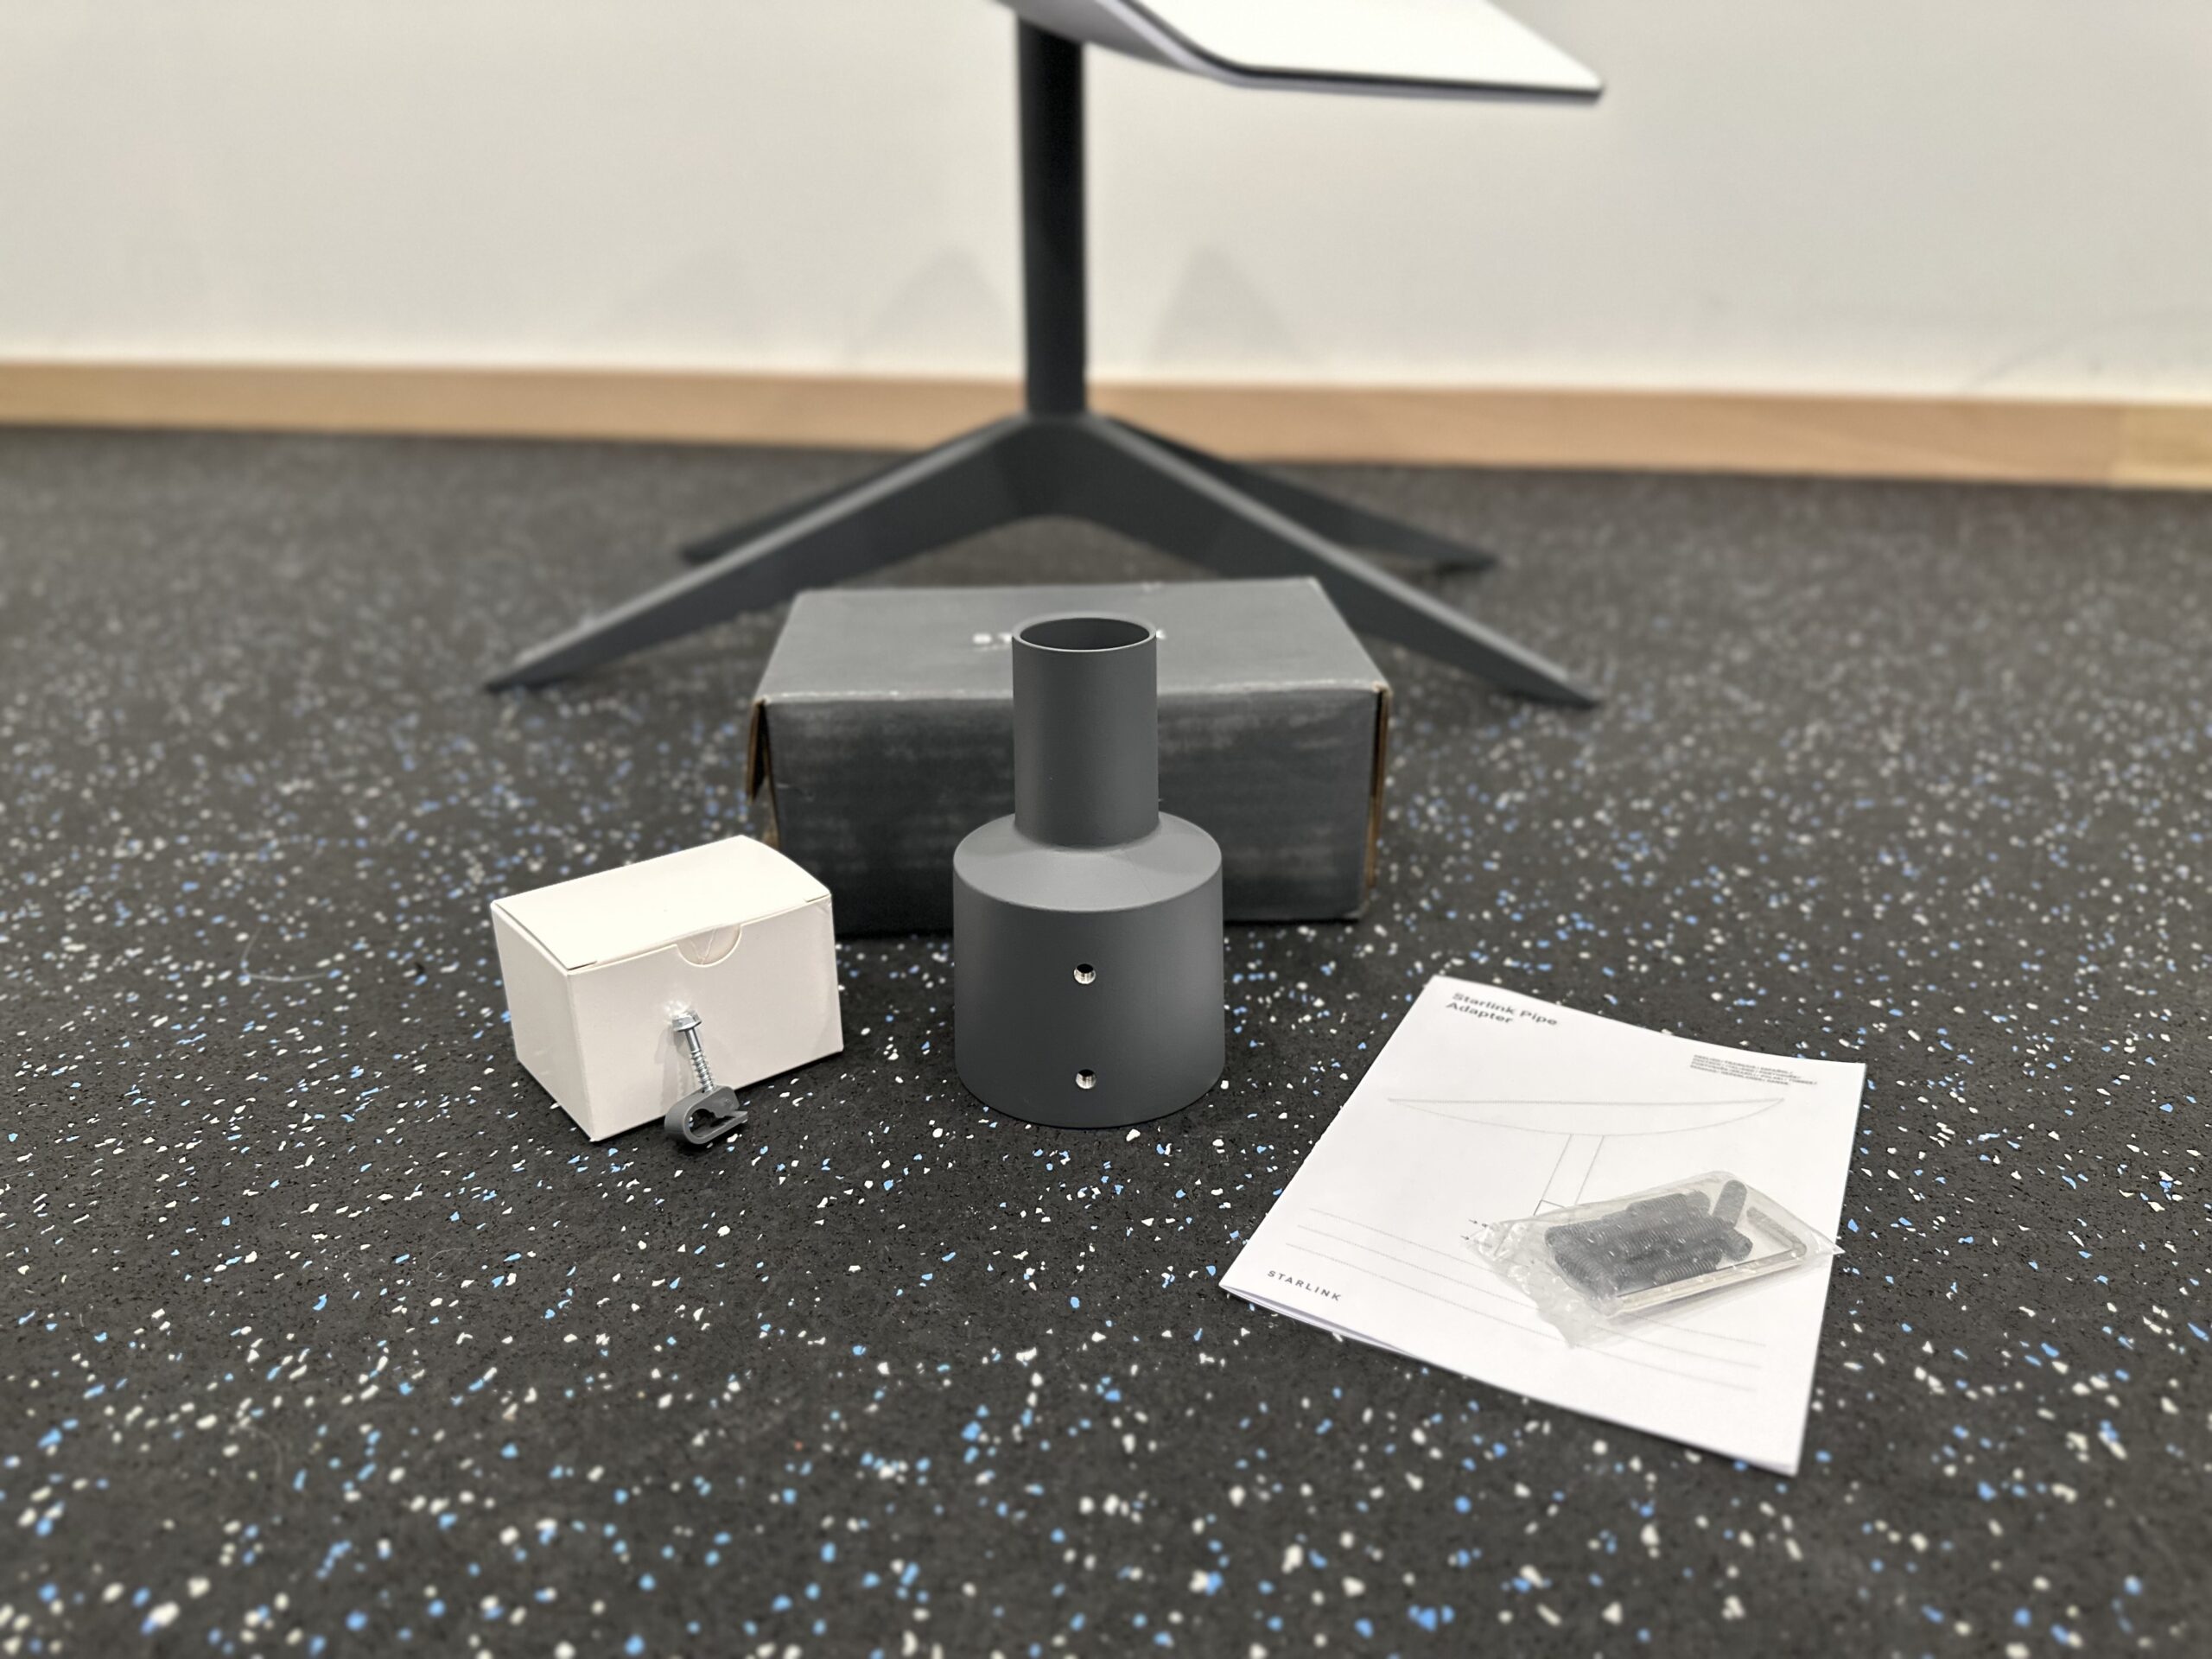
The Starlink Pipe Adapter kit contains the following items:
- Pipe Adapter
- Cable clamps
- Set screws (12 total, 6 of each size)
- Allen wrench
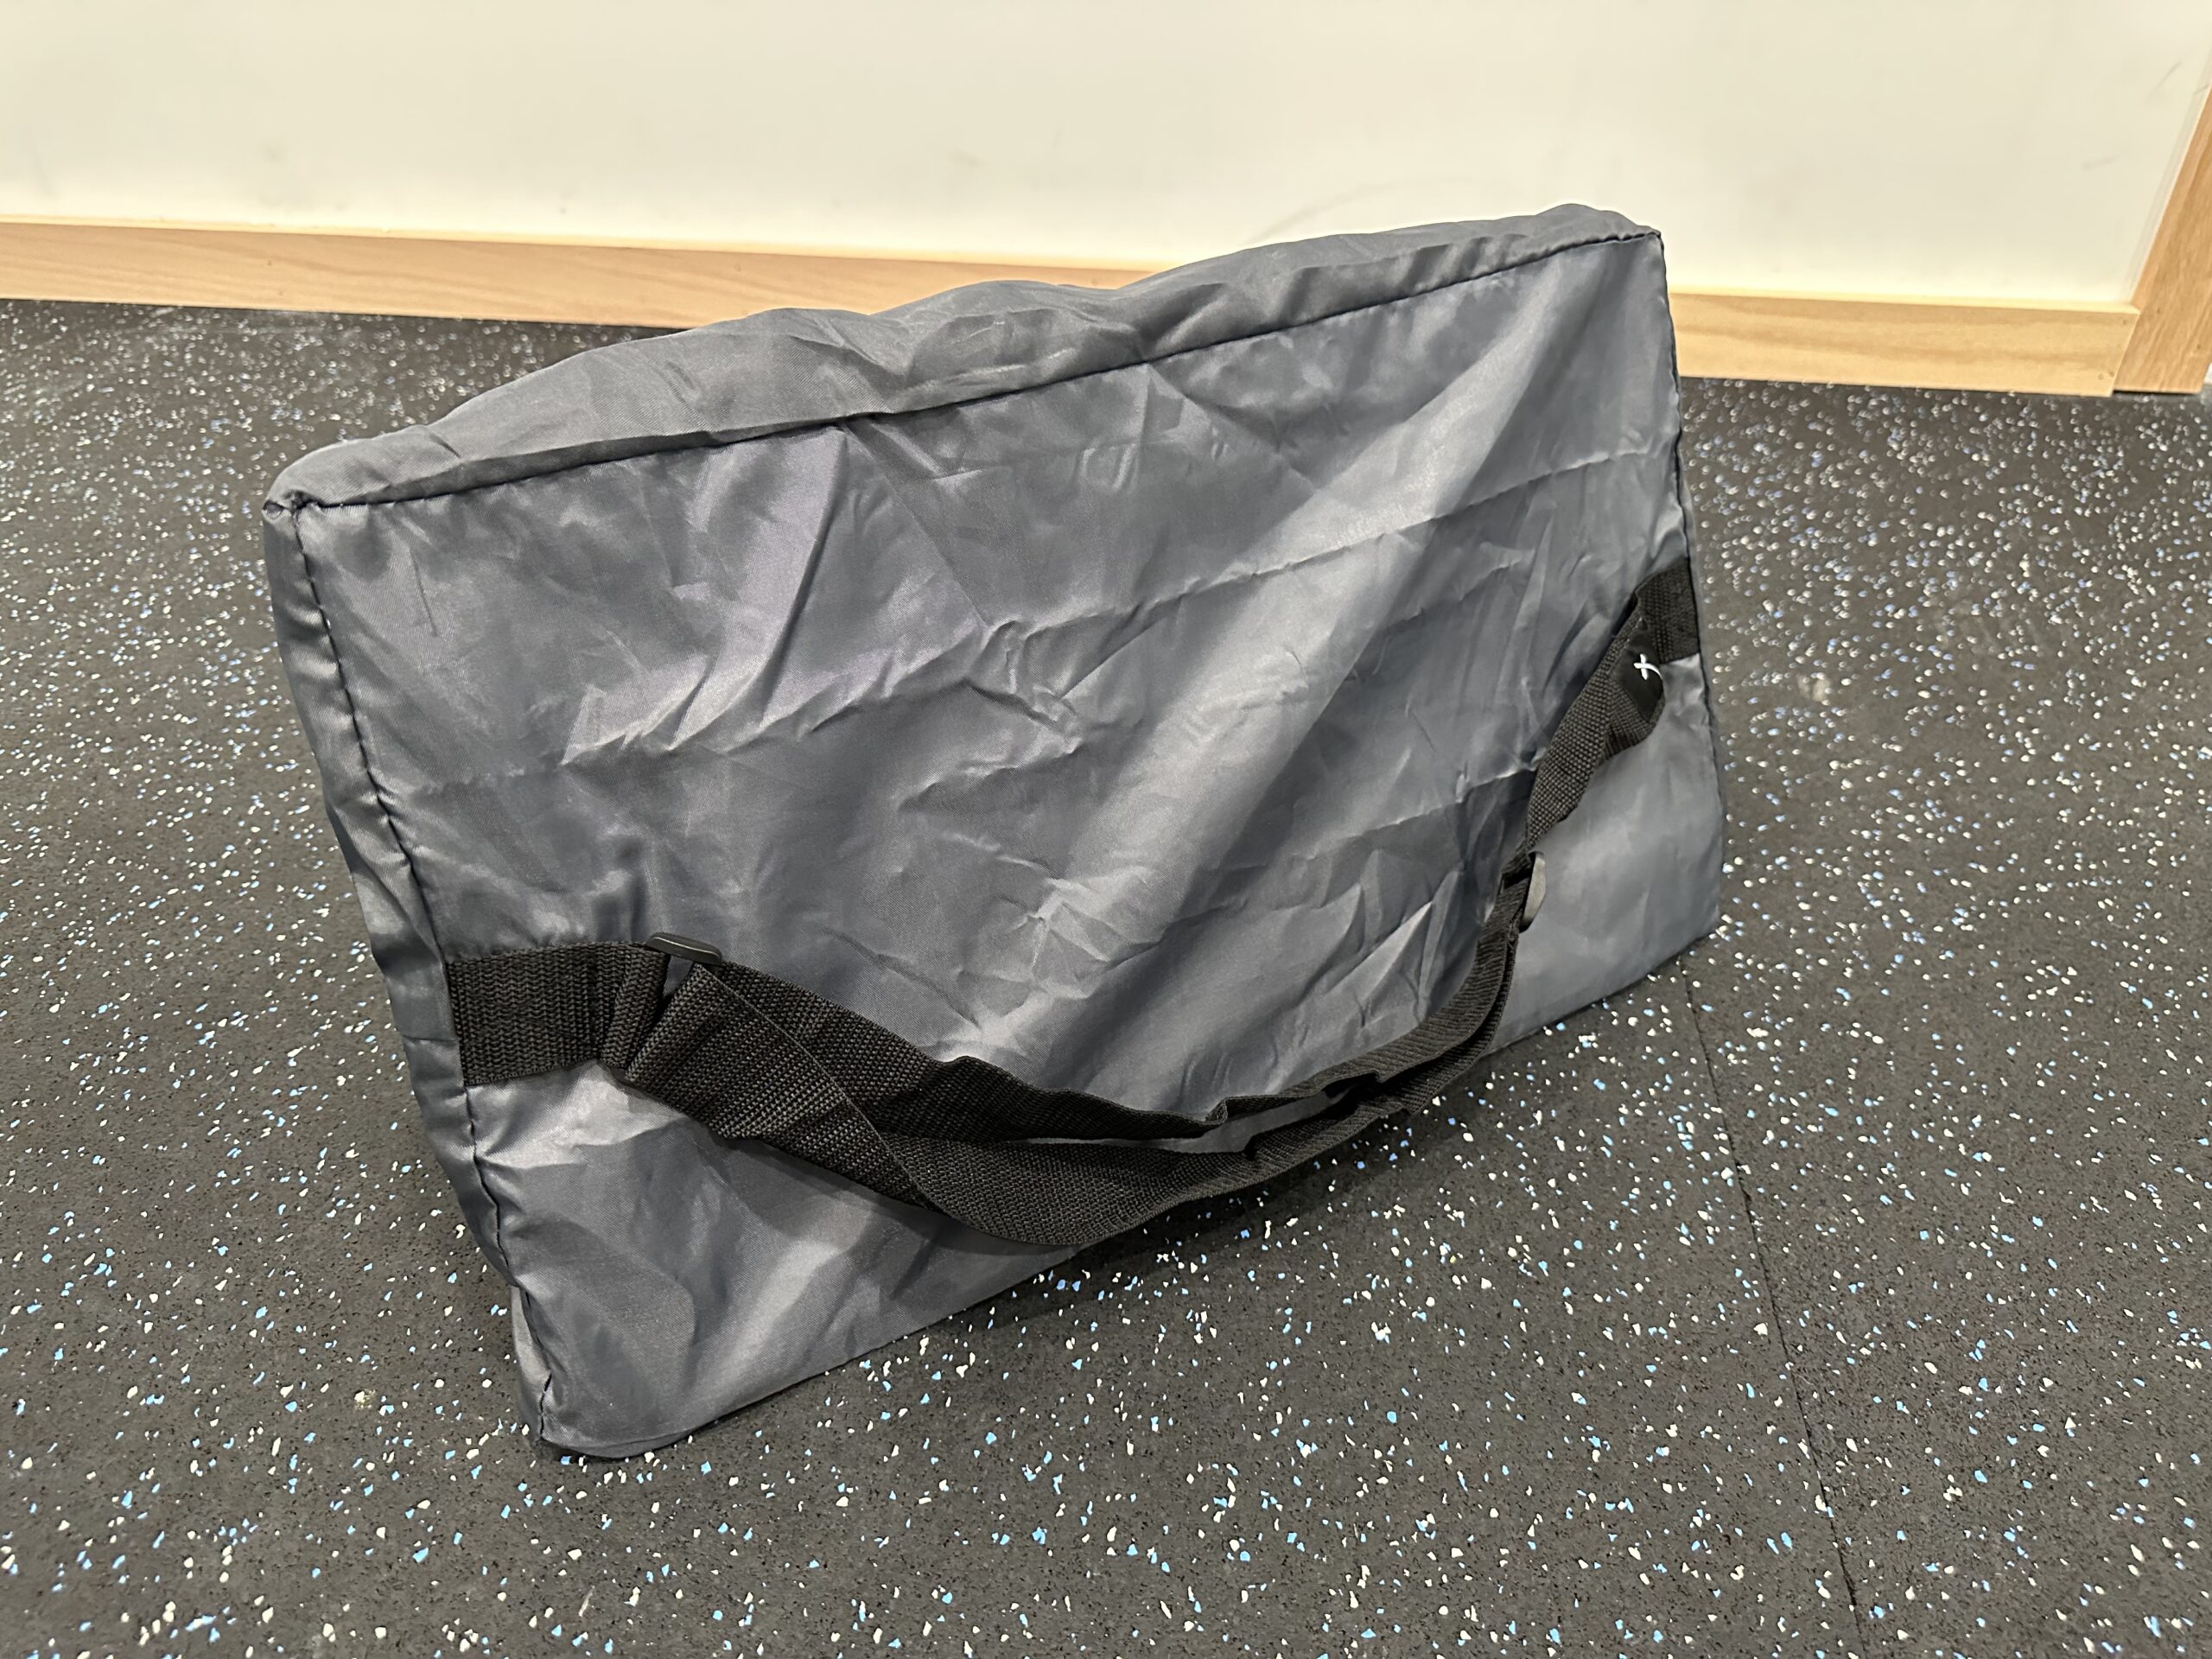
- Starlink carrying bag
- Instructions
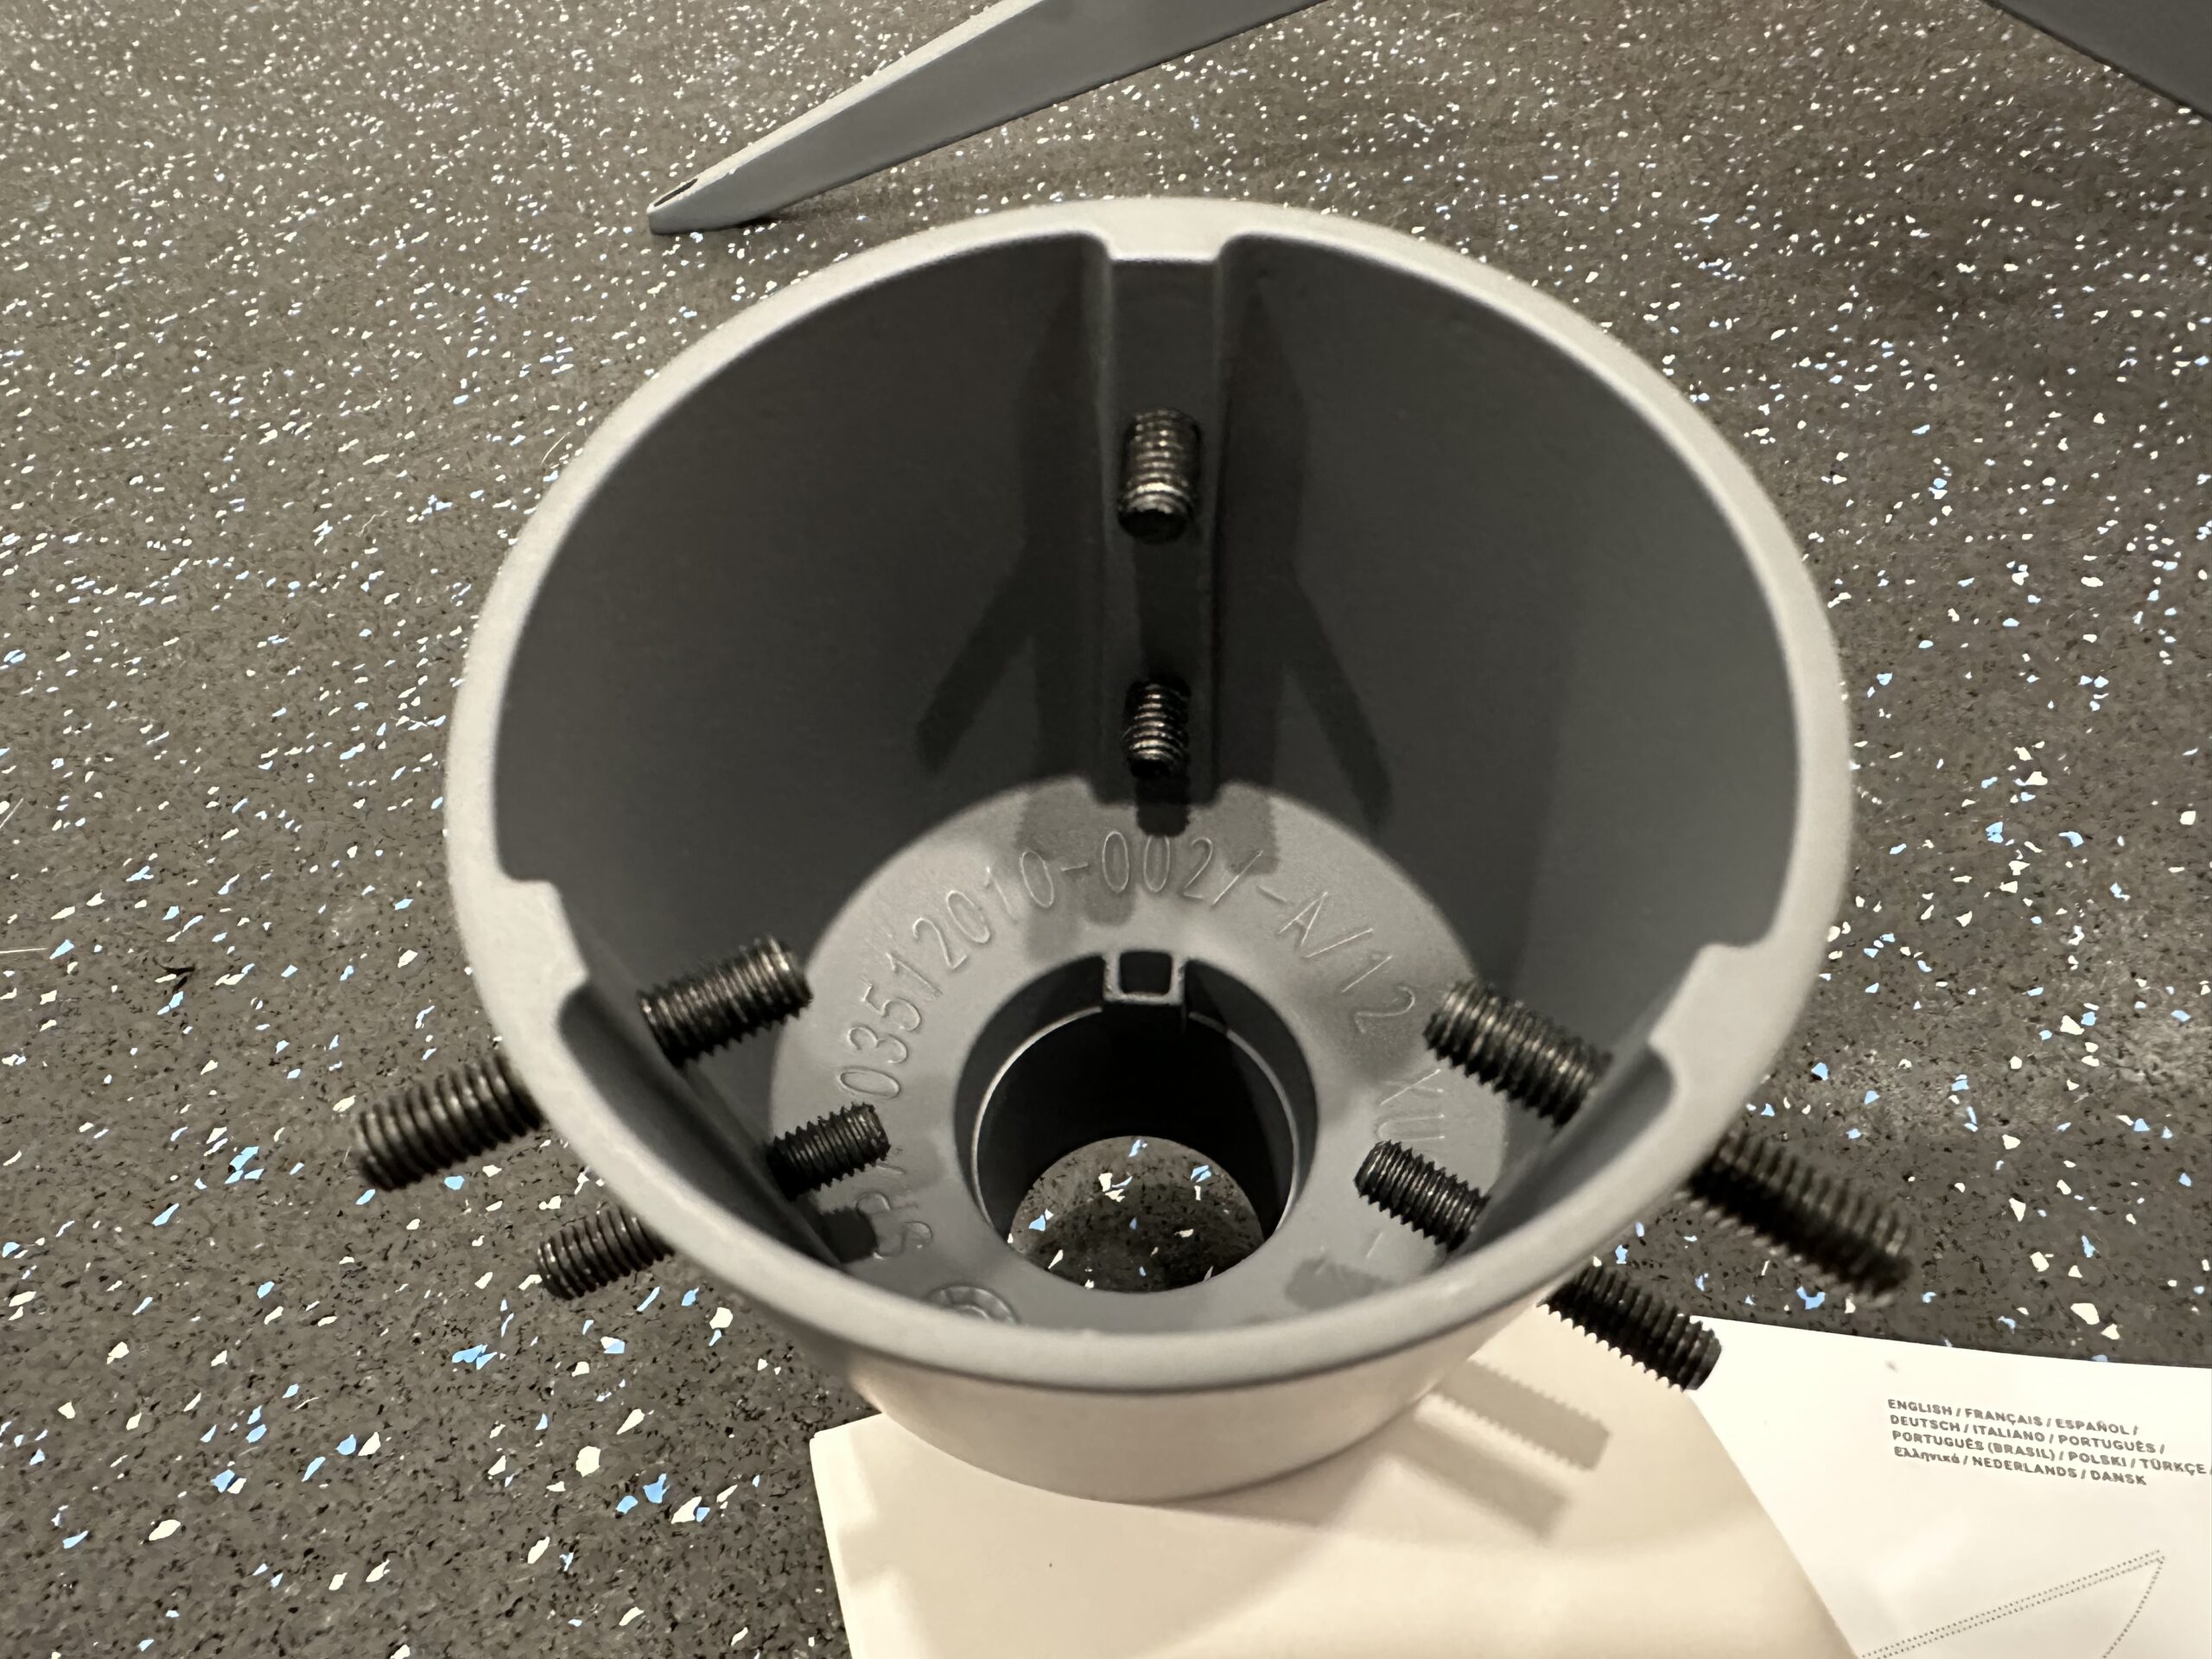
The Pipe Adapter is made completely out of metal. It’s lightweight, but feels solid and strong. There are 6 threaded holes that accept the included set screws. These set screws tighten down onto the pole that you are installing your Starlink dish on. The longer set screws are for smaller diameter poles, and the shorter set screws are for larger poles.

A carrying bag and cable clamps are also included in the kit. The carrying bag helps protect the surface of the dish from scratches, and also features a shoulder strap so you can safely carry your Starlink up a ladder. The cable clamps help you route the Starlink cable down the exterior of your home.
You can use the Pipe Adapter with just about any pole that is 2.5 inches in diameter or less. Starlink doesn’t give a minimum pole diameter, but in my opinion, 0.5 inches is the smallest pole that I would want to use. On the top part of the Pipe Adapter, you’ll find the same Starlink locking mechanism on their other official mounts. That means your Starlink dish will slide right onto the Pipe Adapter and securely lock in place.
Installation Guide
Mounting a Starlink dish with the Pipe Adapter is pretty simple, with just a few steps, and no extra tools required. I’ll walk you though how I installed it on an old J-mount on my roof. This guide assumes you already have some kind of pole, mast, or mount installed.
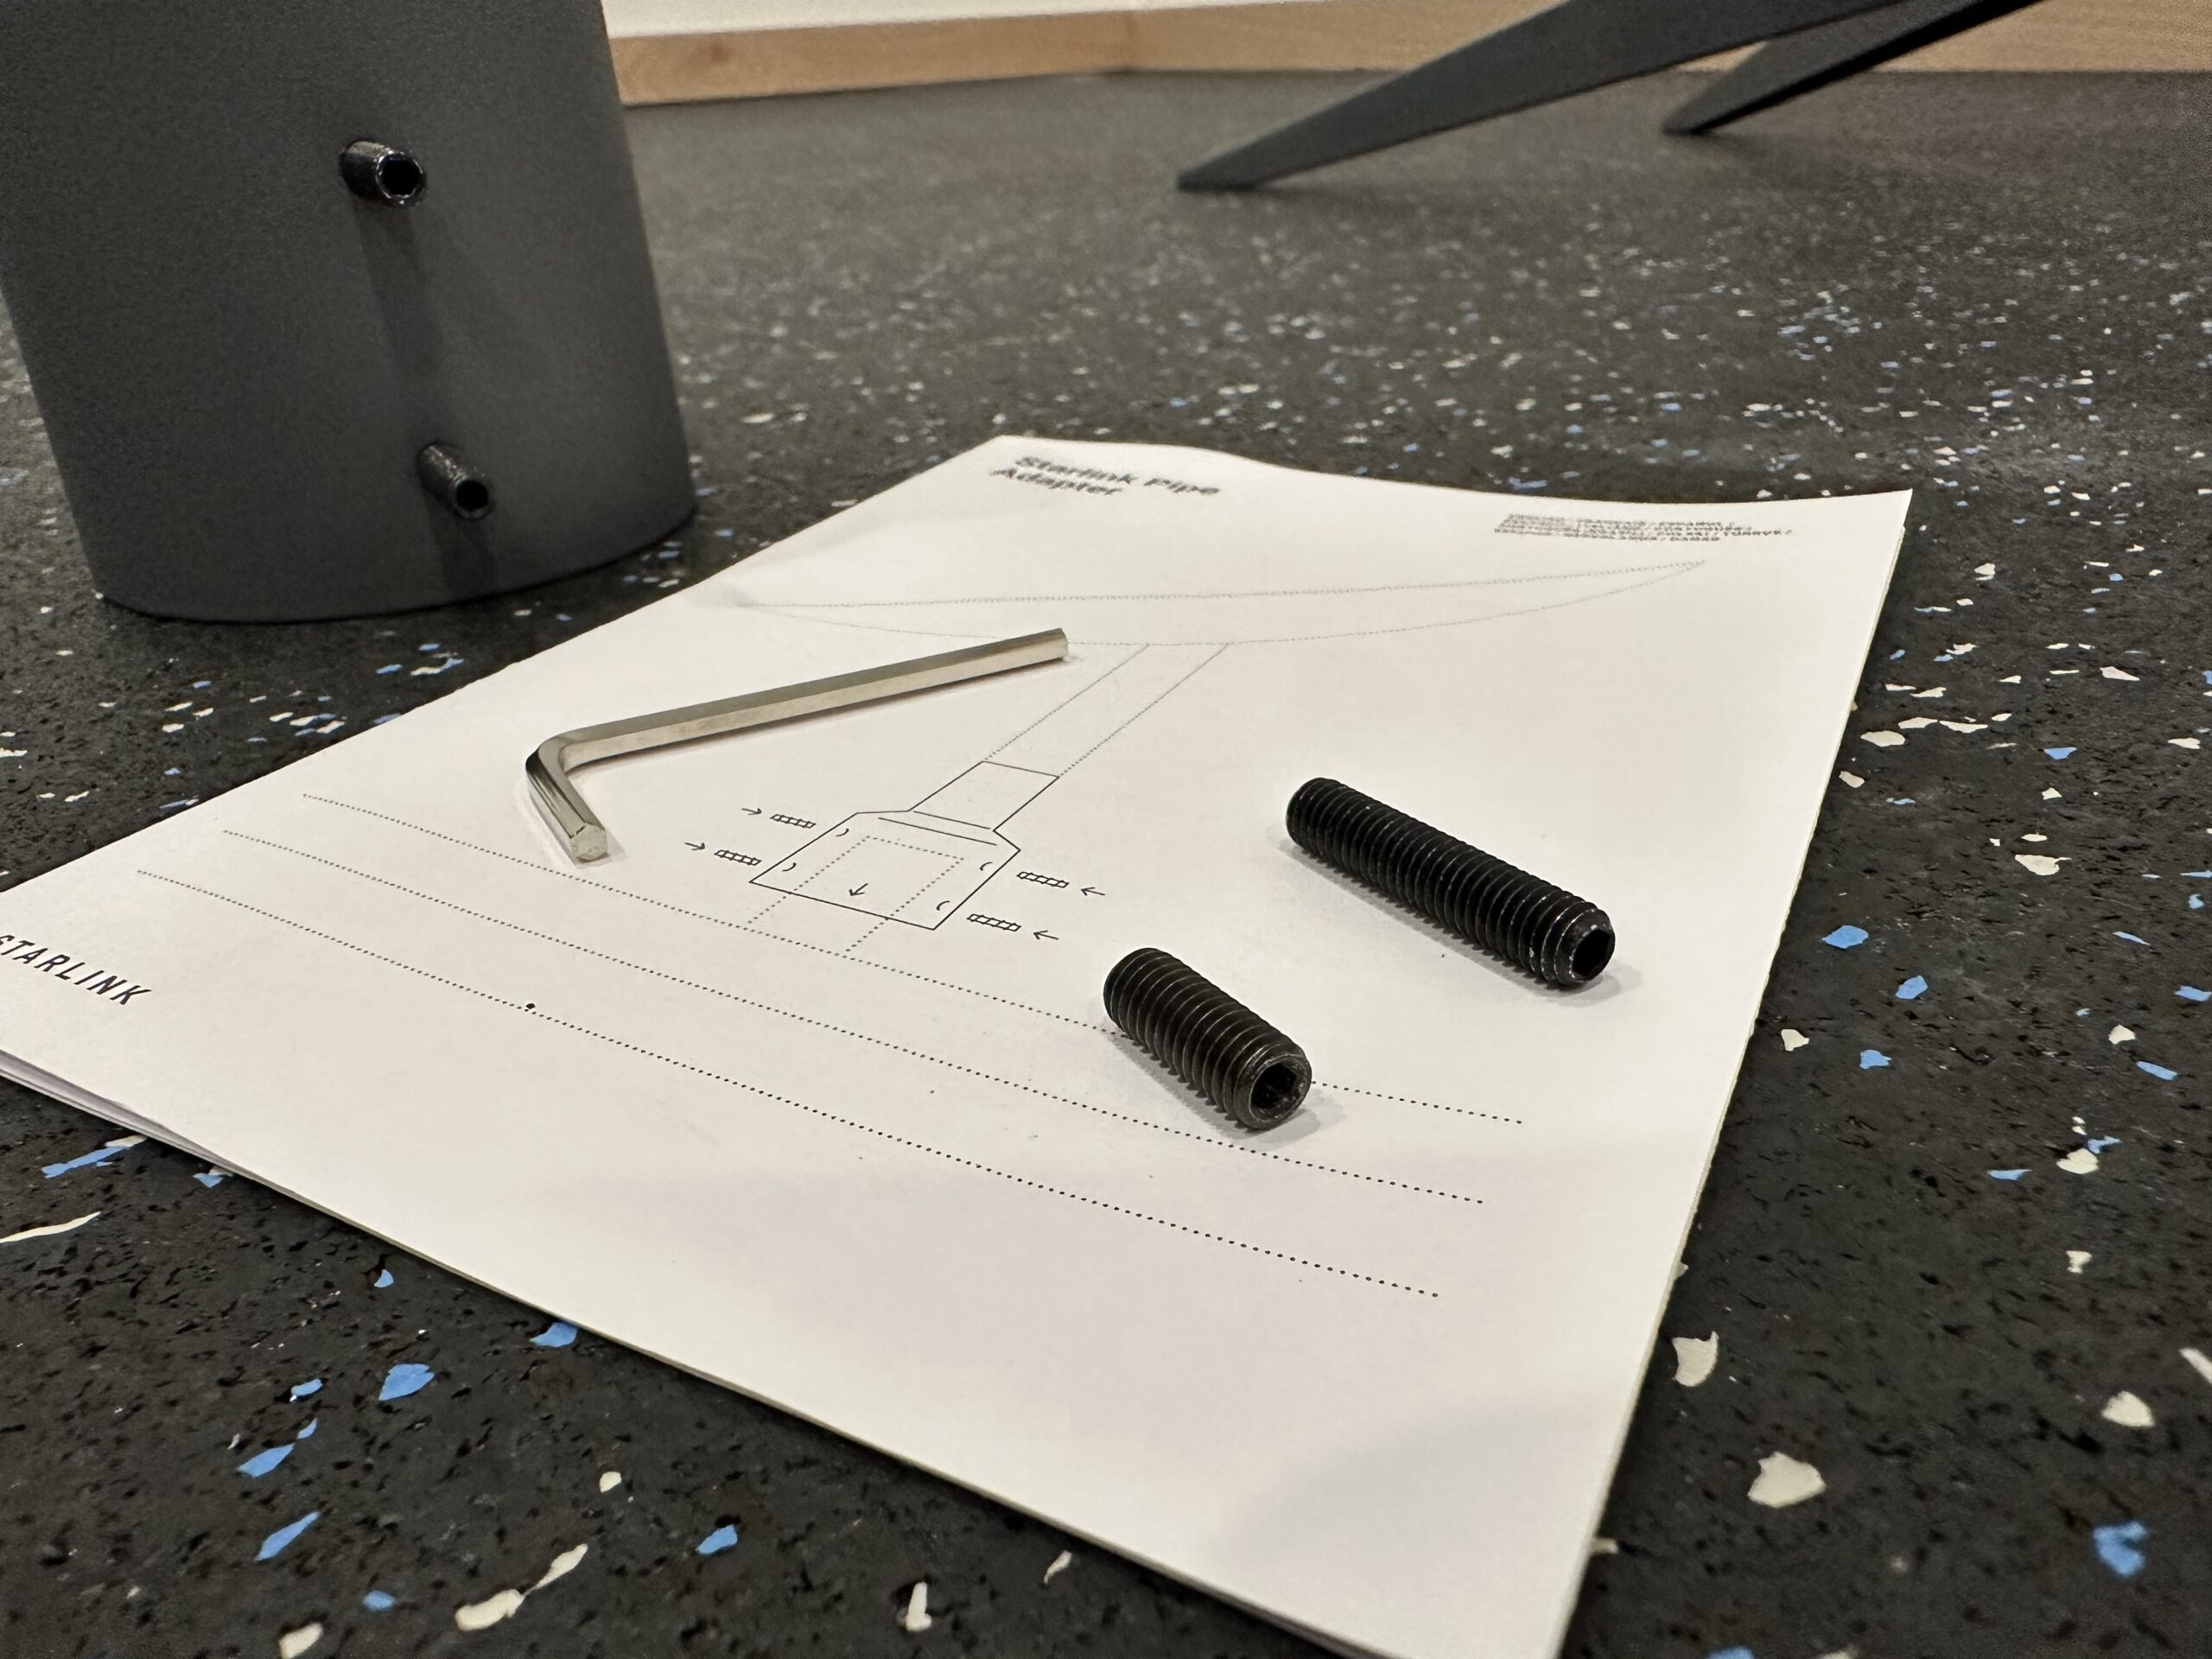
Step 1 – Choose and install the set screws
Depending on the diameter of the pole you are mounting to, choose the longer or shorter set screws, and screw them into all 6 holes on the Pipe Adapter. If your pole is 2 inches in diameter or more, use the shorter set screws. I recommend the longer set screws for any pole that is less than 2 inches. You just need to get them started, no need to thread them in all the way. You’ll want to leave plenty of room for the adapter to slide over the pole.
Step 2 – Mount the Pipe Adapter onto the pole
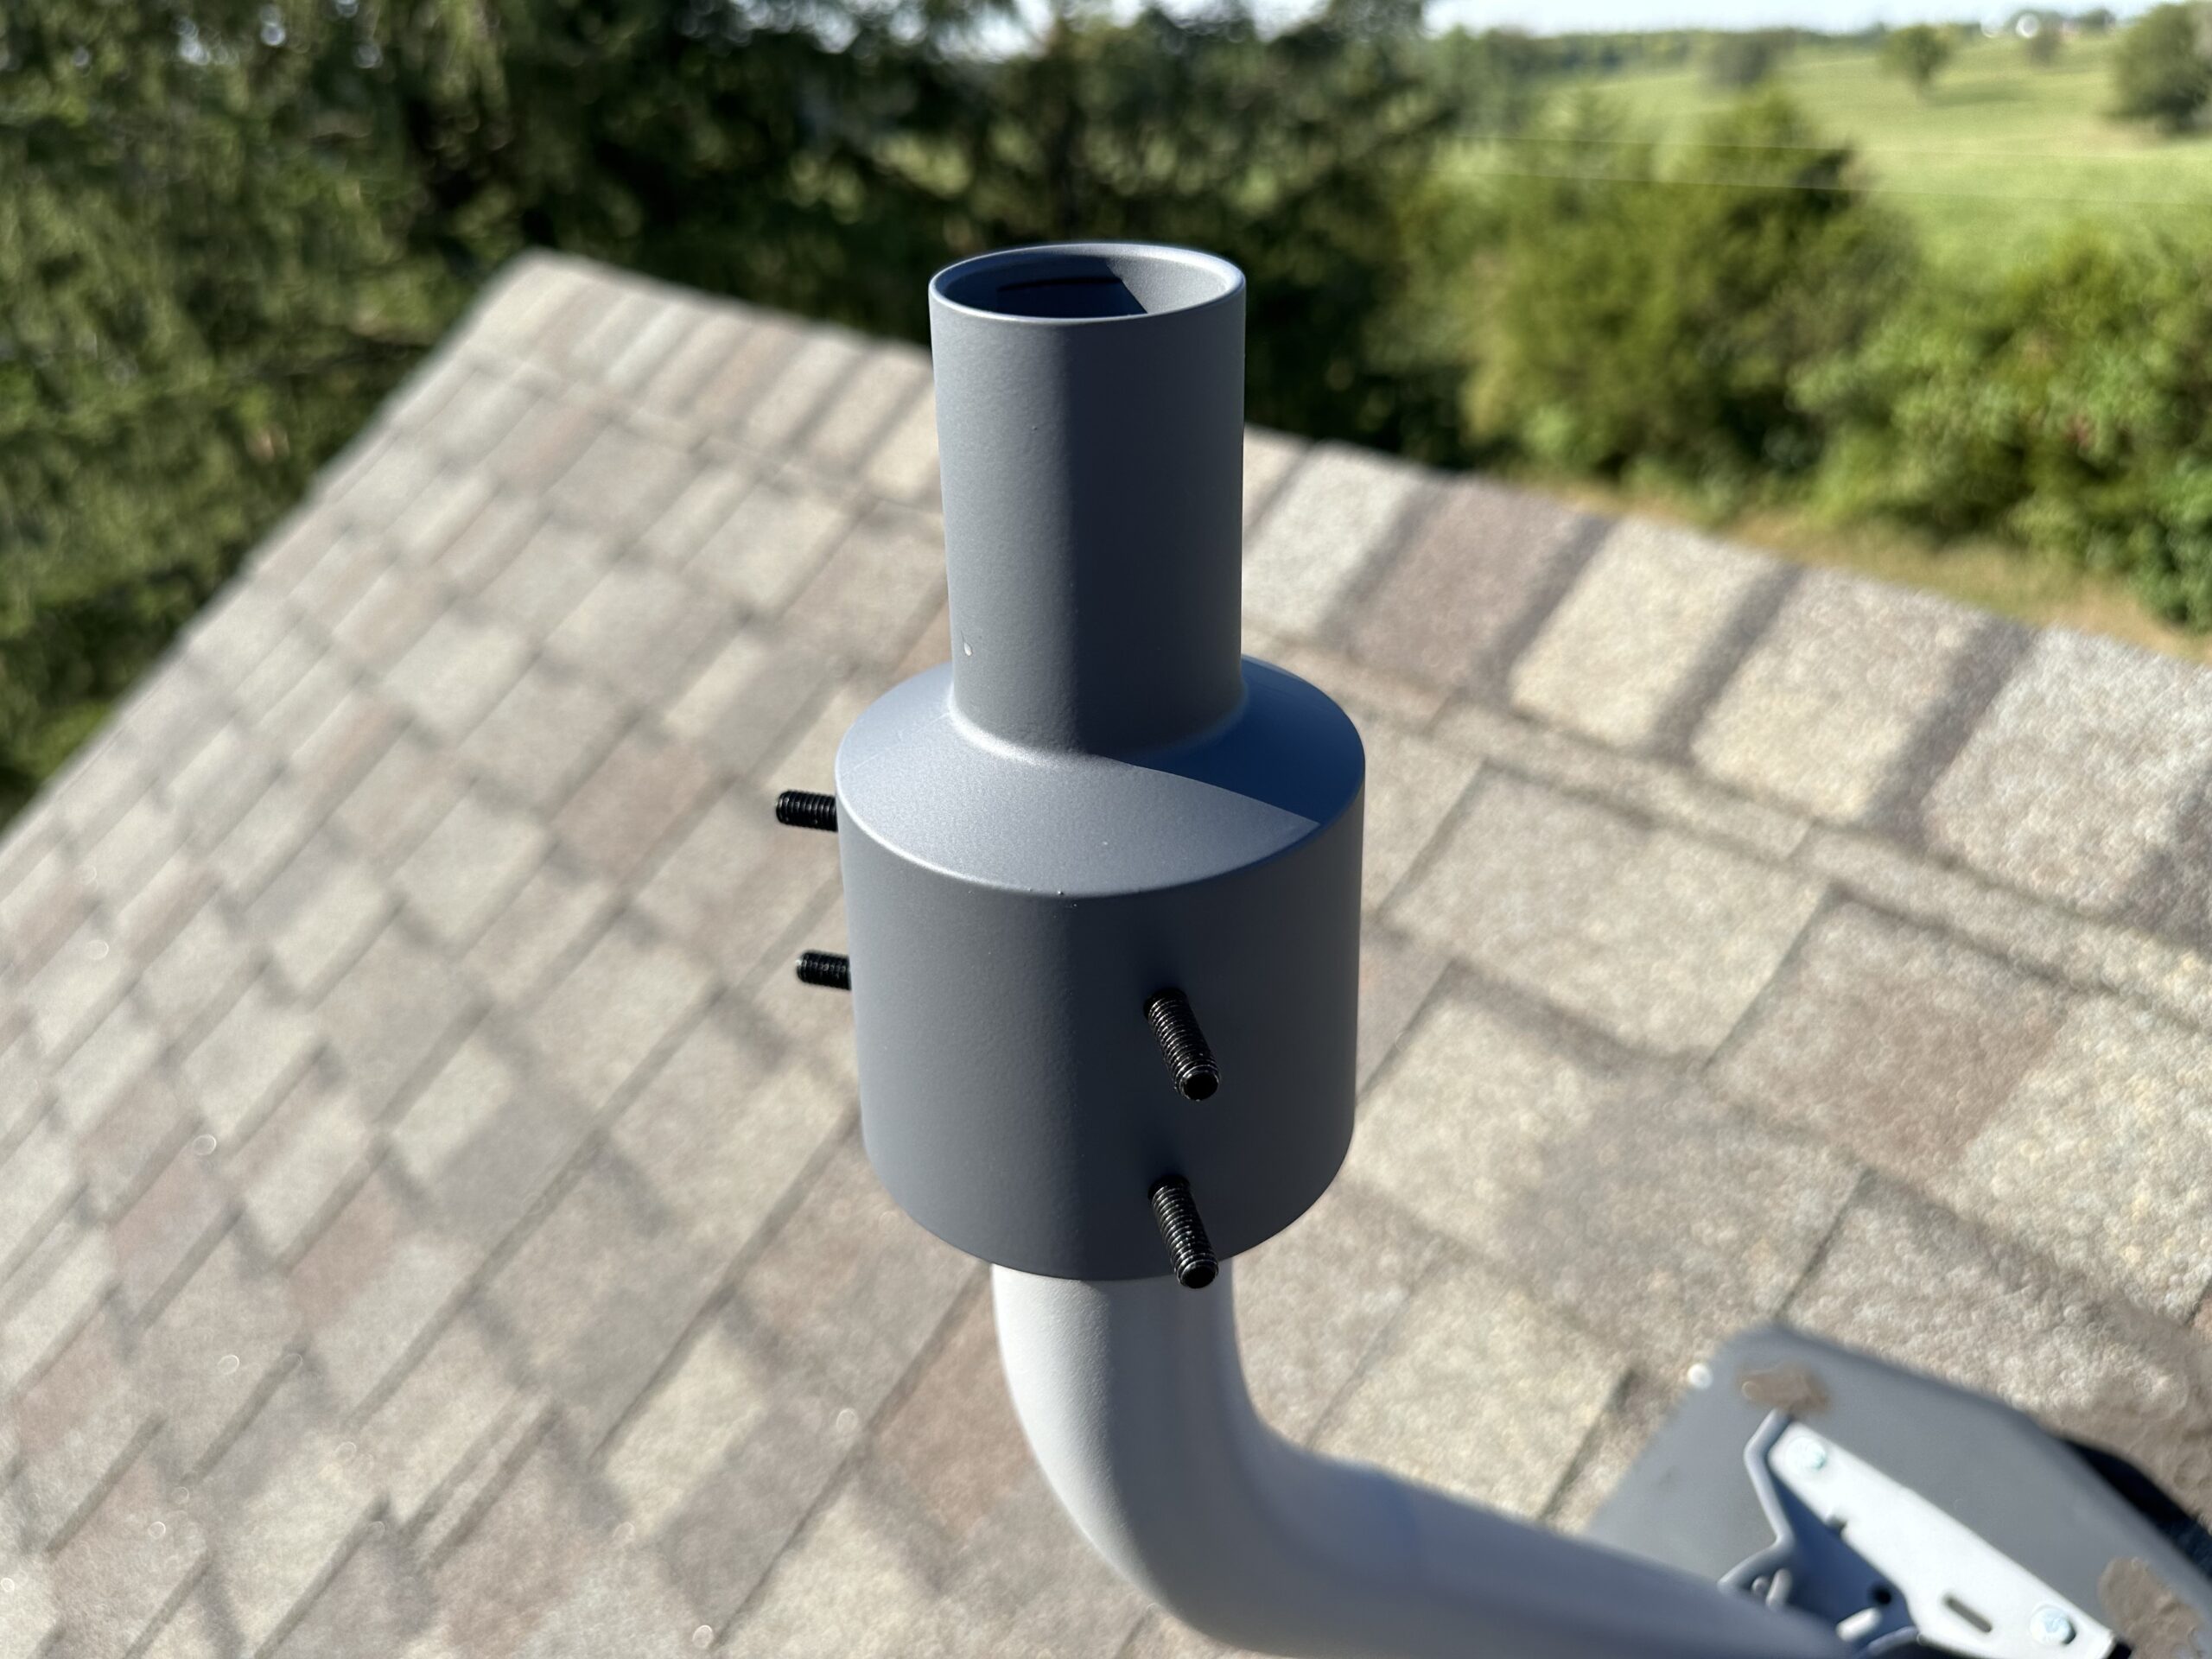
Slide the Pipe Adapter down onto the top of your pole. In my case, I’m using a J-mount that has a diameter of about 1.5 inches. I left plenty of wiggle room by not threading the set screws in very far.
The pole and the adapter need to be within about 4 degrees of vertical for the Starlink dish to operate properly. Once you are sure the Pipe Adapter is sitting correctly on the pole, start by tightening just the three top set screws. Do a few turns on one set screw, then the next, and repeat until they are snug. Double check that the Pipe Adapter is still centered and level on the pole, and that it hasn’t shifted up.
Repeat the process for the bottom three set screws. Once all set screws are snug, check again to be sure the Pipe Adapter is centered and secure on the pole. If it is, do a final round of tightening for each set screw.
Step 3 – Mount the Starlink dish
Use the included carrying bag to carry your Starlink dish to the installation location. Be sure you also have the Starlink cable nearby, as you will need to plug in the dish side connector before mounting the dish. Remember, the dish side connector is straight, the router side is angled.
Depending on what type of pole/mount you are using, you can route the cable inside, through the Pipe Adapter. Or you can just do what I did, and run it down the outside of the Pipe Adapter and mounting pole.
Plug in the Starlink cable to the dish, making sure it is seated all the way in. The cable connector will sit flush with the edge of the mast. Now install the dish. The dish mast will slide right into the Pipe Adapter. You might have to spin the dish around to find where it slots into place.
Step 4 – Route the Starlink cable
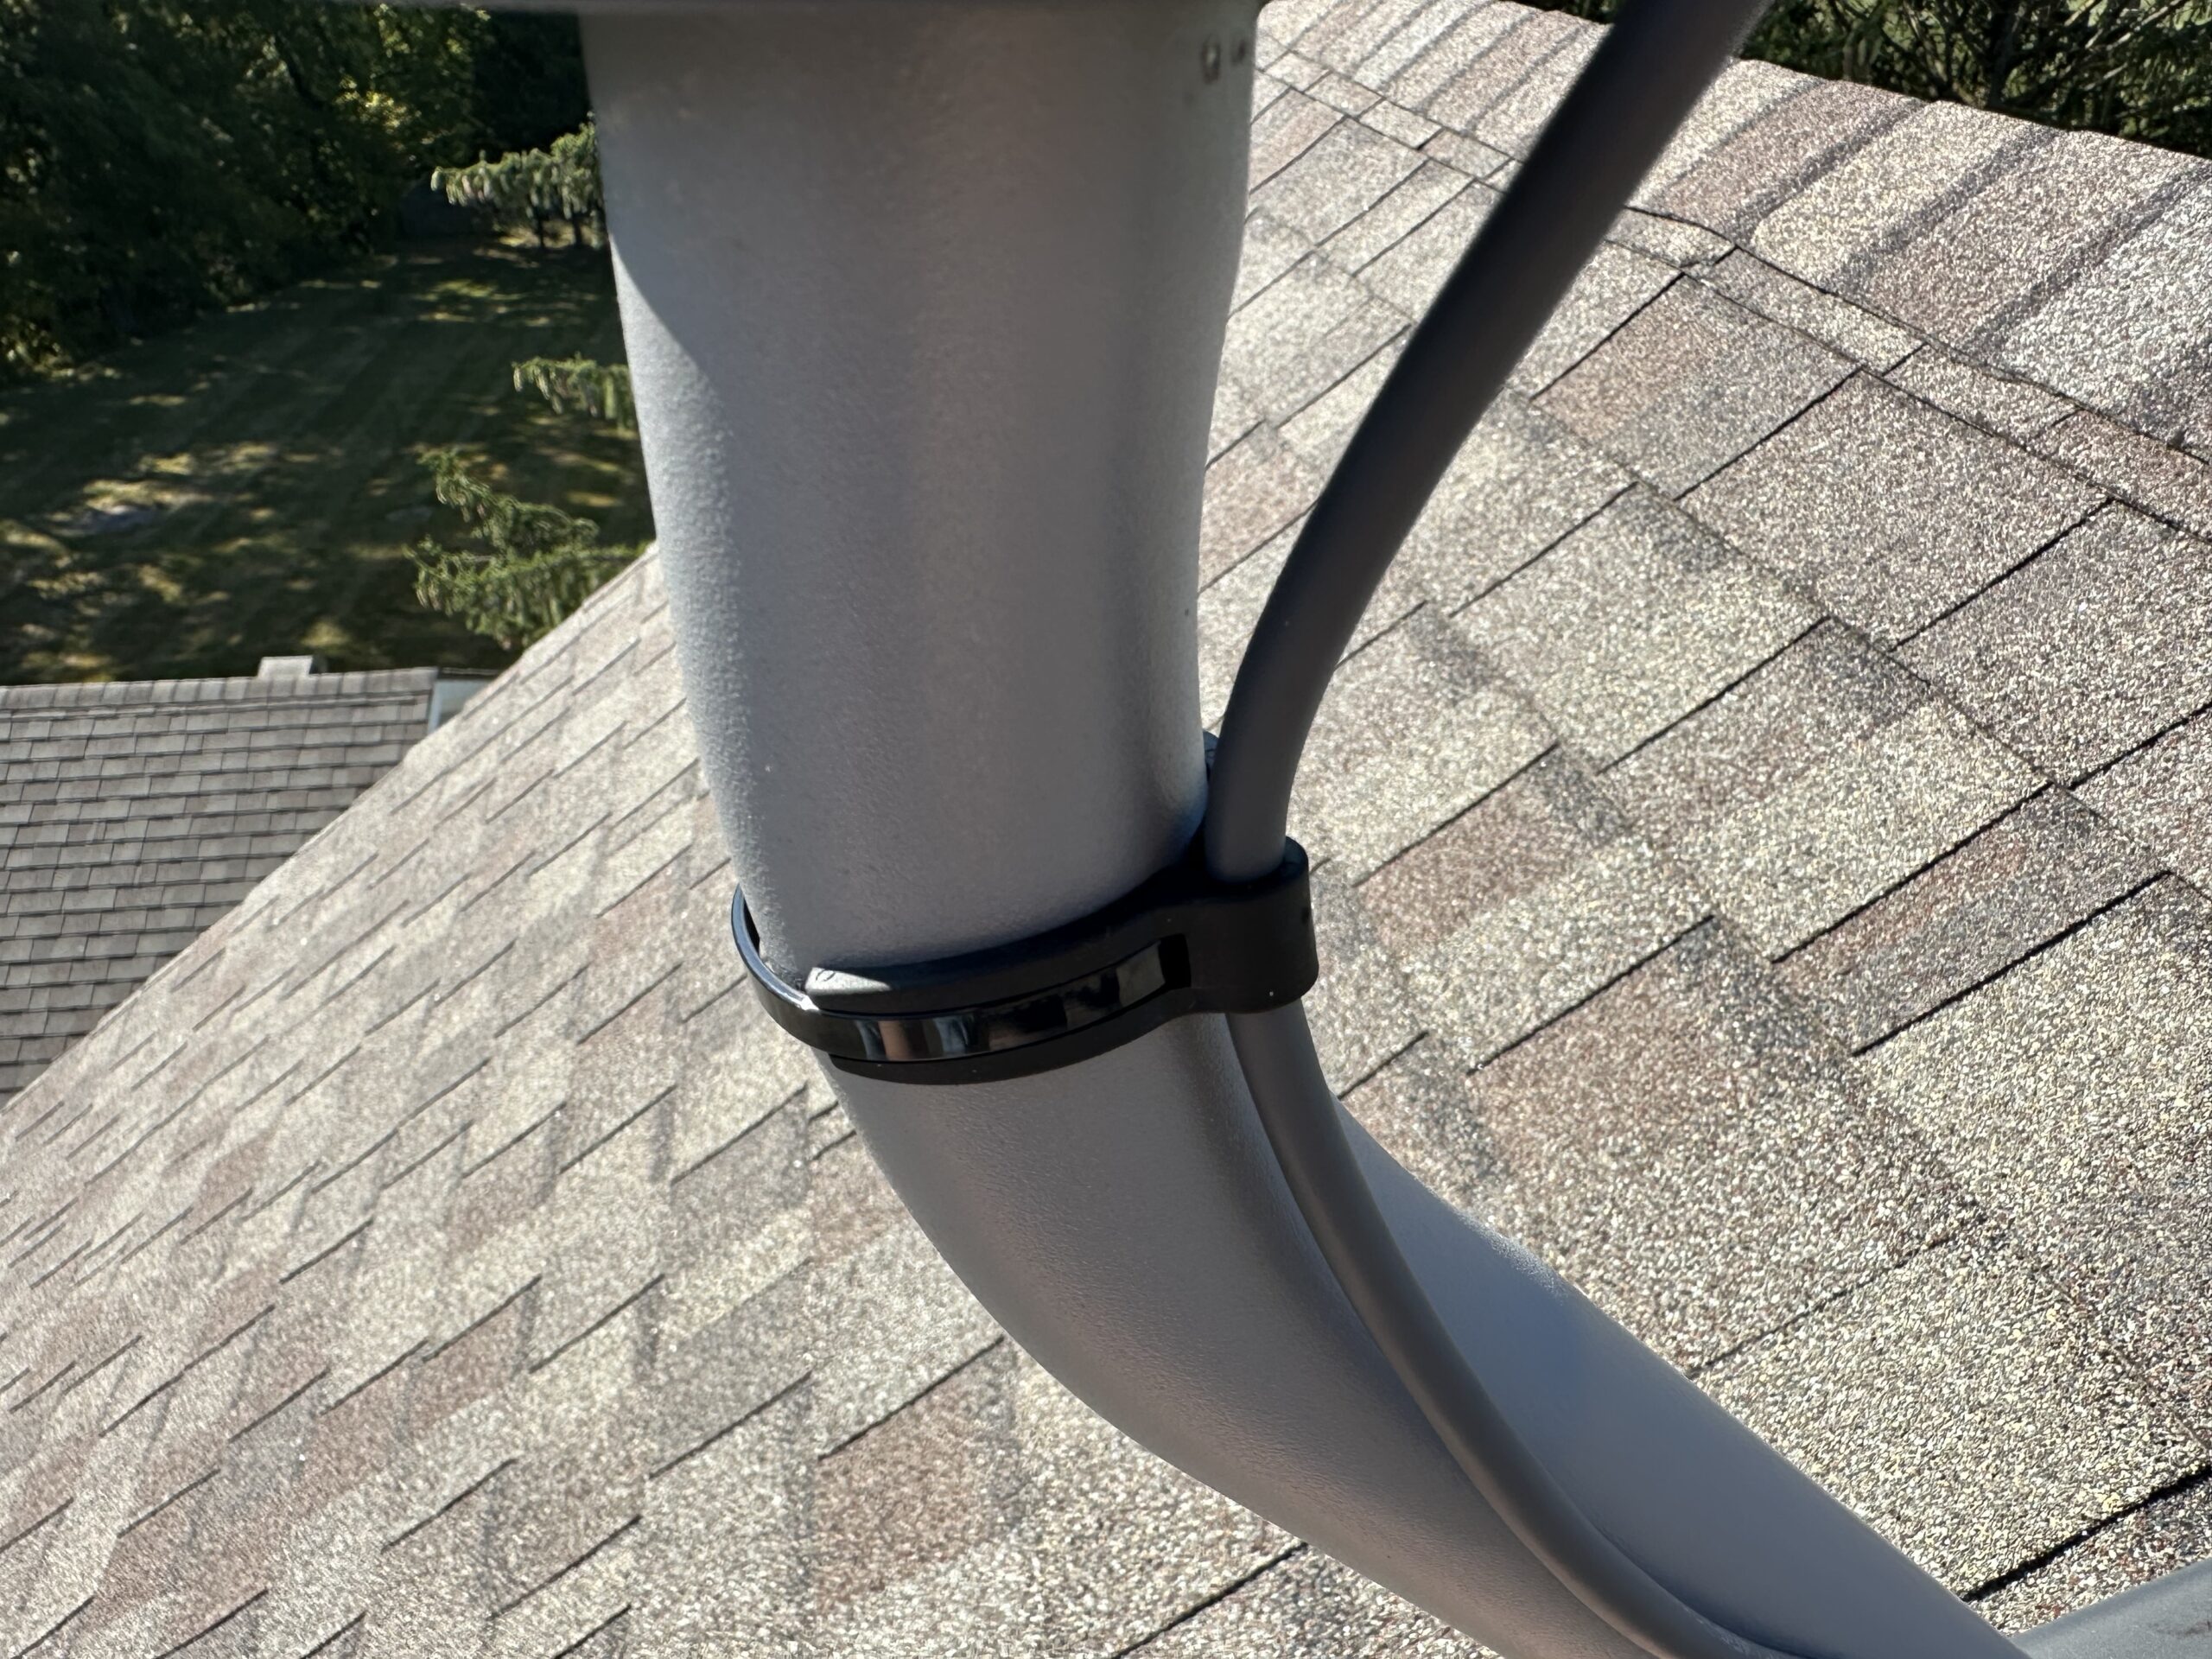
Now you just need to do some cable management. Use the included cable clamps to route the Starlink cable down the side of your house, if desired. It’s also a good idea to secure the Starlink cable with zip ties. I used and highly recommend these Flexroute clamps, which don’t put any pressure on the cable itself.
Plug the other end of the Starlink cable into the router and power everything up. Give your Starlink system about 15 minutes to boot up, and then check to make sure you can get online. Your dish will gather information on obstructions for the next 12 hours or so. Check the app the next day to make sure you don’t have any obstructions affecting the performance of your connection.
Review
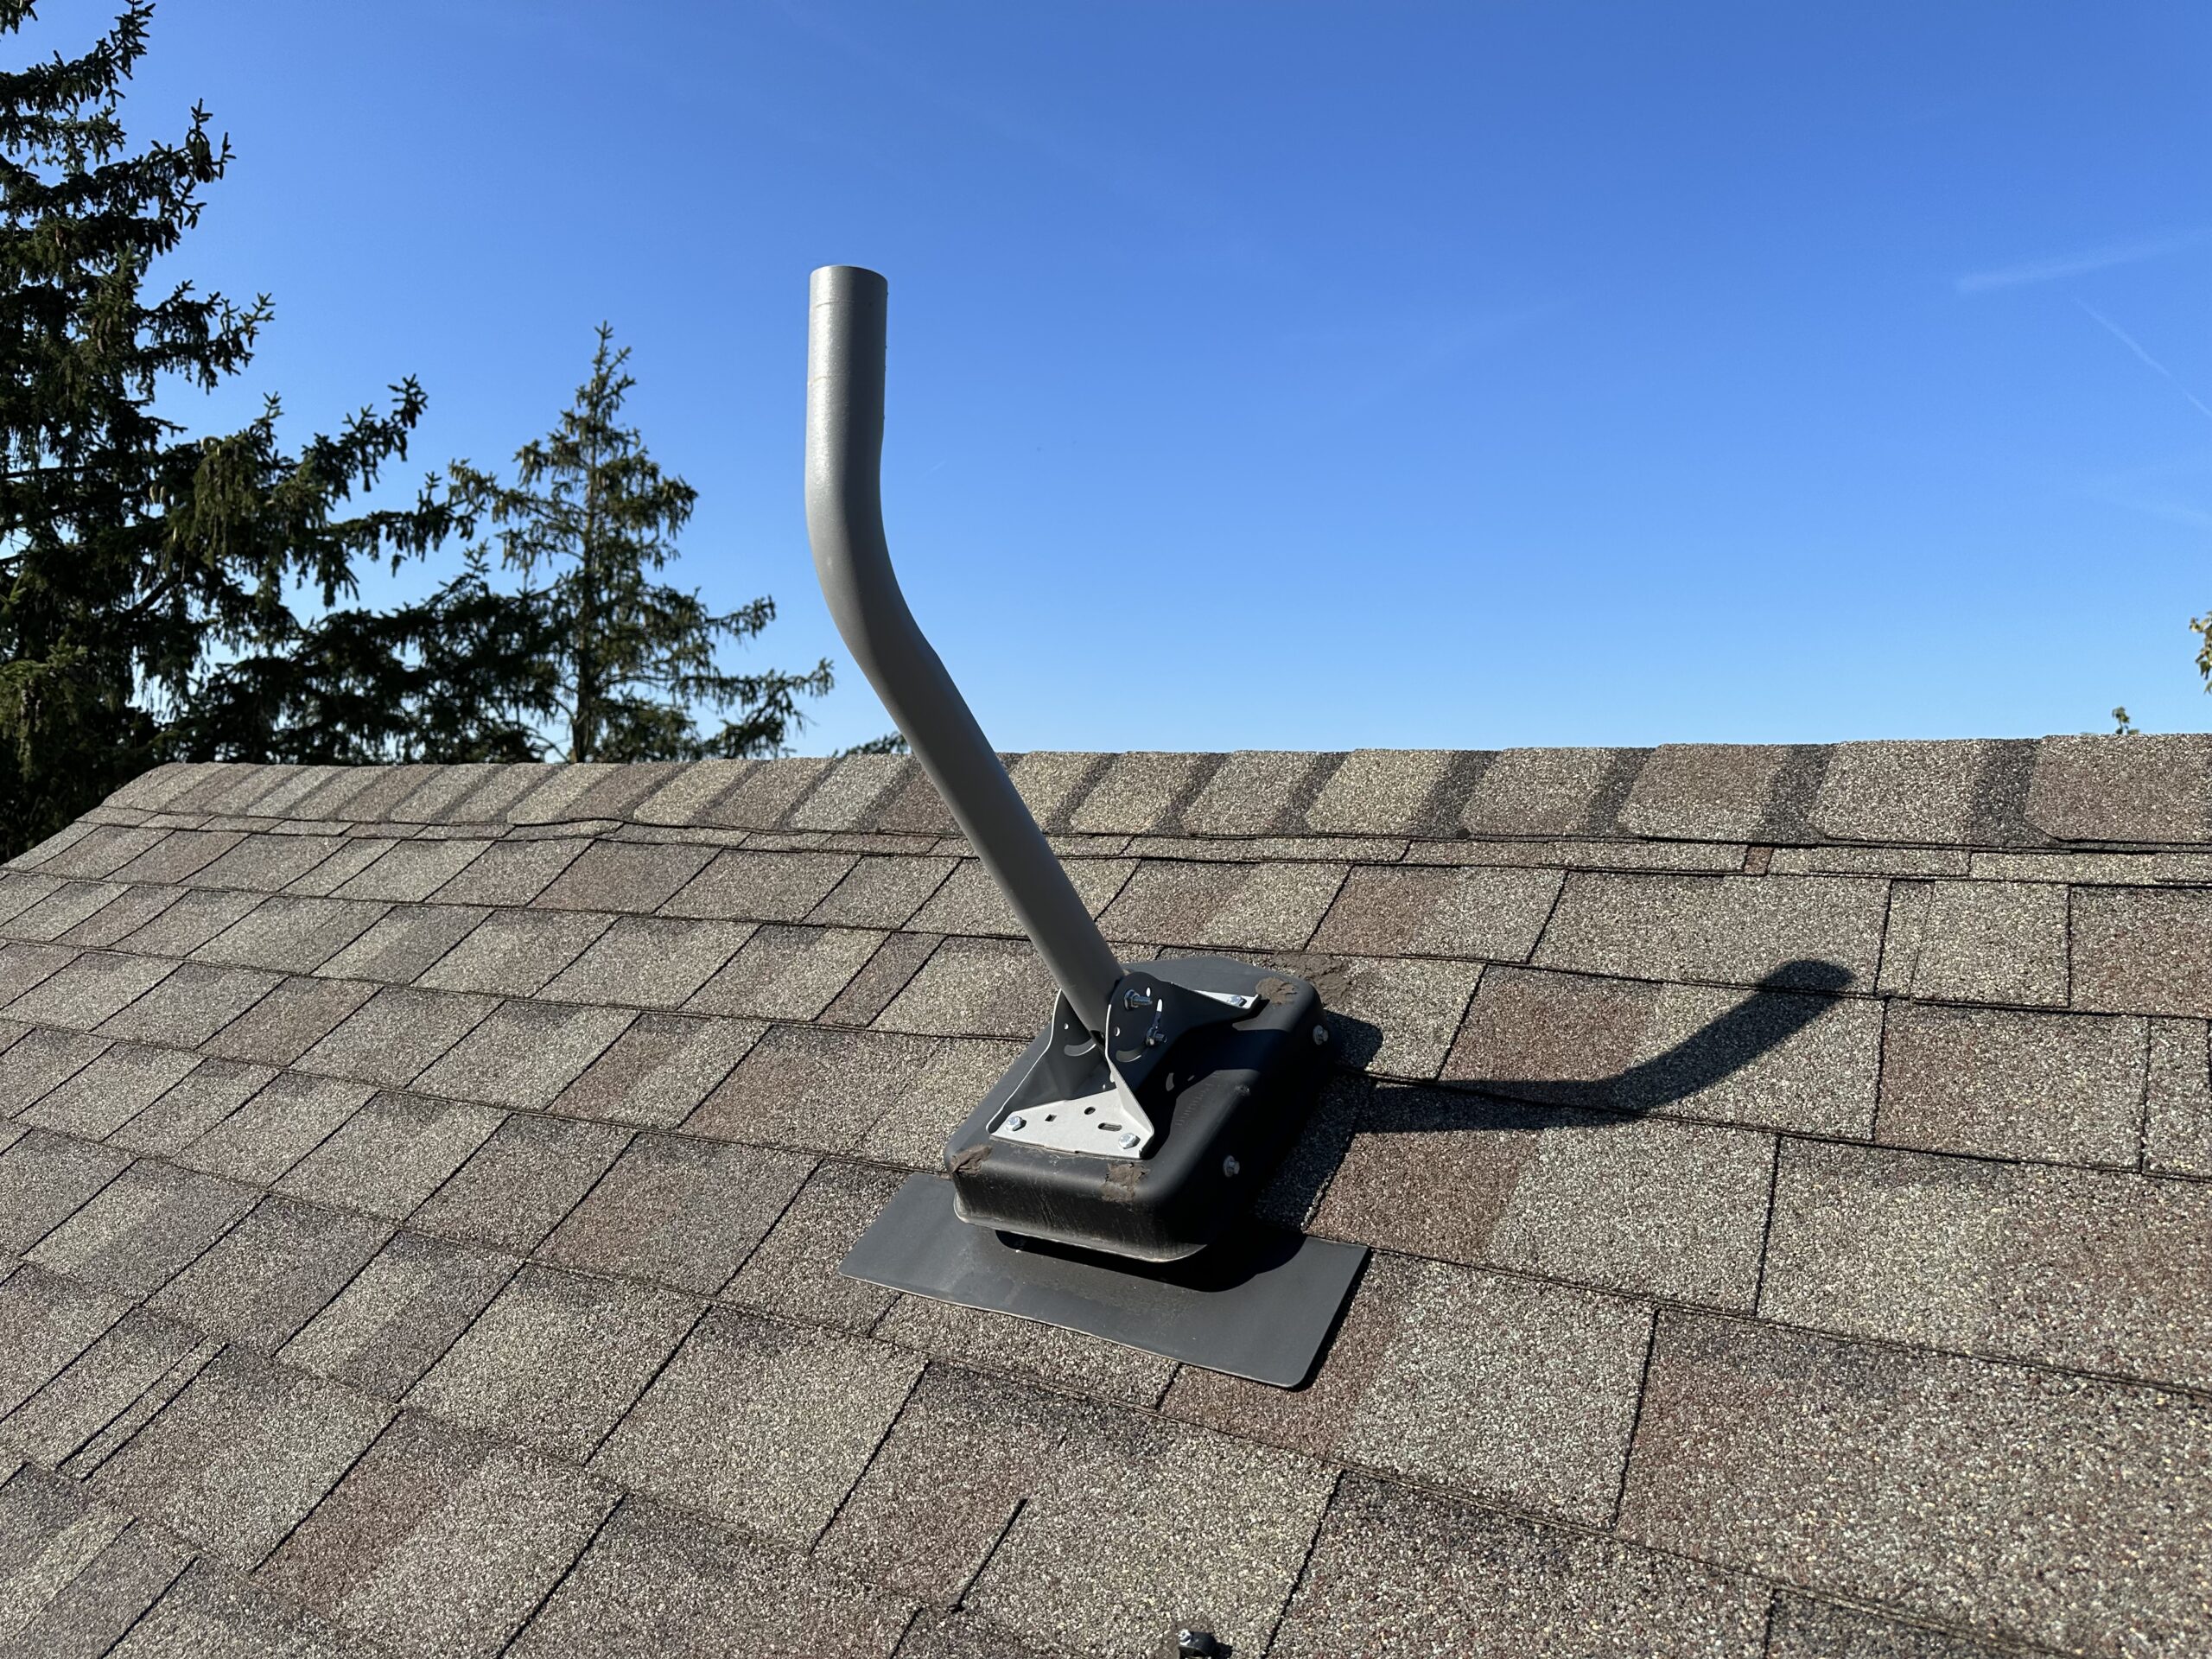
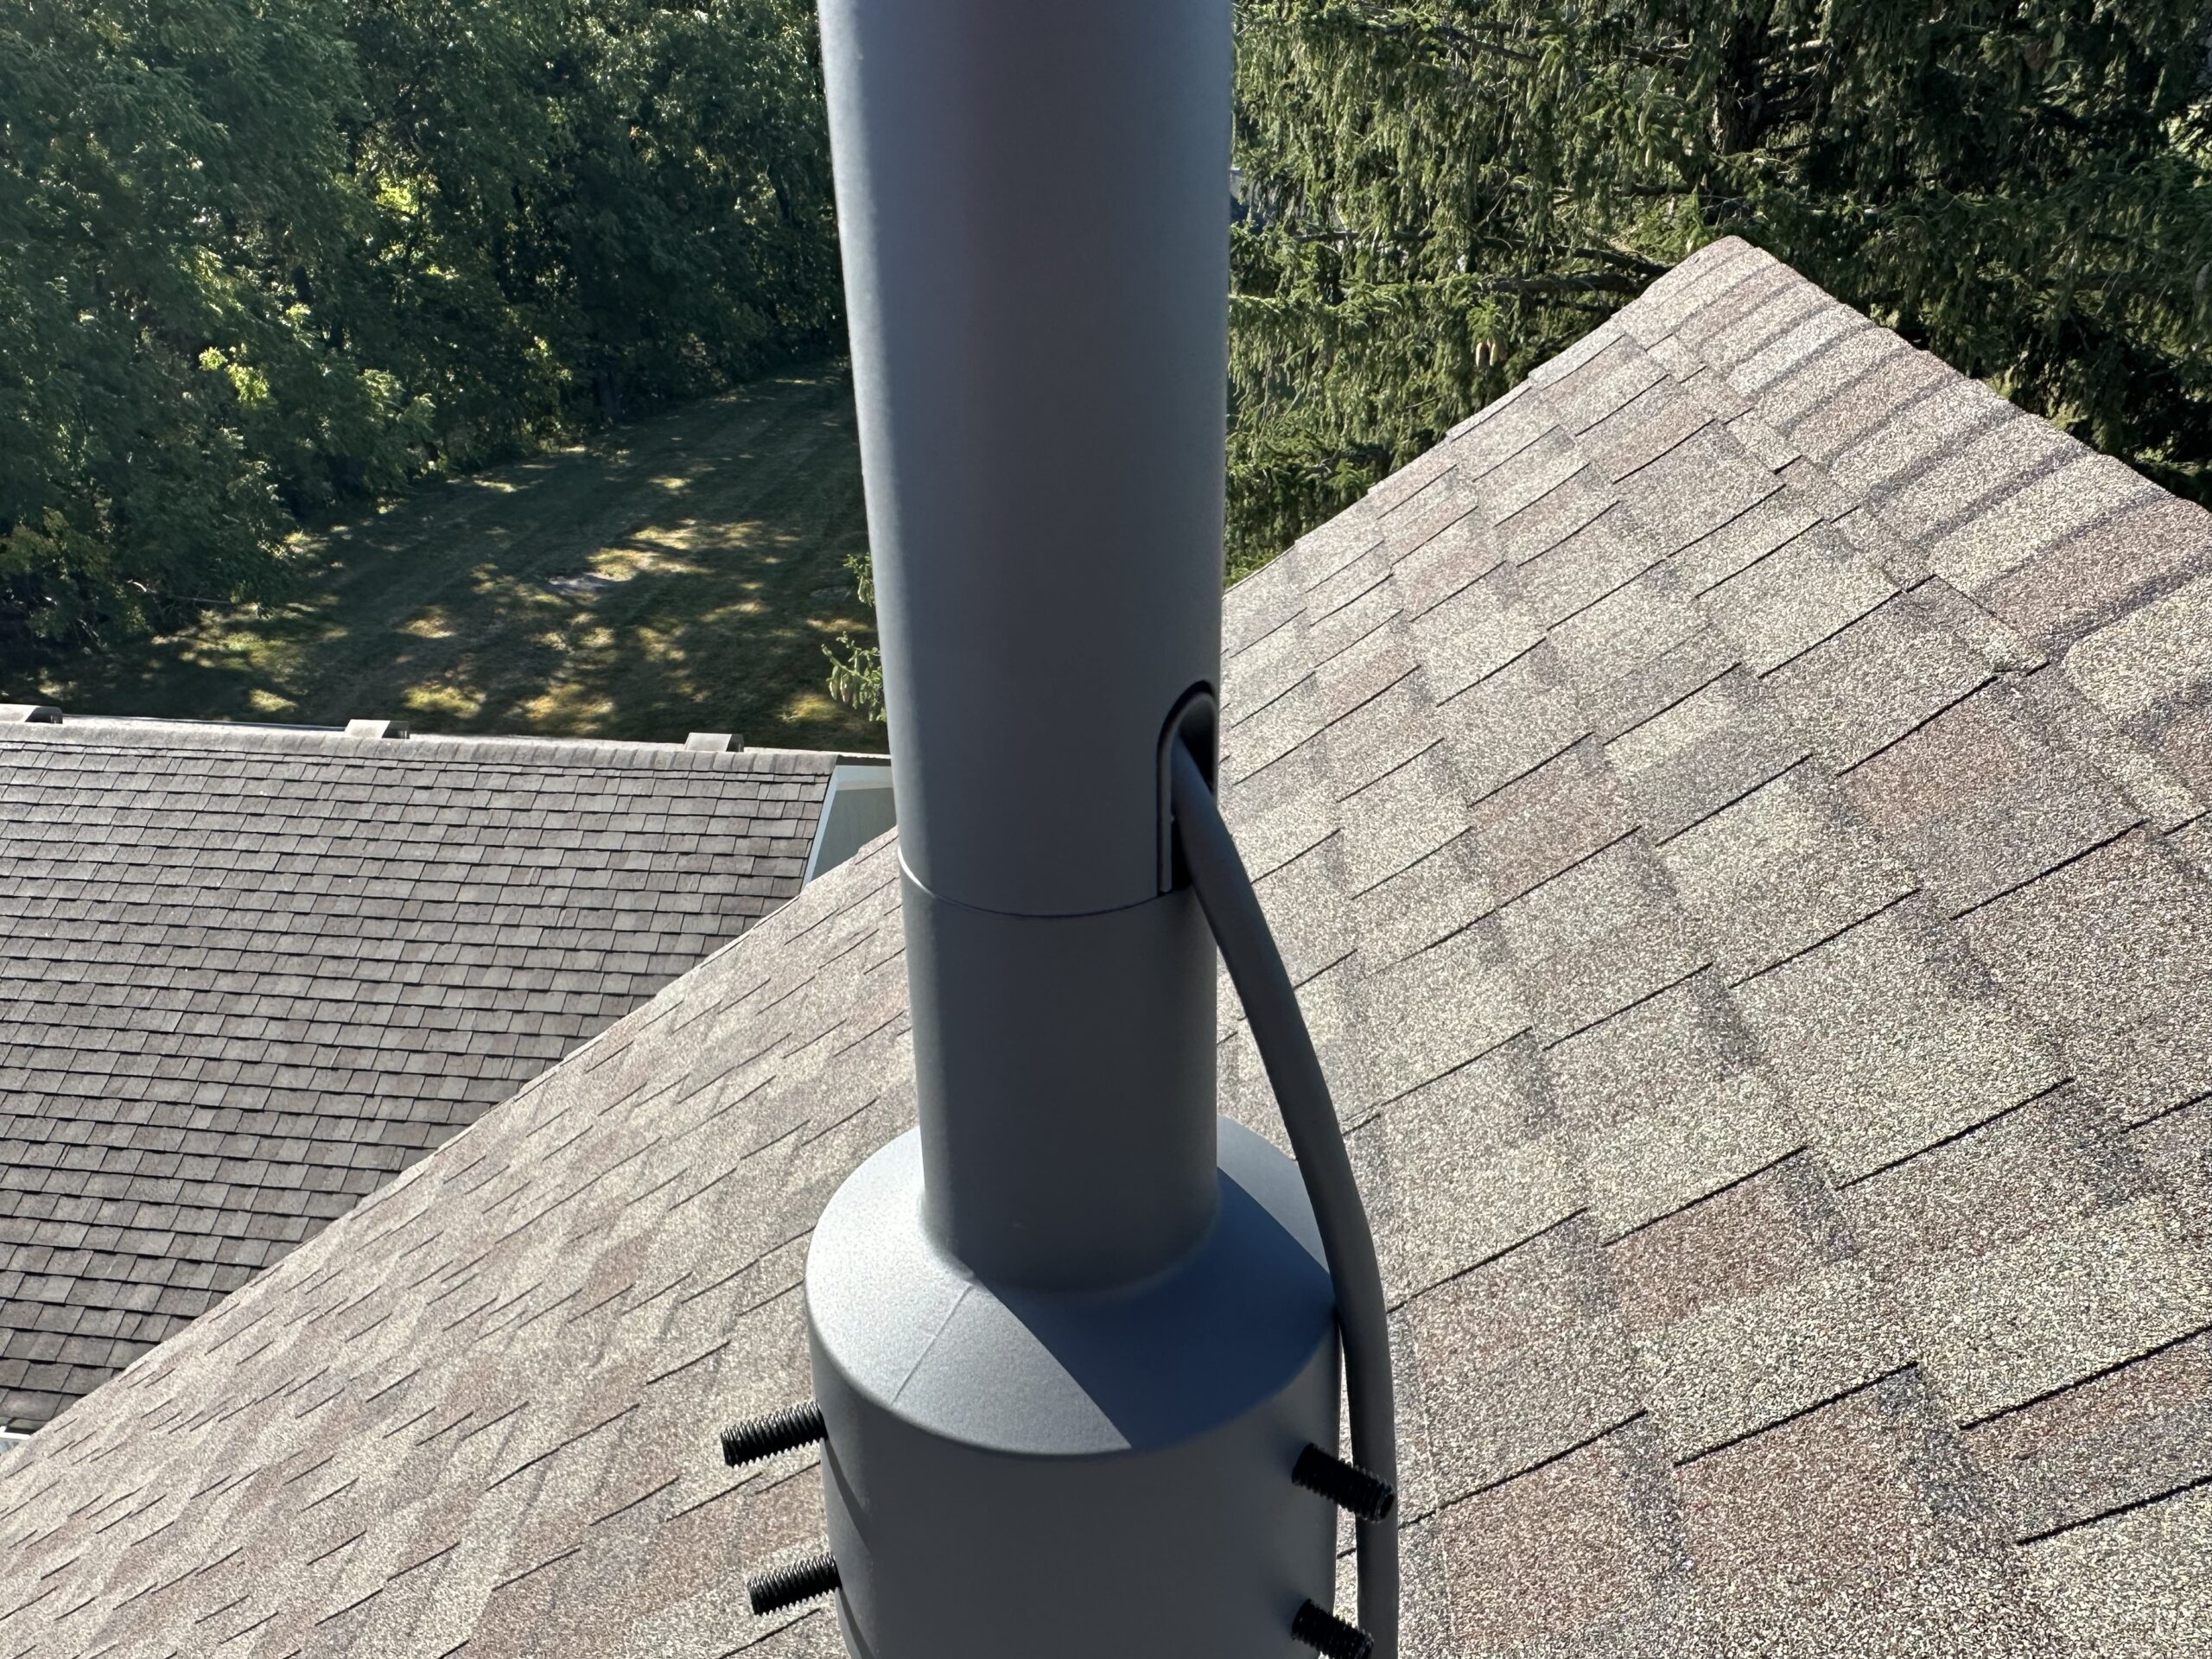
Overall, I found the installation process to be very simple, with no extra tools required. Since I already had an existing J-mount on my roof from a previous satellite dish, the hardest part of this project was climbing up on the roof! Here is how my installation turned out:
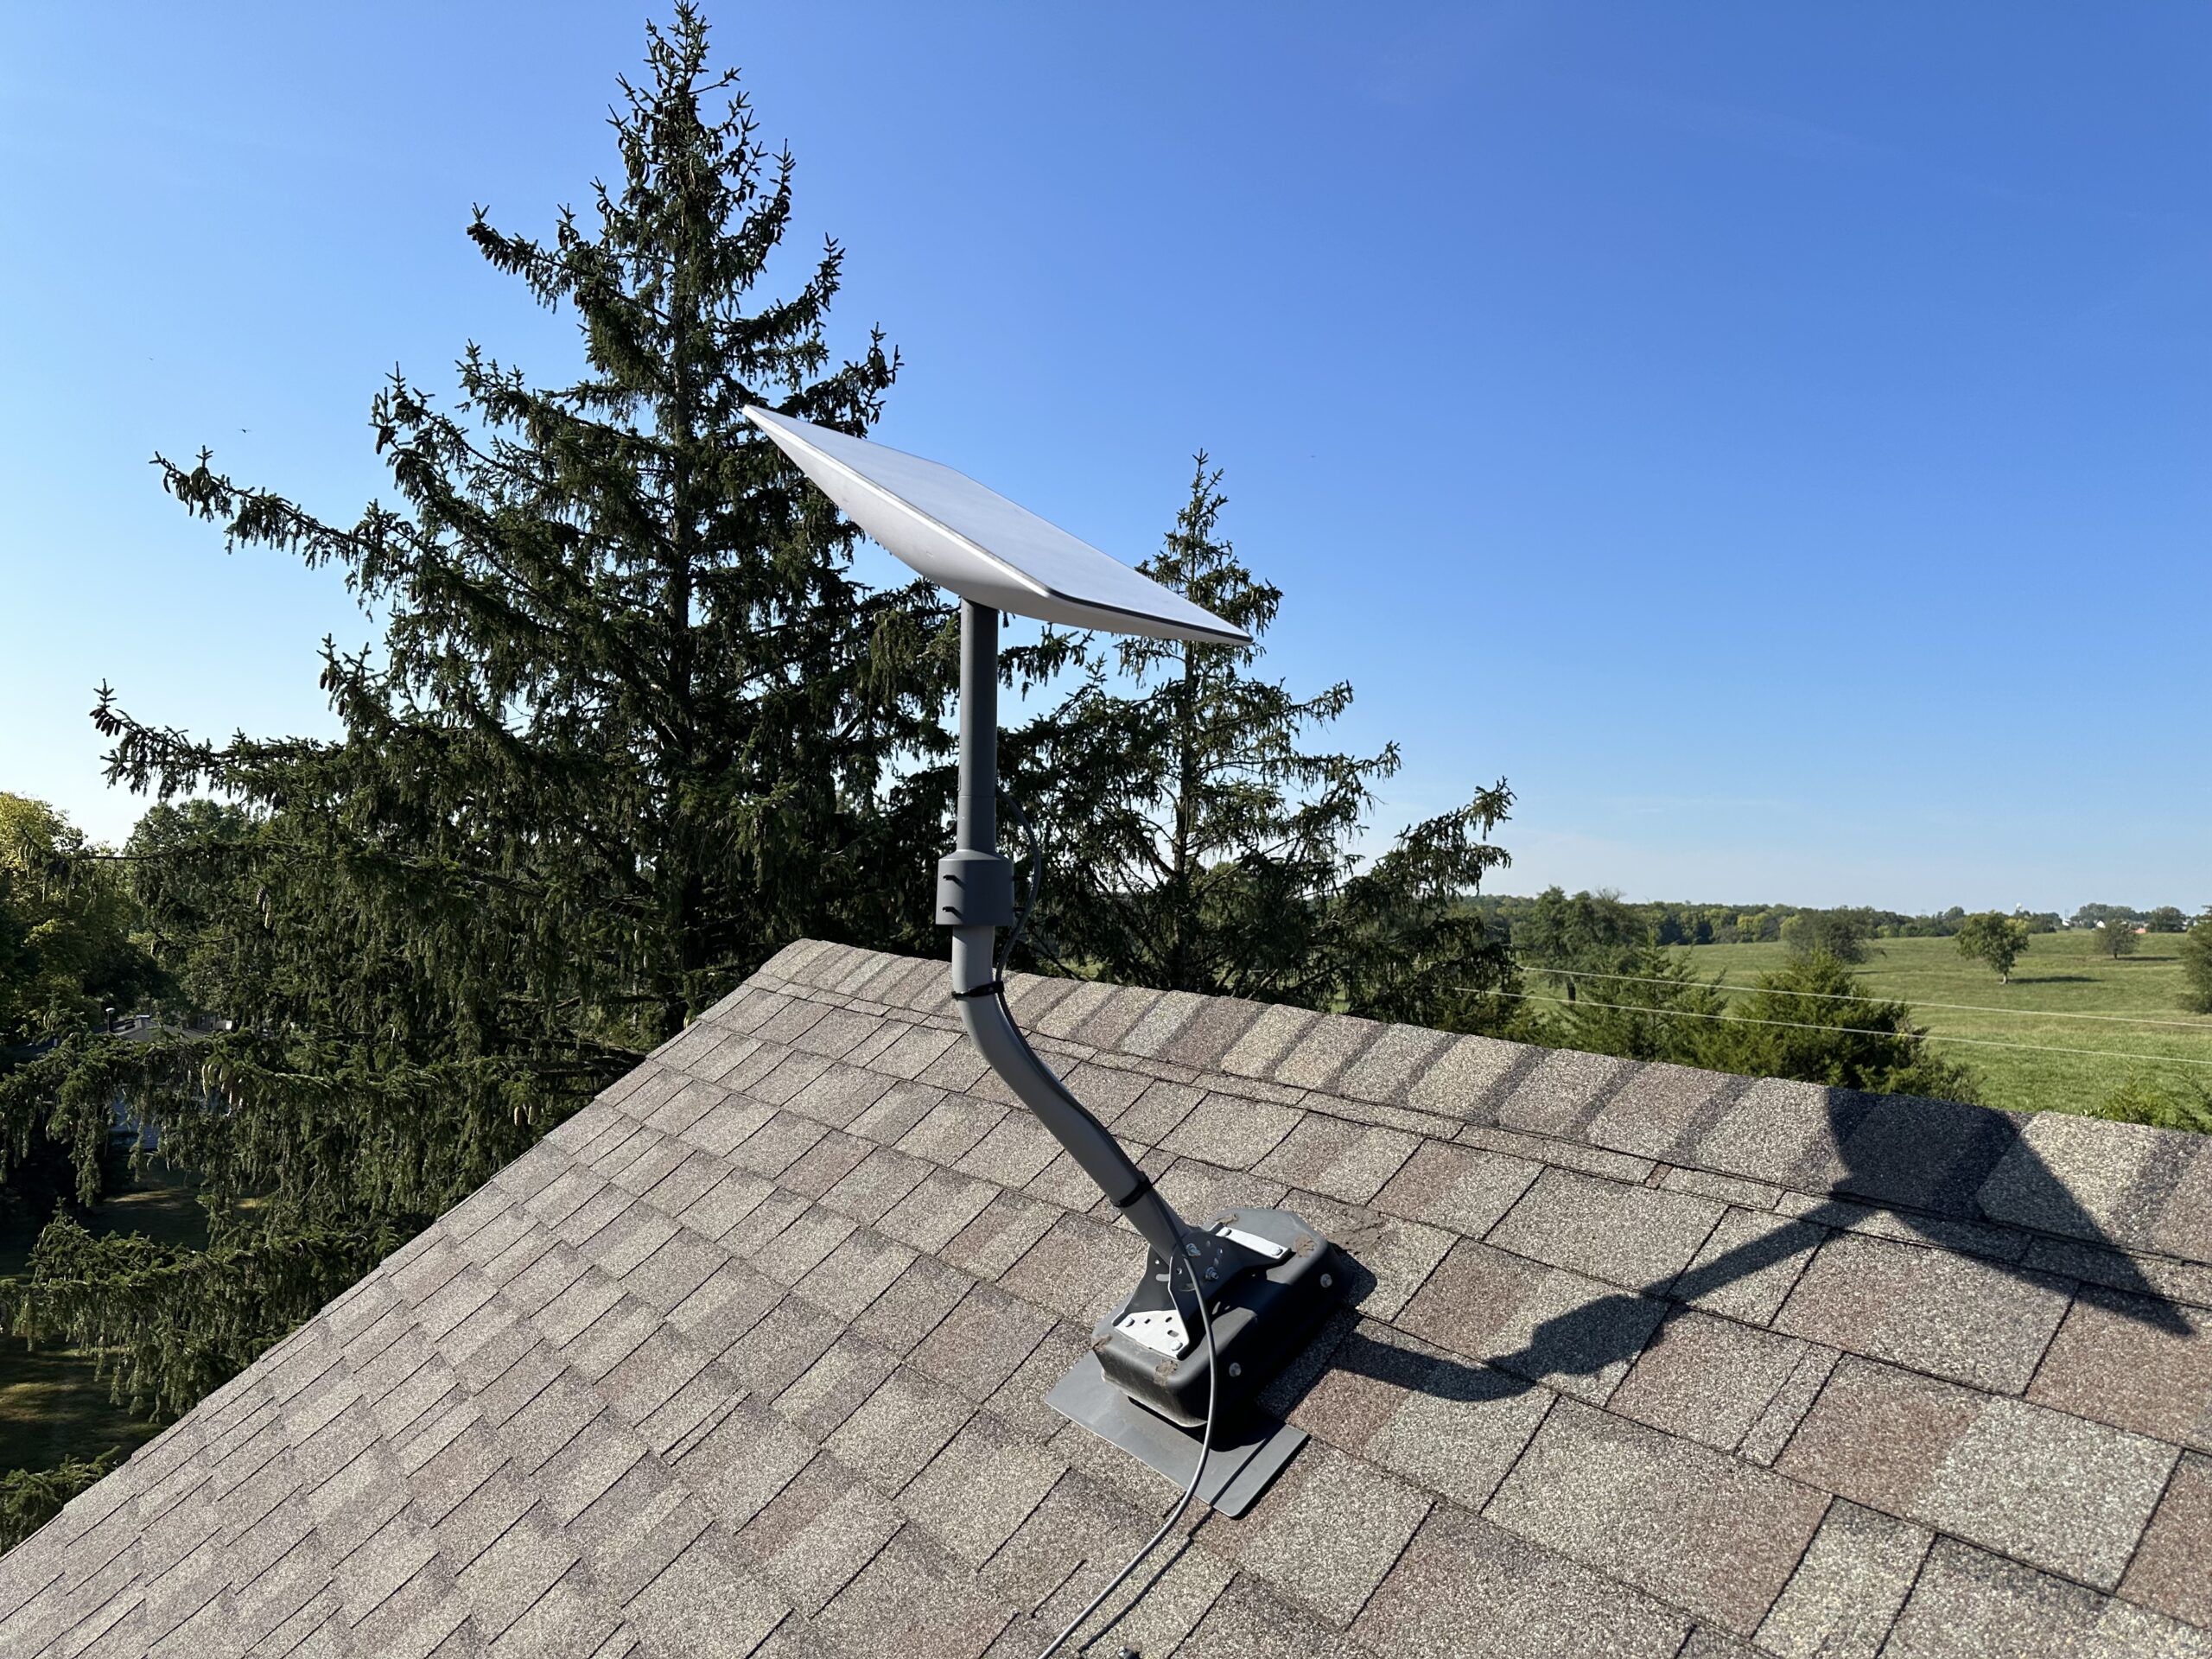
The Pipe Adapter itself is solid, and feels high quality. The gray finish perfectly matches the Starlink dish mast. It is machined for a tight and secure fit with the Starlink dish. There is no slop or play at all.
I really like how they included all the hardware and wrench. I didn’t need any extra tools. I also appreciate how they give you two options for the set screws. That is the kind of attention to detail that makes you feel confident about a product.
Overall, for $50, I recommend the Starlink Pipe Adapter if you have an existing mount or pole that you want to use with Starlink. I’ve used other kinds of adapters, like U-bolts, in other installations. But the Pipe Adapter works perfectly with Starlink, and makes any almost aftermarket mount or pole feel like a perfect fit.
We installed with the generation 2 Starlink on a pole on top of our roof with the Starlink adapter and we positioned it to face an open space between tall trees and facing north. We can’t figure out how the darn dish keeps moving to point directly at a tree instead of the space we point it to. The pole is solidly mounted in our attic. The adapter is secured tightly to the pole with the screws. The cable is sent through the pipe to the attic to where are modem is. With the key way locking how can it turn at all?
The Gen 2 dish is motorized and will self-align buy rotating and tilting the dish itself. The goal of the alignment is not to aim away from obstructions, because the dish can’t see obstructions. The goal of aiming is to point to the area of the sky where the most Starlink satellites are, for your specific location. It uses GPS to do this. In the US, for example, most dishes will point north or northwest. This is because most of the southern sky is restricted, Starlink users can’t talk to satellites toward the south, so as to not interfere with other sat systems in geosynchronous orbit. In other words, Starlink points your dish to the optimal angle based on the satellites, not obstructions. It’s your job to place the dish in a location that doesn’t have obstructions. You can use the Starlink app obstruction scanner on your phone to evaluate locations before trying to move the dish.
What size Flexroute clamps did you use? Per the manufacturer, they come in “small” which handle up to 1/4″ diam and “medium” for 1/4″ or greater. The Starlink cable diameter is slightly larger than 1/4″. They’re a bit expensive – around $29 on Amazon for 8 clamps. I am leaning toward the medium size but would appreciate input.
I used the small size. The Starlink cable is close enough to 1/4″ that they work ok even in small size. The clamp is pretty flexible so I didn’t have an issue getting it to fit on the cable.