Doing a factory reset of the Starlink router is useful in many situations. Maybe you are troubleshooting a network issue, or perhaps you simply forgot the Wifi password. In any case, performing a factory reset is an easy process, no matter which generation Starlink router you have.
In this article, I will explain how to factory reset a Starlink router, walking you through it step by step. If you don’t need to do a factory reset, and just need to reboot/restart your system, check out our guide on how to reboot Starlink.
Table of Contents
Which Starlink router do you have?
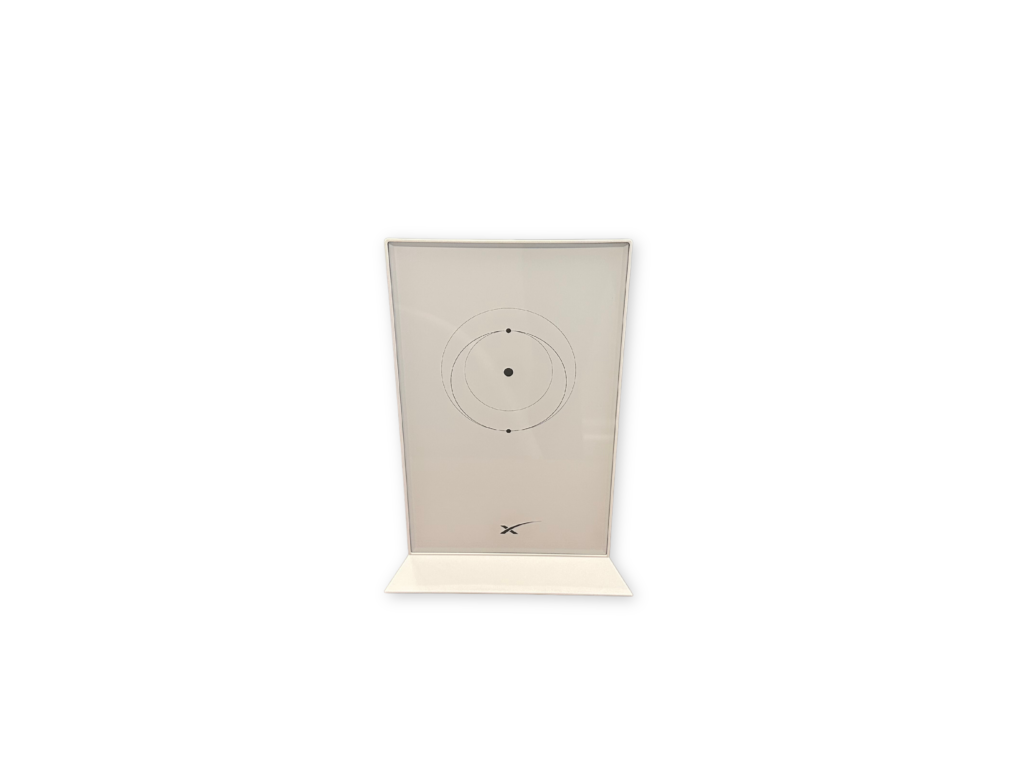
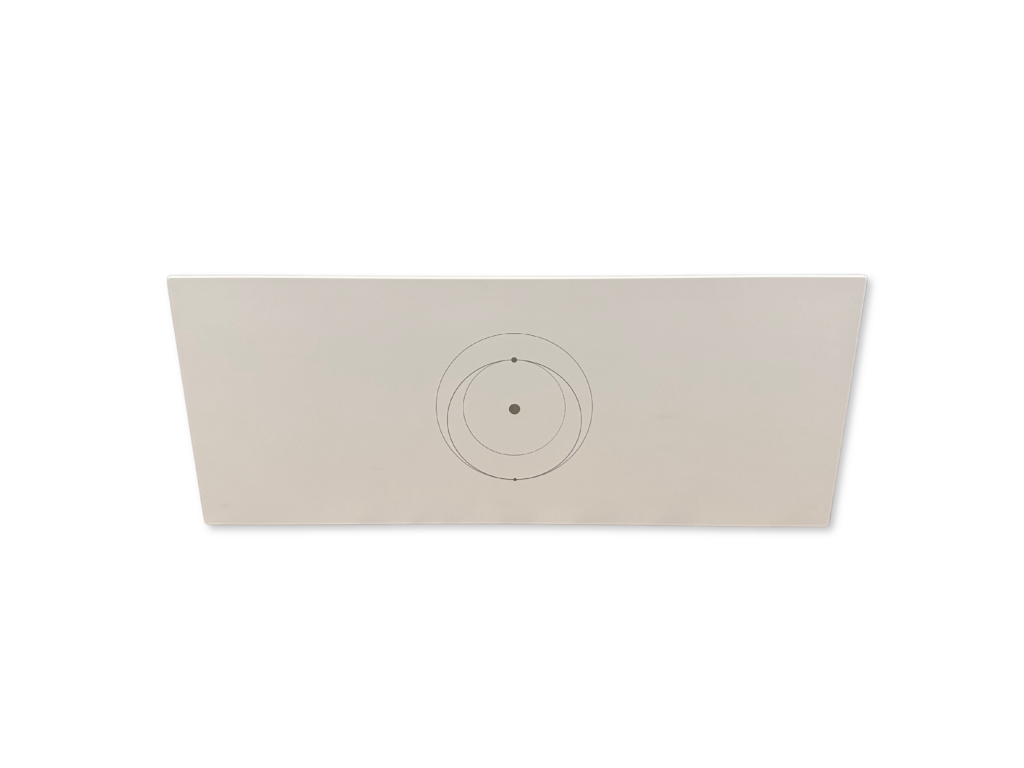
There are three different Starlink router generations. To see the factory reset instructions for your router, click on the image of the one you have:
Starlink Gen 1 Router Factory Reset
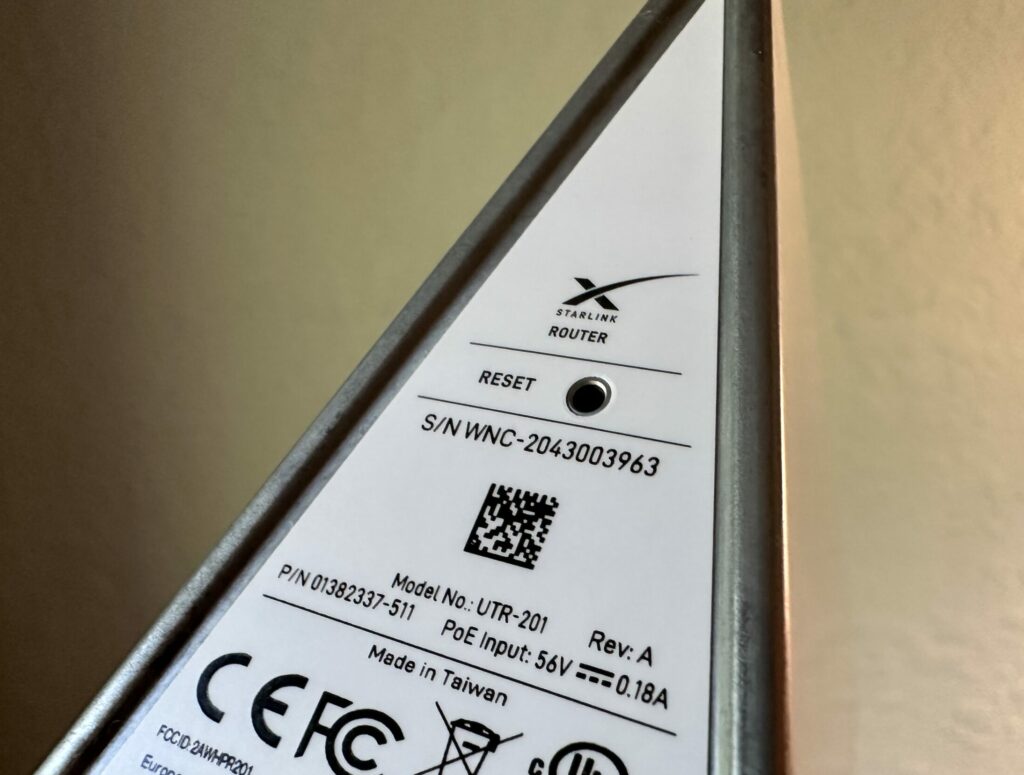
The first generation Starlink router factory reset procedure is very simple thanks to a reset button. Follow these steps to perform a factory reset on the Gen 1 router:
- Head over to your Gen 1 router, flip it over to view the bottom side
- Using a paper clip or small screwdriver, press the reset button
- Wait several minutes for the router to reboot
- Connect to the new STARLINK Wifi network
- Open the Starlink app and set a new Wifi network name and password
Starlink Gen 2 Router Factory Reset

Video tutorial for Gen 2 router
Note: Some ad blockers will block our video player. If you don’t see the video, try disabling your ad blocker, and then reload the page.
Resetting a Gen 2 Starlink router is a little bit different than the other Starlink routers because it does not have a reset button. Fortunately, the process is still pretty simple:
- Head over to where your main Starlink router is located. You’ll need access to the power cord and wall outlet
- Power cycle the Starlink router 6 times in a row, waiting a few seconds between each power cycle. To do this, unplug the router power cord, wait a moment, and then plug it back in. Repeat this sequence 5 more times to perform a factory reset
- After power cycling the router 6 times, plug the router in, and let it boot up for several minutes
- Connect to the new STARLINK Wifi network
- Open the Starlink app and set up your new network with a name and password
Starlink Gen 3 Router Factory Reset
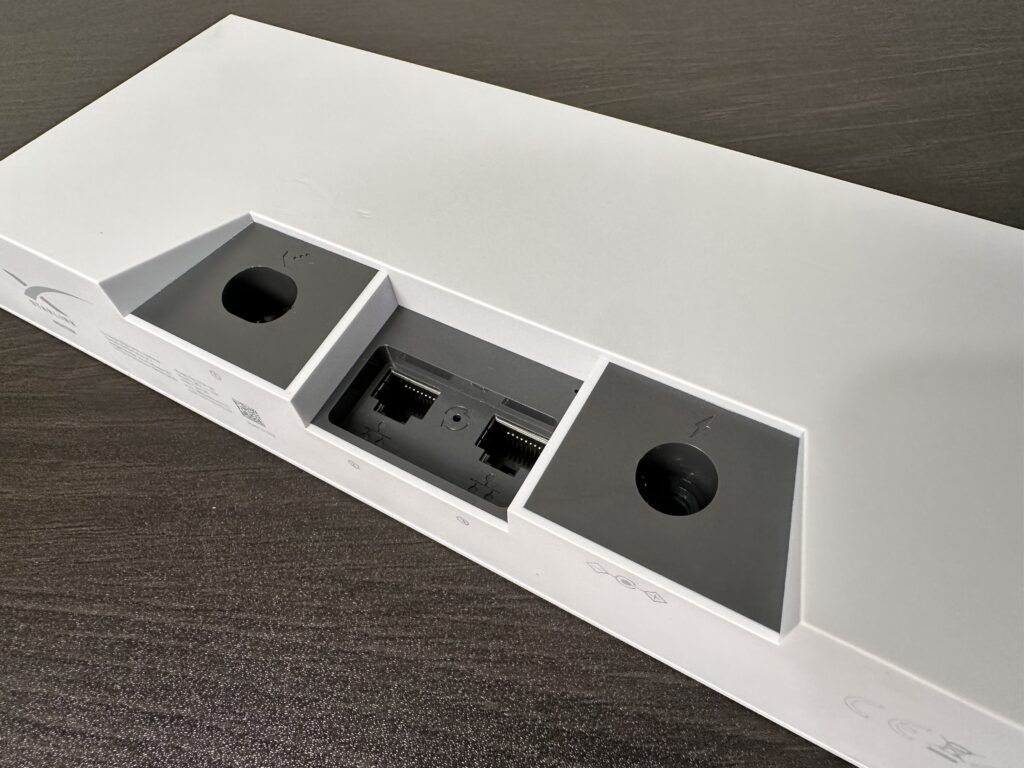
Starlink added back the factory reset button for the Gen 3 router, so the process is easy. Just follow these steps:
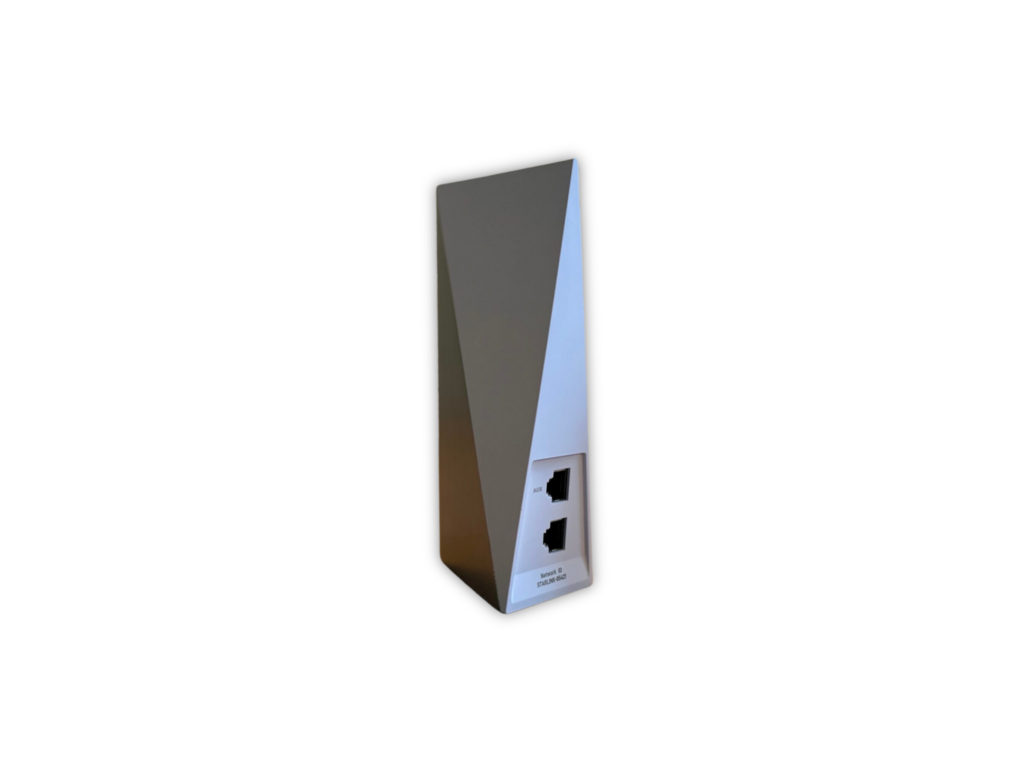
- Head over to your Gen 3 router, turn it around and look at the back side
- Using a paper clip or small screwdriver, press the reset button. The reset button is located in the center, between the two Ethernet ports
- Wait several minutes for the router to reboot
- Connect to the new STARLINK Wifi network
- Open the Starlink app and set a new Wifi network name and password
Starlink mesh node factory reset
Need to reset a Starlink mesh node? The Starlink mesh nodes are identical to the main routers, so you perform a factory reset the same way:
- Head over to the mesh node
- For Gen 2 mesh nodes, power cycle 6 times in a row. For Gen 3 mesh nodes, use a paper clip or screwdriver to press the reset button on the back of the router
- Make sure you are still connected to your main Starlink Wifi network, and do not connect to the new STARLINK network that pops up after a factory reset
- Allow several minutes for the mesh node to finish booting up
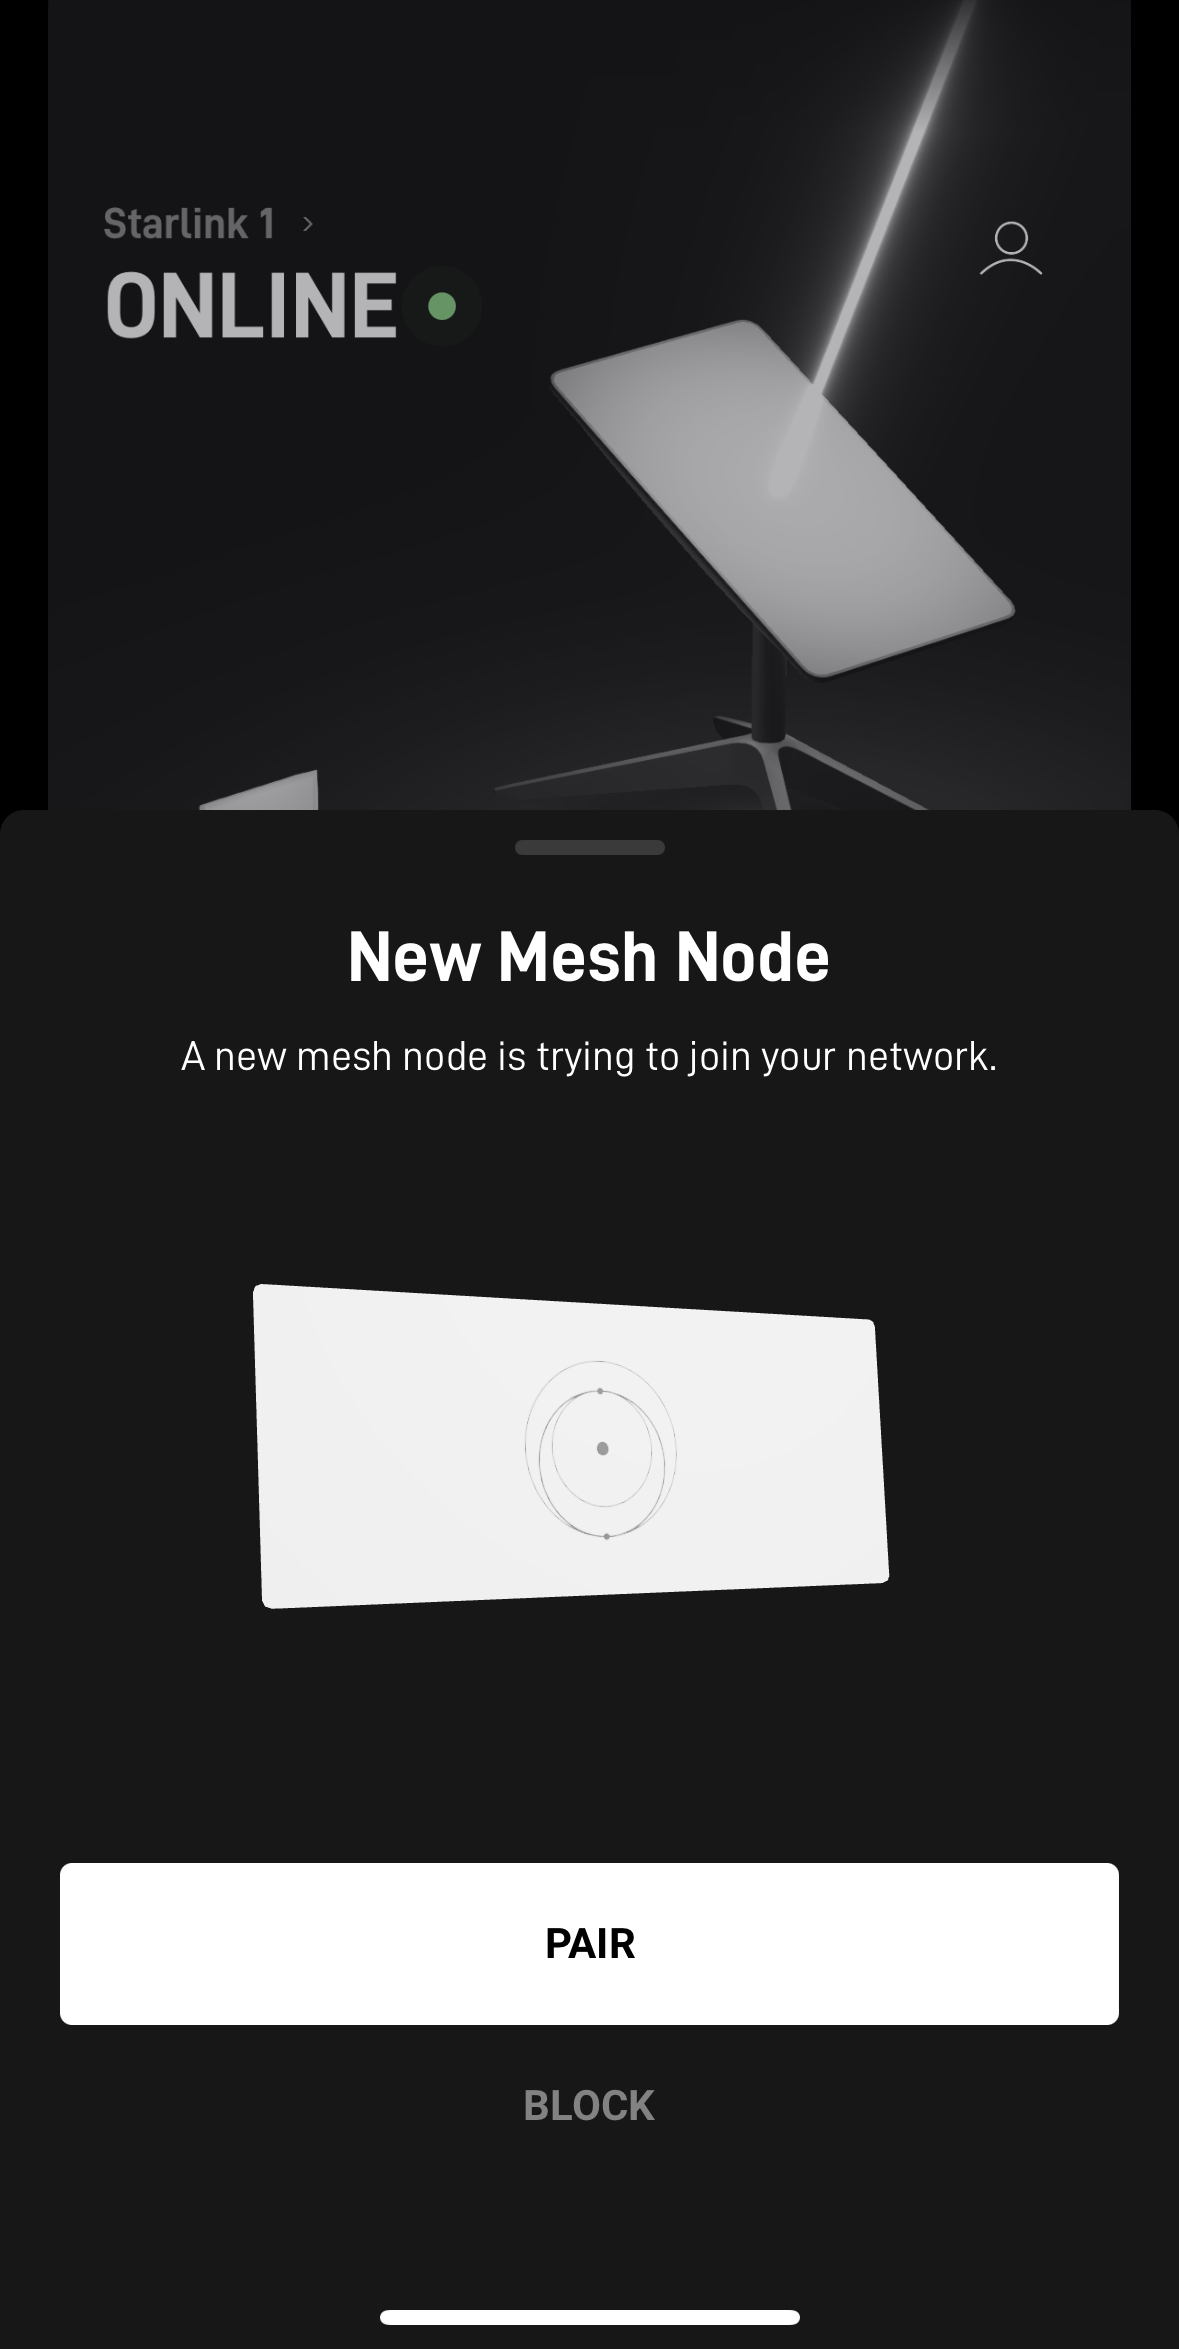
- After awhile, you should get a notification from the Starlink app, asking if you would like to pair the new mesh node