
The Starlink Long Wall Mount is a great option for mounting your dish to an exterior wall or fascia board. In this tutorial, I am going to show you the process of installing the Long Wall Mount. You can follow along with the text and images in this article, or check out the video below.
Video Tutorial
Note: Some ad blockers will block our video player. If you don’t see the video, try disabling your ad blocker, and then reload the page.
Pre-installation requirements


Before you being, make sure the location you selected for the Long Wall Mount is free of obstructions. You can use the Starlink app obstruction tool to make sure you won’t have any obstructions. It’s also a good idea to temporarily mount the dish near the permanent location. Allow Starlink to collect about 12 hours of data, and check the app to see if it’s a suitable place for the Long Wall Mount.
If you are routing the cable through the exterior, go ahead and route the dish side connector from the inside of the home to the outside. Pull through as much cable as required to reach the mounting location.
Tools required
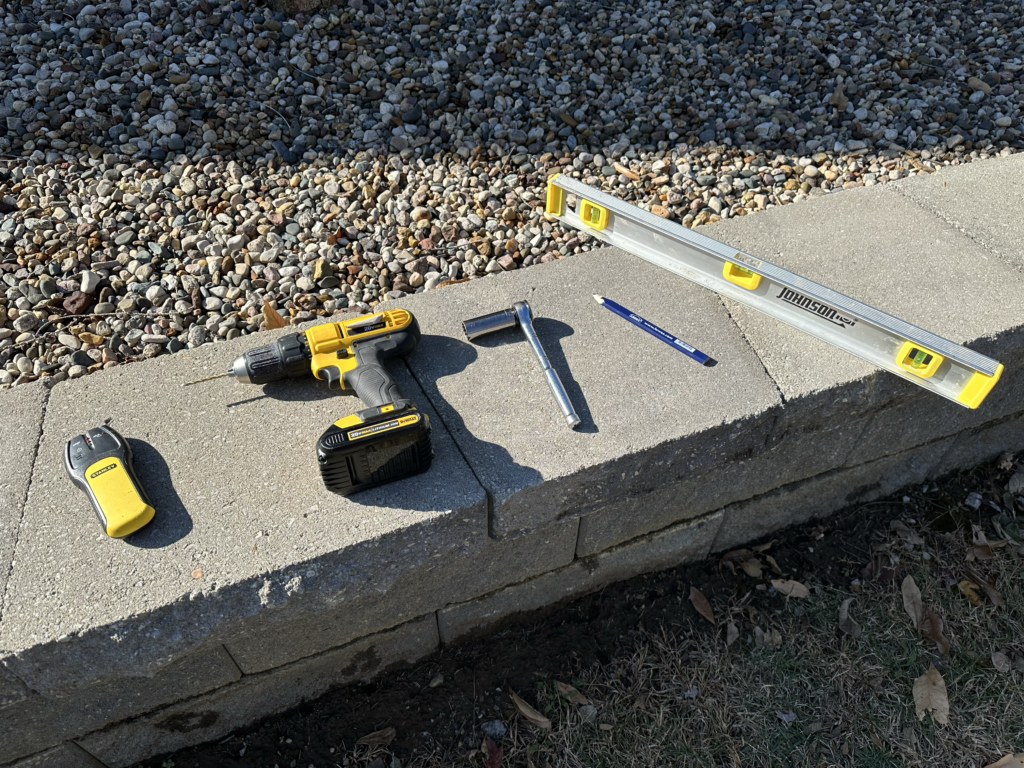
- 5/32″ drill bit
- Drill
- Marking pencil
- Stud finder
- 1/2″ socket and wrench
- Level
What’s included in the Long Wall Mount kit?

- Long wall mount
- Lag screws x 2
- Silicone sealant
- Cable clips
- Dish carrying bag
- Mounting template
Step 1: Locate a stud
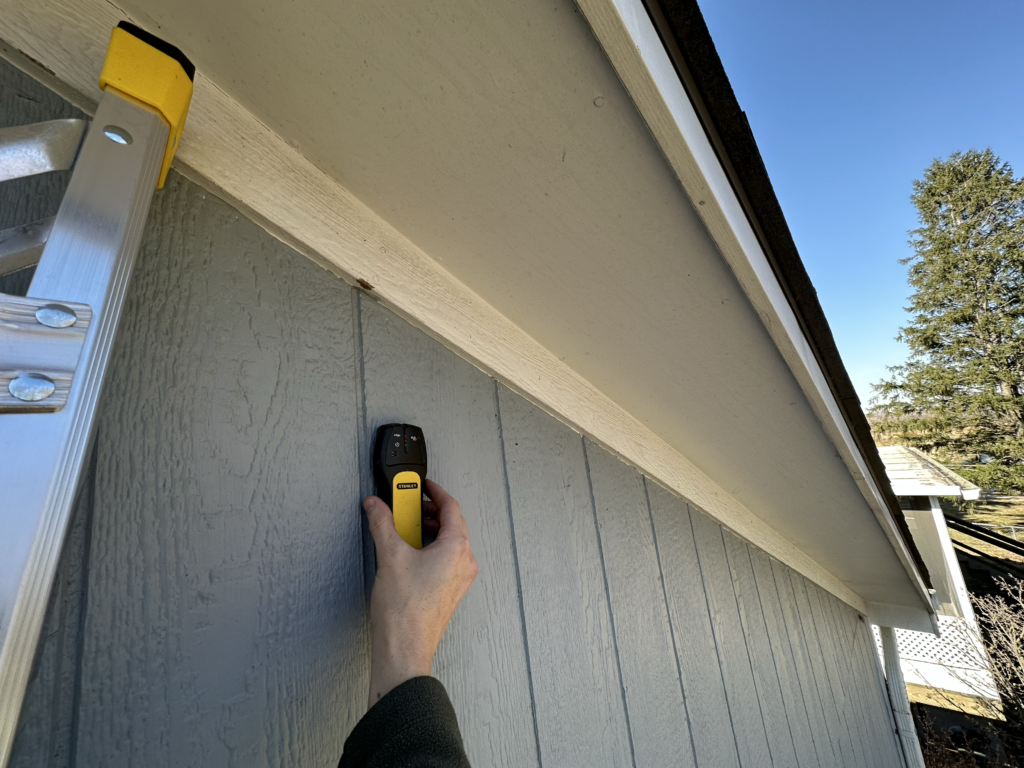
If you are mounting to an exterior wall, and not the fascia board, you’ll need to locate a stud to secure the Long Wall Mount lag bolts into. Use a stud finder to locate a stud. Mark the location of the stud with your pencil.
Step 2: Mark a vertical line on the stud
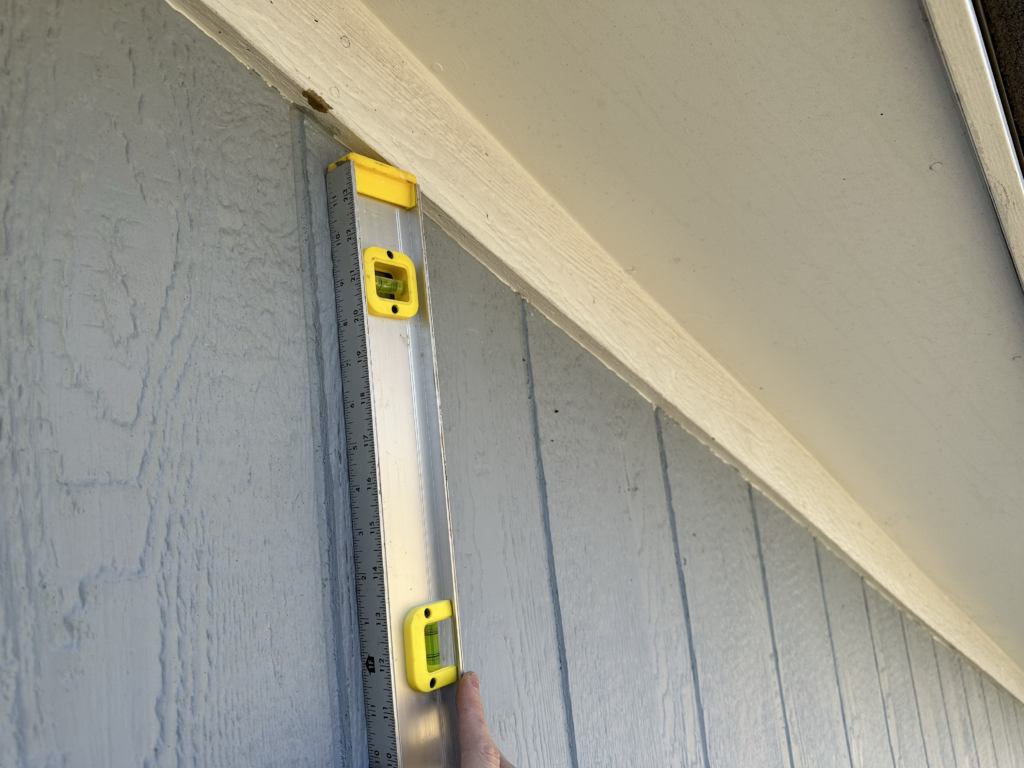
Use your previous mark for the stud to align the level. Draw a vertical line in the area where you want to install the Starlink Long Wall Mount. Make the line about 6 inches or so.
Step 3: Use the template to drill pilot holes
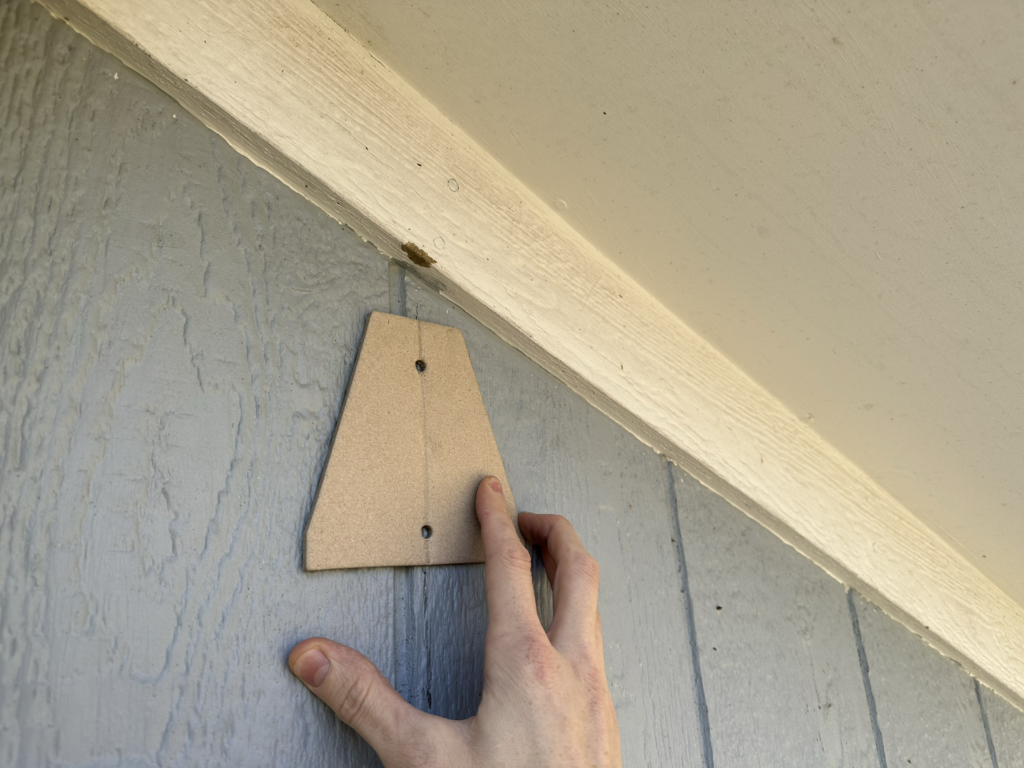
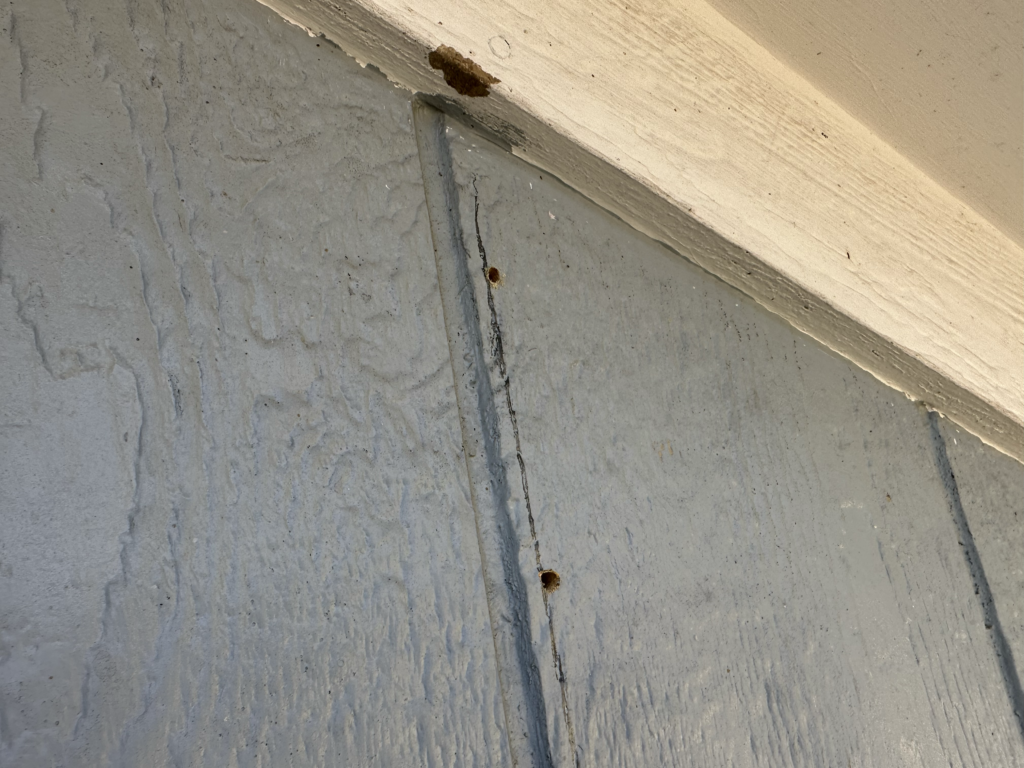
Use the included mount template to drill both pilot holes with your drill and 5/23″ drill bit. Line the template up with the pencil line from the previous step. I found it easier to use the drill bit to mark both locations using the template, and then remove the template to drill both holes.
Step 4: Apply silicone sealant

Apply the included silicone sealant to both pilot holes. If you can’t get any sealant in the holes, you can apply a dap to the lag bolts before driving them in.
Step 5: Drive in the top lag bolt
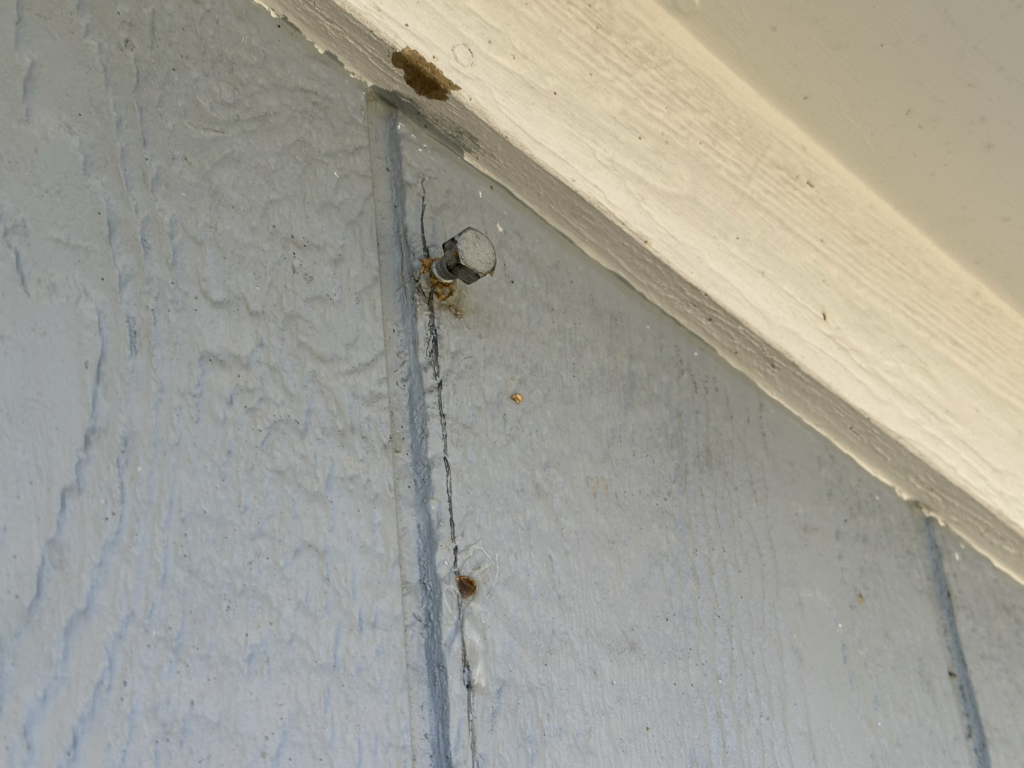
Use the 1/2″ socket and socket wrench to drive in the top lag bolt. Leave about 1/2″ space so that the Long Wall Mount can be installed.
Step 6: Slide the Long Wall Mount over the top lag bolt
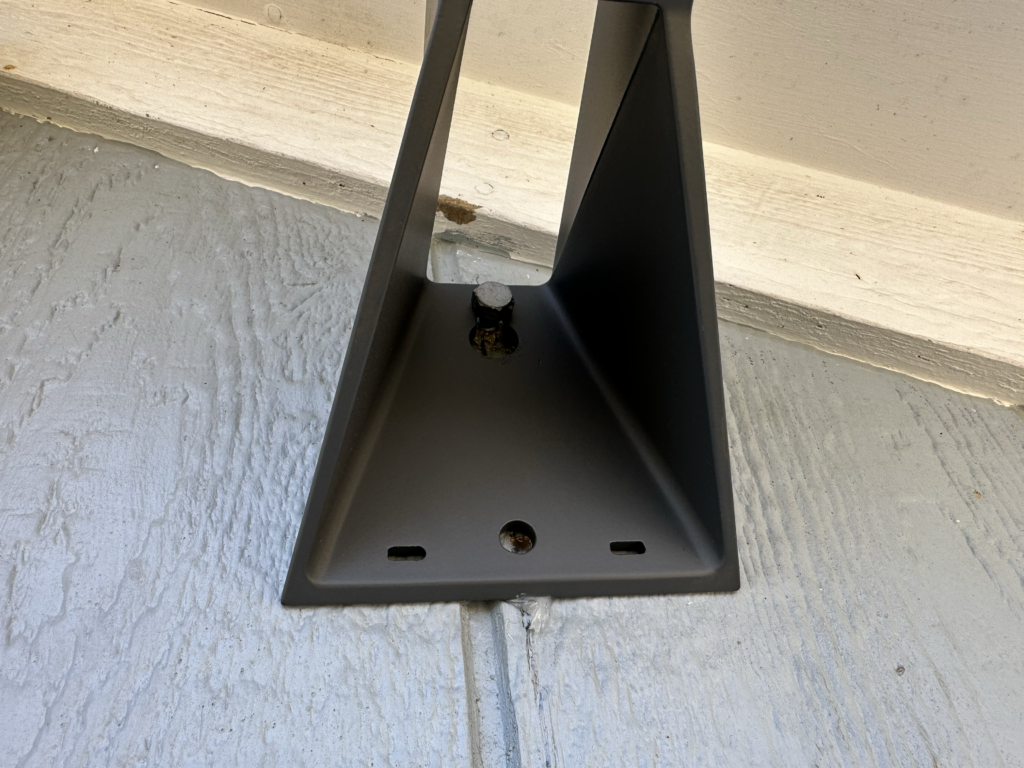
Slide the Long Wall Mount into place as shown above. The bottom hole should be aligned if you followed the template.
Step 7: Drive in the bottom lag bolt
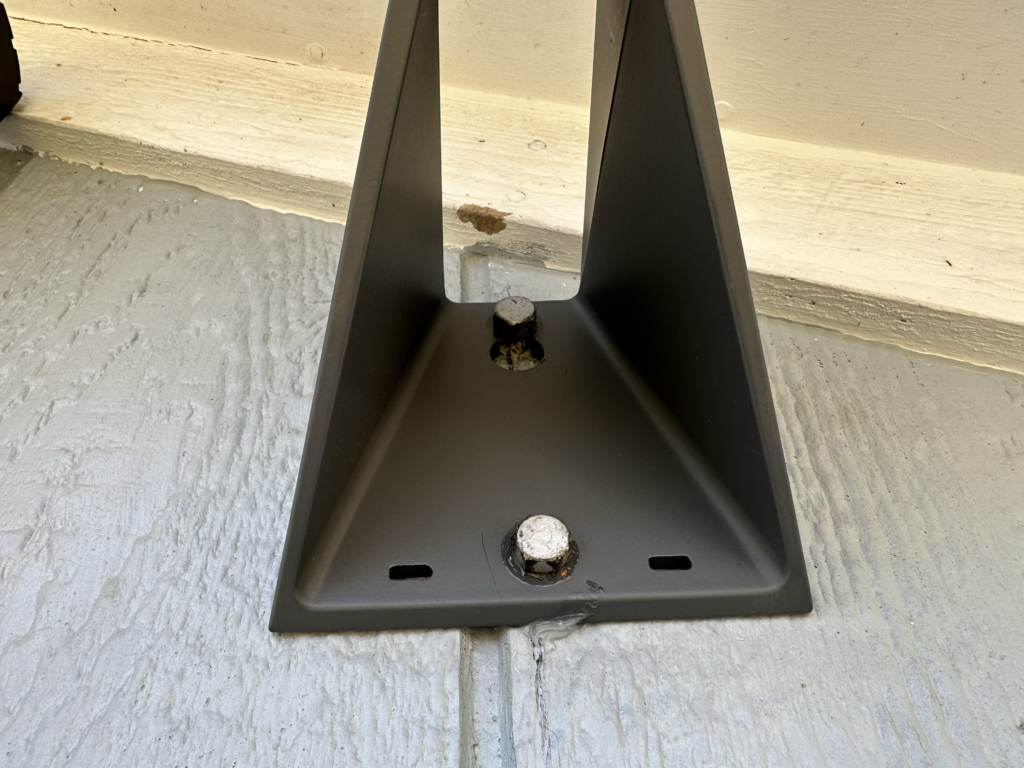
With the mount in place, install and tighten the bottom lag bolt. Then tighten the top lag bolt the rest of the way.
Step 8: Install the dish and route the cable
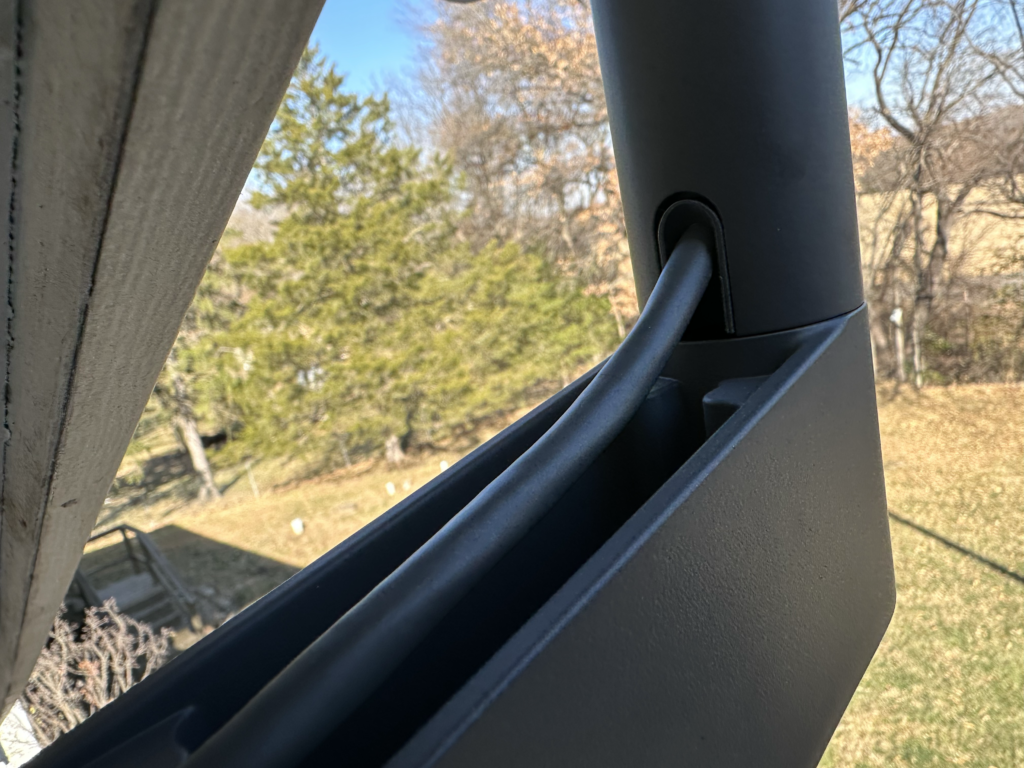
If you are routing the cable through your home, start by routing the dish side connector through the exterior hole. Then route it up the exterior wall and through the mount. Plug in the Starlink dish, and seat the dish mast into the Long Wall Mount.
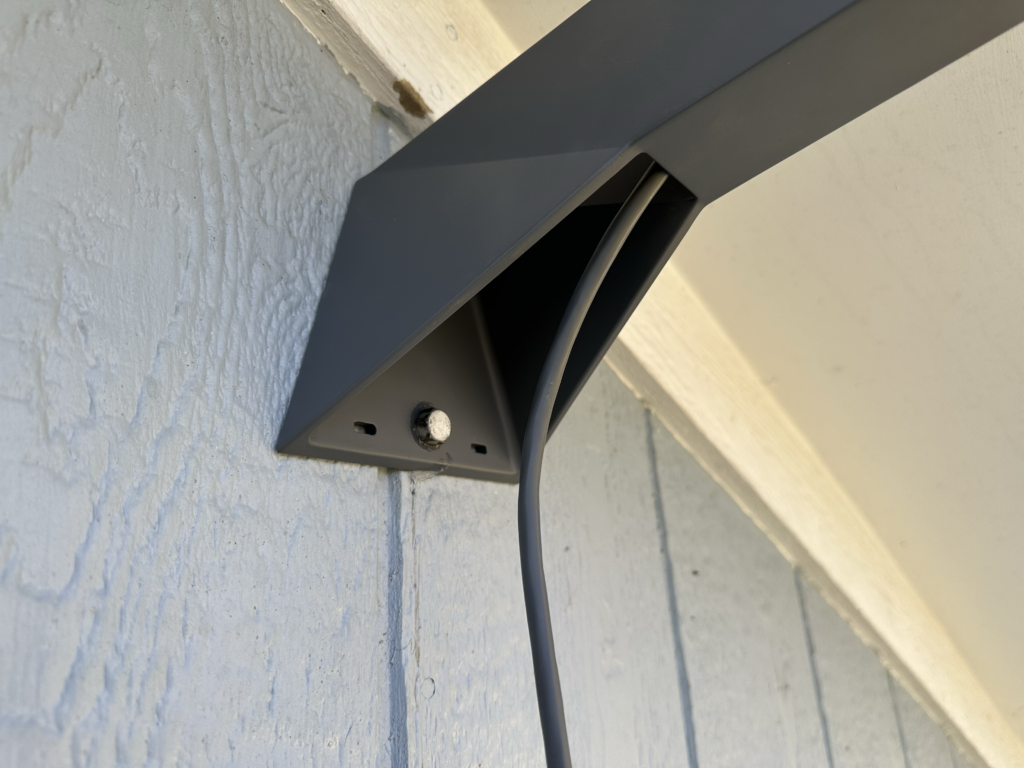
Step 9: Install bottom plate
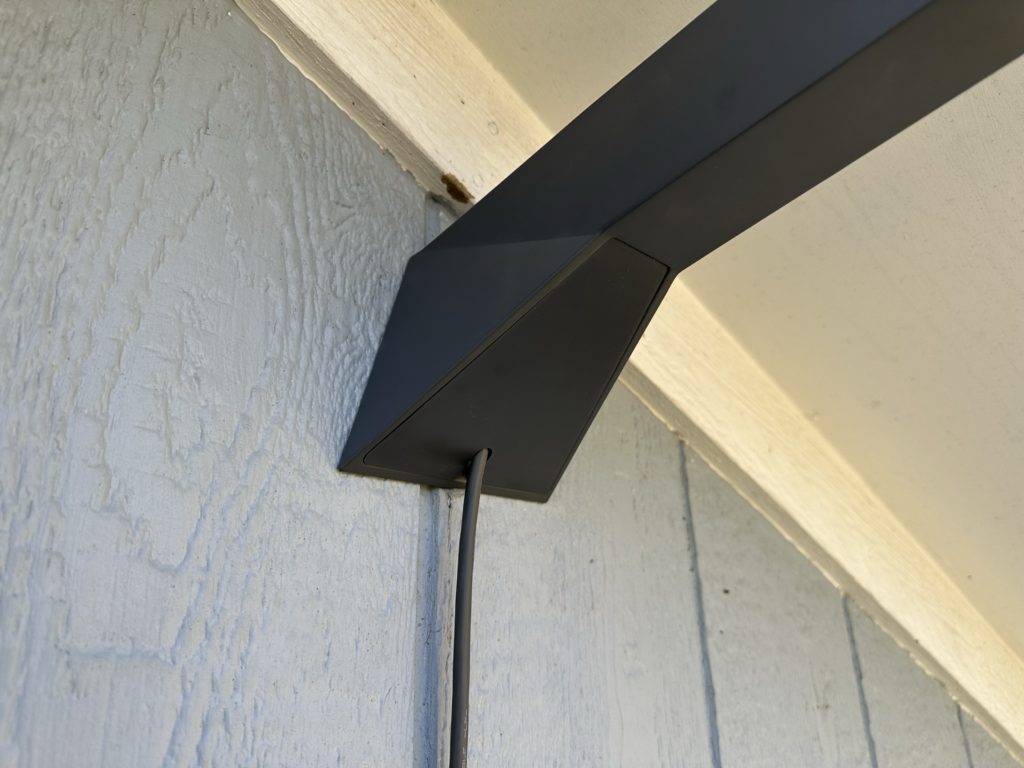
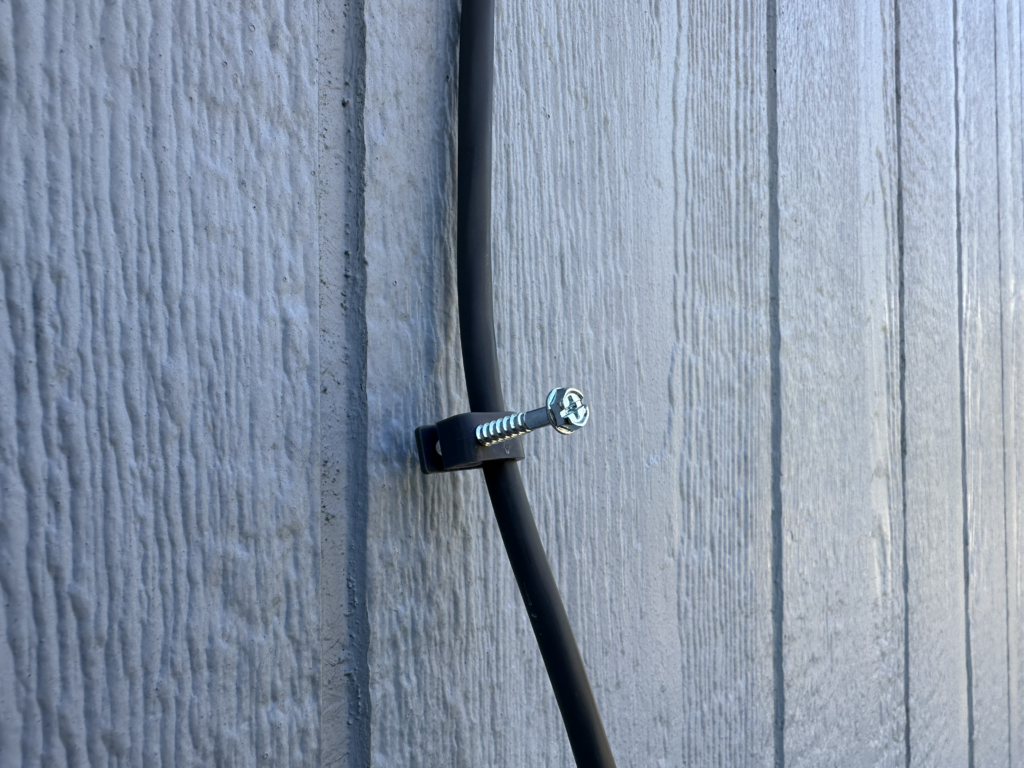
Install the bottom plate cover, guiding the Starlink cable through the slot. If desired, use the included cable clips to secure the cable to the exterior wall.
Step 10: Connect the cables and test your connection
The final step is to connect the Starlink cable to the router, power everything on, and check to be sure you can connect to the internet. It may take several minutes for the Starlink dish to boot up and find satellites.
Be sure to verify that the dish can freely stow and move when installed in the Long Wall Mount. If you get any error messages in the Starlink app, check to be sure the roof or wall is not getting in the way of the movement of the dish.
See Also: Starlink Mounting Options: A guide to official and DIY mounts
I do not see anything about attaching the Gen 3 Starlink, itself, to the mast, nor do I see any accommodation on the Starlink for ANY mast being attached to it. Nor was any “mount” included in the package
The Starlink Long Wall Mount is a Gen 2 accessory, it isn’t compatible with Gen 3. Instead, purchase the Gen 3 Standard Wall Mount: https://www.starlinkhardware.com/gen-3-standard-wall-mount-review-and-installation-tutorial/
How far the the long mount stand off from the wall? I am not seeing this in the installation instructions?
How far the the long mount stand off from the wall? I am not seeing this in the installation instructions?